You turn the key on a cold UK morning, pull into traffic, and notice the temperature gauge climbing when it should be steady. The coolant reservoir looks full, so the problem seems unlikely to be fluid level. Yet coolant can lose its corrosion protection and freeze resistance while still looking perfectly normal.
Changing engine coolant is therefore more than draining coloured liquid and pouring in a replacement. The chemistry must suit the vehicle, hard water can introduce scale, trapped air can create hot spots, and used coolant needs responsible disposal. Done carefully, the job protects the radiator, water pump, heater matrix and engine from avoidable damage.
Why Changing Your Coolant Matters More Than You Think
A temperature gauge that rises in slow traffic can point to more than a low reservoir. Coolant may look clean and sit at the correct level while its corrosion protection, freeze resistance and chemical balance have weakened. That is why UK coolant replacement guidance links service life to maintenance, rather than appearance alone.
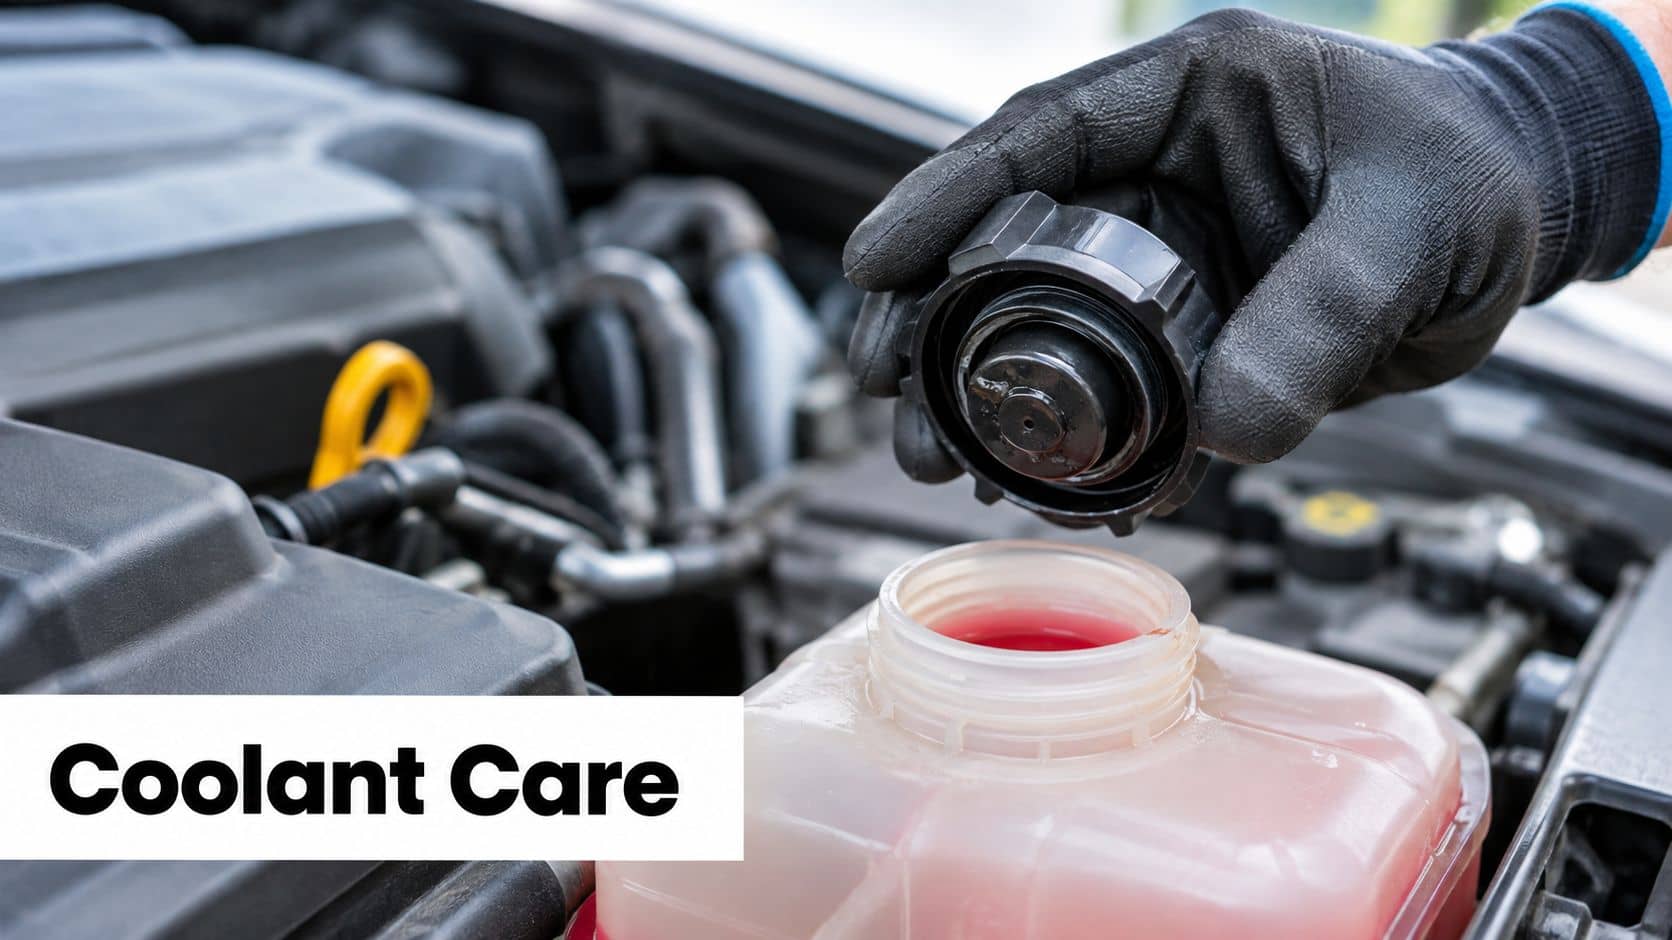
The cooling system carries heat away from the engine, protects metal components from corrosion, helps resist freezing and supplies hot coolant to the heater matrix. Its antifreeze contains additives that protect passages, seals and other parts, but those additives become less effective with age. Internal corrosion can restrict circulation, scale can narrow passages, and a weak mixture leaves the engine less protected during cold weather.
UK conditions create another practical concern. Hard water can introduce minerals that form scale when used for mixing or flushing. Use the water and dilution specified by the coolant manufacturer, and avoid treating ordinary tap water as harmless in a system that needs long-term protection. In summer, stationary queues and slow traffic reduce airflow, exposing a poorly maintained system more quickly.
Why colour isn't a reliable guide
Pink, blue, green and orange coolant colours may help identify what is already present, but colour is not a universal specification. Manufacturers and brands use colours differently, and two fluids with a similar appearance can contain incompatible additive packages.
Start with the owner's handbook and the coolant label. Check the required specification, technology and dilution instructions before buying anything. If the service history is unknown, do not choose by reservoir colour. Mixing incompatible formulations can cause deposits or sludge, reduce protection and make later fault-finding harder.
Practical rule: A full reservoir does not prove healthy coolant. Check its age, specification and strength separately.
Traditional silicate-based coolant commonly has a shorter replacement interval, with UK maintenance advice often citing around 2 years, as covered in the linked guidance above. Newer long-life formulations may last longer, but the vehicle specification and service schedule decide the correct interval. Replacing coolant costs less than dealing with restricted circulation, overheating or roadside recovery, and a controlled driveway job also gives you time to flush contamination, use the correct chemistry and bleed the system properly.
Understanding Coolant Types Intervals and the Right Mix for UK Cars
A coolant change can go wrong before the drain plug is opened. The bottle may say “long life”, yet the chemistry may still be unsuitable for the vehicle. Start with the owner's handbook, then match the required specification, technology and dilution instructions on the label.
Match the chemistry to the vehicle
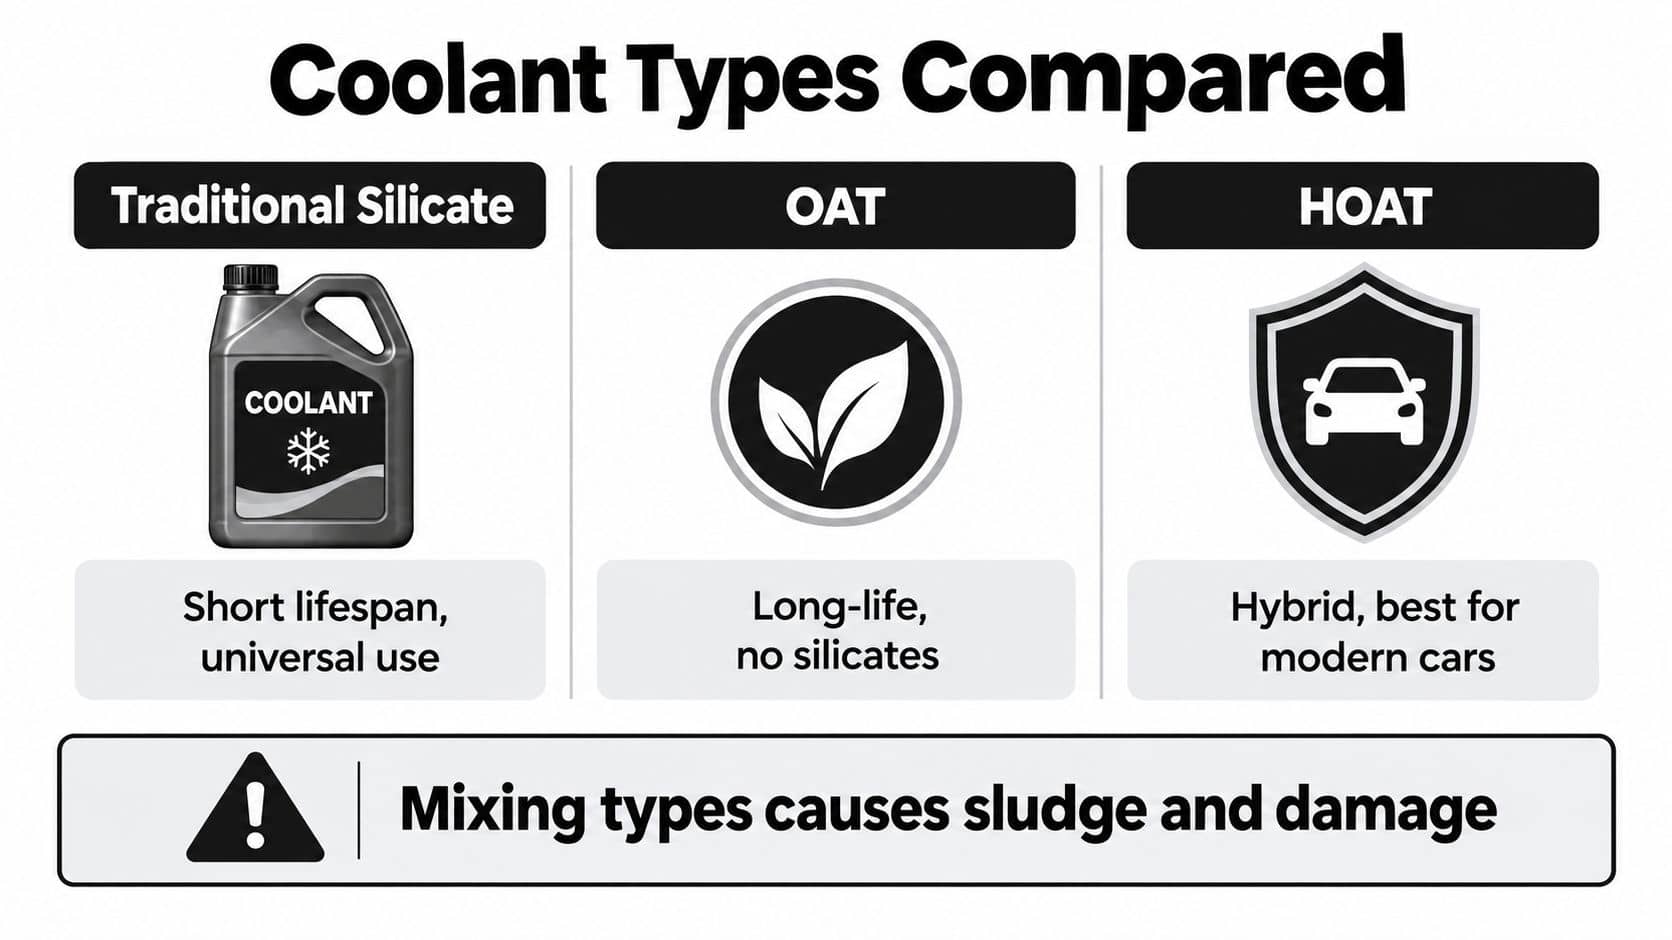
Traditional silicate coolant remains common in older vehicles and generally has a shorter service life. OAT, or organic acid technology, and HOAT, or hybrid organic acid technology, are used in many newer applications and can last longer. The vehicle manufacturer's specification decides the correct choice, not the fluid colour or a marketing description.
If the handbook specifies OAT or HOAT, use a product that meets that requirement. Treat “universal” coolant cautiously, particularly where the existing fluid is old or unidentified. Similar-looking colours can contain different additive packages, and incompatible mixtures may create deposits, sludge or reduced protection.
A complete flush is the safer option when the coolant is contaminated, visibly dirty or of unknown type. A top-up is reasonable only when the existing coolant is known to be healthy and compatible. Adding a different chemistry to avoid a flush can restrict circulation and make later fault-finding more difficult.
Replacement intervals vary by coolant technology and vehicle. Traditional formulations commonly need attention sooner, while approved long-life products may remain in service for longer. Some vehicles leave the factory with coolant described as lifetime coolant, with a first-change expectation of 10 to 15 years in certain applications. Once that factory fill is replaced with aftermarket fluid, a 5-year renewal cycle is commonly recommended. Check the owner's handbook and service schedule rather than relying on a universal interval.
Check the level monthly and check coolant strength every autumn, before colder weather arrives. That routine catches gradual losses and weakening freeze protection before winter exposes them.
Get the concentration right
A common target is a 50:50 mixture of water and antifreeze, providing freeze protection around -37°C to -40°C. At 33% coolant concentration, protection is only around -18°C to -20°C, so a mixture that looks acceptable may offer much less protection. These figures are summarised in UK antifreeze technical guidance.
Coolant Concentration | Approx Freeze Protection | UK Suitability |
33% coolant | Around -18°C to -20°C | Weaker protection, not the usual target |
50% coolant | Around -37°C to -40°C | Common optimum for many vehicles |
Above about 67% coolant | Protection can worsen at very high concentration | Not recommended |
More antifreeze does not automatically improve protection. UK technical coolant data warns that concentrations above about 67% are not recommended. Use ready-mixed coolant where specified, or mix concentrate with distilled or deionised water before filling.
Hard-water minerals can contribute to scale and contamination, so tap water is a poor routine mixing choice in many parts of the UK. For an emergency top-up, distilled or deionised water can be used temporarily, but restore the correct coolant mixture promptly. The GSF Car Parts engine coolant range allows comparison of ready-to-use and concentrate products using vehicle details.
What You Need Before You Start and How to Stay Safe
A coolant change can turn messy or dangerous quickly if the car is warm, the drain point is unknown, or the old fluid has nowhere safe to go. Park on level ground with room around the front of the vehicle. Put an absorbent sheet beneath the engine bay and prepare sealed waste containers before opening the system.
The engine must be fully cold. Coolant can remain pressurised and cause severe burns if you remove a hot expansion-tank or radiator cap. Follow the vehicle handbook's cooling-system safety instructions and wait at least 2 hours after shutdown if the car has recently been driven. A delayed job is safer than a scald injury.

Gather the equipment
You do not need a specialist workshop for a straightforward drain and refill, but you do need equipment that controls spills and protects you:
Drain tray:
Choose a wide, stable container that will not tip as the system empties.
Nitrile or chemical-resistant gloves:
Coolant can irritate skin, and gloves improve grip on damp parts.
Safety glasses:
Protect your eyes when hoses release fluid or splashes occur.
Distilled or deionised water:
Use it for flushing and for mixing concentrate. It also avoids adding hard-water minerals that can contribute to scale.
Correct coolant:
Confirm the required chemistry and specification in the handbook. Do not choose by colour alone.
Flush solution:
Use a cooling-system flush product when cleaning is required, following its label directions.
Rags and absorbent material:
Keep spills away from belts, wiring and painted surfaces.
Sealable waste containers:
Transfer used coolant immediately so children, pets and wildlife cannot reach it.
A fluid-transfer tool makes controlled pouring easier when the expansion tank is awkwardly positioned. Avoid food containers, which could later be mistaken for drinks.
Protect people, pets and the car
Ethylene glycol coolant is toxic. Keep children and animals away from the work area, clean spills immediately and never leave drained fluid in an open tray. Store the waste securely until it can be taken to an approved household hazardous-waste or recycling facility. Do not pour coolant onto the ground or into a drain.
Never work beneath a vehicle supported only by a jack. If access underneath is necessary, use suitable axle stands on firm, level ground and the vehicle's specified jacking points.
Before starting, locate the radiator drain plug, also called a petcock. Some vehicles drain through a lower hose instead, while others require a manufacturer-specific bleeding procedure. Check whether the handbook specifies vacuum filling, electronic bleeding or a particular coolant formulation. Those instructions take priority over a generic drain-and-refill method.
Draining Flushing and Refilling Your Cooling System Properly
Begin with the vehicle cold, parked on level ground, and the heater control set to hot. On systems where the heater valve responds to that setting, this opens the route through the heater matrix and helps move old coolant from more of the system.
Position a drain tray under the radiator petcock or the authorised drain point. Remove the expansion-tank or radiator cap slowly only after confirming the engine is cold, then open the drain carefully. Do not pull hard on the plug or force a brittle plastic fitting. Direct the flow into the container, checking the undertray and floor because coolant can travel further than expected.
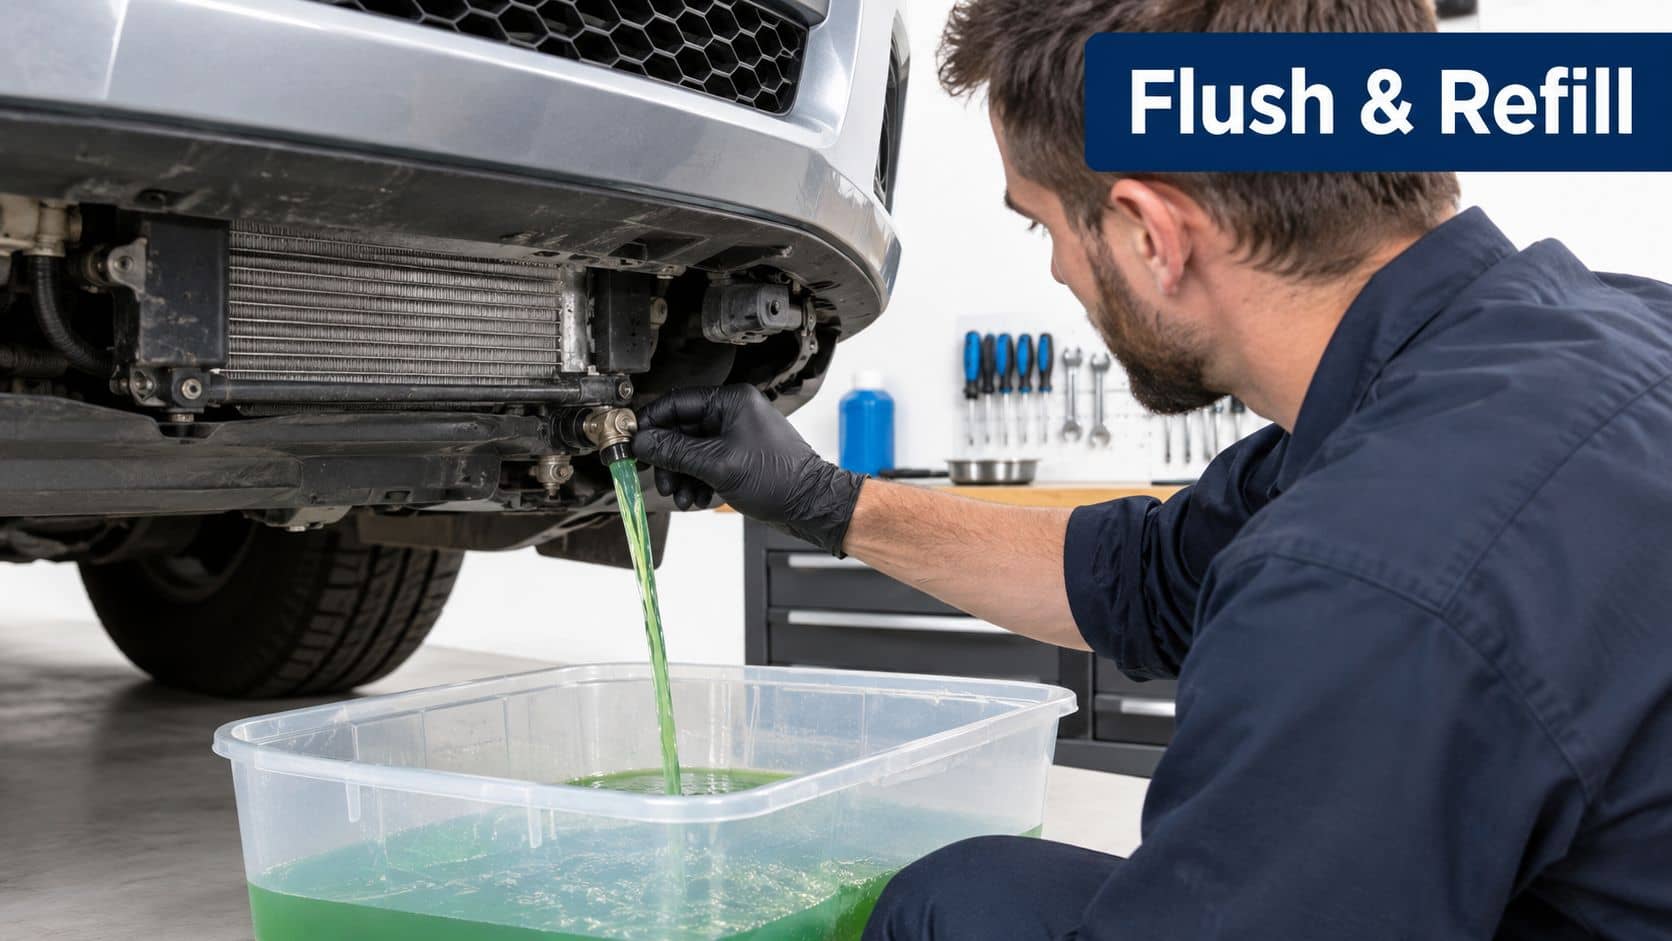
Never open a hot cooling system. The fluid can be pressurised even when the reservoir level looks normal.
Once the flow slows, close the petcock gently. It only needs to seal. Excessive force can damage the plug, radiator threads or sealing washer, leaving you with a leak after an otherwise routine service.
Flush what the drain does not remove
A single drain leaves coolant in the engine block, hoses, heater matrix and other passages. Flushing is sensible when the fluid is dirty, its history is unknown, or contamination has entered the system.
Refill with distilled water and the selected flush solution, following the product label. Start the engine with the heater on full and run it for the period stated by the flush product, about 10 to 15 minutes where that is the label instruction. This links the running time to the product directions rather than treating it as a universal setting. Shut the engine down, allow it to cool fully, then drain the mixture into the waste container. Repeat until the discharge remains clear. UK coolant replacement guidance also describes repeated flushing and recommends distilled water instead of tap water.
Clear water does not prove that every internal surface is clean, so stop only when the discharge is consistently clear and the vehicle instructions do not specify another process. Keep the tray in position throughout. Even a small coolant spill can endanger pets.
A suitable fluid-transfer tool from GSF Car Parts can make controlled pouring easier, especially when the expansion tank is awkwardly placed. Pour slowly, pause near the level mark, and avoid creating a large air pocket in the reservoir neck. Do not use food containers that could later be mistaken for drinks.
This video shows the general shape of a coolant service and can help you visualise the drain and refill process before beginning: How to Quick Flush Your Cars Cooling System
Refill with the specified mixture
After the final drain, close the petcock and reconnect any hose or plug removed during flushing. Prepare the final mixture at the required concentration, commonly 50:50 coolant and distilled water, unless the vehicle or product specifies another ratio.
Fill slowly to the correct cold level. Do not fill to the brim unless the handbook instructs you to do so. The expansion space allows the coolant to grow as it warms, while the reservoir marks show the intended cold level.
The first fill is not the end of the job. The system still needs its vehicle-specific bleeding procedure and a level check after circulation. Replacing the cap and driving away immediately is a common DIY error, particularly where an airlock can leave part of the cooling system without proper flow.
Bleeding Air and Checking for a Healthy Refill
An air pocket left after refilling can restrict circulation, create local hot spots and leave the heater blowing cold air while the engine warms. The temperature gauge may also rise without warning. Follow the vehicle's bleeding instructions rather than assuming every cooling system behaves the same way. RAC guidance on checking coolant covers the level checks needed after this work.
Start with the engine completely cold. Fill to the specified mark, then leave the cap off only if the handbook permits it. Run the engine at idle with the heater set to full heat. Watch the level as trapped air escapes, adding the correct premixed coolant carefully if it falls. Keep your face and hands away from the filler neck as the engine warms, and switch it off immediately if the temperature starts to climb.
Some vehicles have bleed screws. Open them only in the sequence and manner specified by the handbook. Small plastic screws can snap or strip if forced, turning a simple service into a repair. Other systems bleed through the expansion tank, but still require the correct idle, warm-up and level-check routine. Use the general method above only where it matches the vehicle's instructions.
What a healthy refill looks like
The gauge should settle at its normal position and stay there. The heater should deliver steady hot air. A few bubbles during bleeding are expected, but continuing bubbles, repeated level loss or a cold cabin heater means air may remain, or another fault may be present.
Inspect hose connections, the radiator, thermostat housing, water pump area and expansion tank for dampness. A sweet smell, coloured deposits or a falling level points towards a leak. Do not keep topping up without finding the cause.
Let the engine cool fully, fit the cap securely and set the level at the cold mark. Check it again after the next drive, once the engine is cold. Stop using the car and arrange professional diagnosis if the gauge rises, the heater stays cold, coolant boils over or a warning light returns.
For routine checks, inspect the level monthly and test coolant strength every autumn before cold weather arrives. A strength tester can show whether the mixture has weakened, but it cannot confirm that the coolant chemistry suits the manufacturer's specification. Chemistry matters as much as freeze protection, particularly where hard water or an incorrect top-up has diluted the system.
Safe Disposal Aftercare and Keeping Your Coolant in Top Condition
Used coolant is hazardous waste. Never pour it down a drain, onto soil or into a watercourse. Store it in sealed, clearly marked containers, then take it to a local authority recycling centre or another facility that accepts automotive fluids. Keep containers upright during transport, and never mix used coolant with oil or other chemicals.
Clean spills immediately with absorbent material. Dispose of the contaminated material responsibly, and keep pets away from open trays or containers. Coolant remains dangerous after it has been drained from the radiator.
After the first drive, let the engine cool fully and check the level. Check again after a week, then return to a monthly inspection. A small drop can occur as trapped air leaves the system, but continuing loss needs investigation. Damp connections, coloured deposits or a sweet smell point towards a leak.
A top-up is suitable when the level is slightly low, the coolant type is known and there are no signs of contamination or leaks. Flush the system when the fluid type is unknown, visibly dirty, contaminated or due for replacement. Older silicate coolant is commonly serviced around 2 years, while many modern long-life products last up to 5 years. Check the vehicle manufacturer's specification rather than relying on colour alone, because the wrong chemistry can damage components.
Keep a small sealed supply of the correct coolant in the car for emergencies. Use distilled or deionised water only as a temporary measure when necessary. A stable level, clean mixture, working heater and steady temperature gauge indicate a sound refill. If the system will not bleed, overheats or repeatedly loses coolant, stop adding fluid and arrange a cooling-system pressure test.
For a stable, spill-resistant work area, use a proper coolant drain pan from GSF Car Parts rather than an improvised household container.
GSF Car Parts supplies coolant, antifreeze, fluid-transfer equipment and workshop consumables for changing engine coolant. Its UK and Ireland stores offer online ordering and Click & Collect. Visit GSF Car Parts to identify the correct product and gather the required parts before starting.