The distributor – including the rotor arm and a distributor cap which covers it – is one of the many parts in the ignition system. So, naturally, you'll experience all kinds of problems when something is wrong with it – in fact, your car may not start at all. To help you get back on the road as quickly as possible, we've compiled this handy guide to distributors and simple step-by-step instructions on replacing them. We'll cover:
What Does a Distributor Do to a Car?
4 Signs of a Faulty Distributor
How Do I Know if I Need a New Distributor?
When to Replace a Distributor Cap
How to Replace a Distributor - 14 Simple Steps
Distributor Know-How
If you’re ready to get your new distributor or distributor parts, just head to our ignition system page and enter your reg or make and model, and we’ll find the part that matches your vehicle exactly.
What Does a Distributor Do to a Car?
The purpose of the distributor is to direct high-tension voltage (also known as the secondary current) from the ignition coil to the spark plugs at the right time and in the right order to create a spark. This ignites the engine, firing up the cylinders and powering the car.
The distributor comprises several components, the most important of which are the rotor arm, ignition points, and a distributor cap with output contacts that connect to the spark plug cables. Multiple contact points are arranged in a ring around the rotor arm, each connecting to a different spark plug. A cable and a spring-loaded carbon brush connect the distributor rotor arm to the ignition coil. This sealed unit is mounted on the distributor shaft, which is connected to – and driven by – the engine camshaft.
When the engine turns the camshaft, the distributor shaft also turns, spinning the rotor arm inside the distributor. As it turns, the metal part of the rotor arm passes very close to the output contacts. A very high voltage (the secondary current) is then delivered from the ignition coil into the distributor rotor arm. Because the voltage is very high, it is strong enough to leap across the small gap between the spinning rotor arm and the output contacts, directing the charge to the appropriate spark plugs. This allows the distributor to deliver the high-voltage current to the right spark plugs at the right time, which keeps the engine cylinders firing in the correct order.
Car manufacturers are moving away from traditional distributor ignition systems these days, and most modern cars are now fitted with electronically controlled systems instead. However, many vehicles produced before the mid-noughties still use distributor ignition systems.
4 Signs of a Faulty Distributor
Just like any other serviceable part, the distributor can wear down over time, and it can also be susceptible to water damage if any moisture seeps inside the cap. If there's a problem, you may notice the following signs of a failing distributor:
Car Won't Start
The culprit could be a faulty distributor if the engine doesn't turn over. When the distributor cap is loose or damaged, the rotor arm may not be able to generate the spark needed to direct voltage to the spark plugs. Without this, the spark plugs can't fire and ignite the engine.
If your engine has died suddenly, remember that there may be any other causes for this: the problem isn't necessarily with the distributor. If you can't find any faults with the distributor, look at our 'Complete Guide to Troubleshooting Car Starting Problems' to determine what may be causing the issue.
Engine Misfiring
If any part of the distributor is faulty or damaged, the ignition timing will be affected, which can cause the engine to misfire. So, you'll want to check the distributor for signs of water damage or wear and tear.
Check Engine Light Comes On
While there may be many reasons for the Check Engine light to come on, one of the possible causes could be a bad distributor. If you own a fault code scanner, you can use this to determine whether the distributor is causing this.
Strange Noises Coming From the Engine Bay
When the distributor rotor and cap are malfunctioning or dirty, the cylinders will try to fire but fail to ignite. This means a surplus of air starts circulating through the engine, resulting in a loud squealing or whistling noise. The engine may also splutter loudly or make tapping and clicking noises.
How Do I Know if I Need a New Distributor?
If you suspect the distributor has developed a fault, you'll want to get under the bonnet and check if it is damaged, worn, or loose. Visually inspect the cap and rotor carefully: the internal and external surfaces should be clean and free from corrosion or rust. The rotor arm, in particular, needs to be in good condition, as the spark may not be able to pass from one terminal to another if it is dirty or damaged. So, check it carefully for any build-up of carbon or pitting.
You should also check that there are no loose parts and that the cap and all cables are tightly secured. If you find a problem, you must replace the affected parts or the entire distributor.
If you think you need a new ignition distributor, just head over to our distributor page, enter your reg or make and model and we’ll do the rest.
When to Replace a Distributor Cap
As a rule of thumb, the distributor should be replaced every 50,000 miles or 5 years, depending on which milestone you reach first. However, service intervals for the distributor cap and other distributor parts can vary, so check the owner's manual or Haynes manual to find out exactly when to replace them. You will also need to replace your distributor cap earlier than the recommended interval if it develops a fault or becomes damaged by water, as this could prevent your car from starting at all.
If your distributor is overdue for a replacement, don't put this job off. The distributor rotor arm is exposed to high voltages every time the engine runs. If they aren't maintained or replaced regularly, it can gradually reduce your vehicle's engine efficiency. So, service your distributor at the recommended intervals and replace it when necessary.
How to Replace a Distributor - 14 Simple Steps
Replacing a distributor cap is an intermediate job that most amateur mechanics with a bit of experience and a solid understanding of the ignition system should be able to carry out.
However, the job's complexity can vary depending on the make and model of your car. So, we recommend checking your car owner's guidebook or reading the relevant section in your Haynes manual. Consult a professional mechanic if the job is beyond what you feel comfortable with.
Before you begin, you will need the following tools, parts and information:
A replacement distributor. This should include the rotor and distributor cap. These must be the correct type for your vehicle – check your handbook for more information, or use our product-finding tool to view the right parts for your car.
Assorted hand tool , including a wrench, screwdriver set, and socket set.
A marker pen for marking the correct position of the rotor and the order of the spark plug cables. Make sure this is a bright colour that stands out against dark materials and won't rub off.
The timing specifications for your vehicle. To correctly install the replacement distributor, you'll need to set the engine's timing once the new part is installed. All cars have unique timing specifications, so find these before you begin. They can typically be found on a
sticker under the bonnet or in the engine compartment. They may also be detailed in the owner's manual. This information is crucial, so if you need help finding the specification, don't attempt to do this job yourself: take your car to a professional.
Now, let's take a look at how to replace a distributor step by step:
Step 1 - Get Set Up
Park your car on an even surface, engage the handbrake, and switch off the engine. Gather everything you'll need for the job (listed above). Ground the battery by removing the negative battery cable.
Step 2 - Locate the Distributor
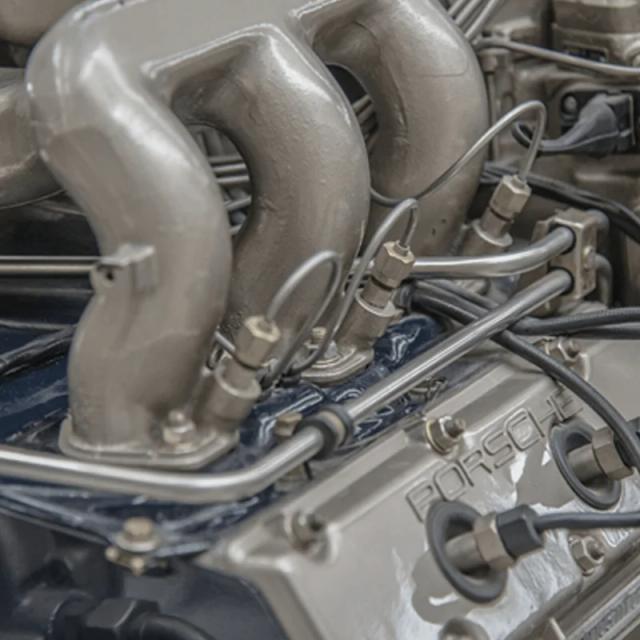
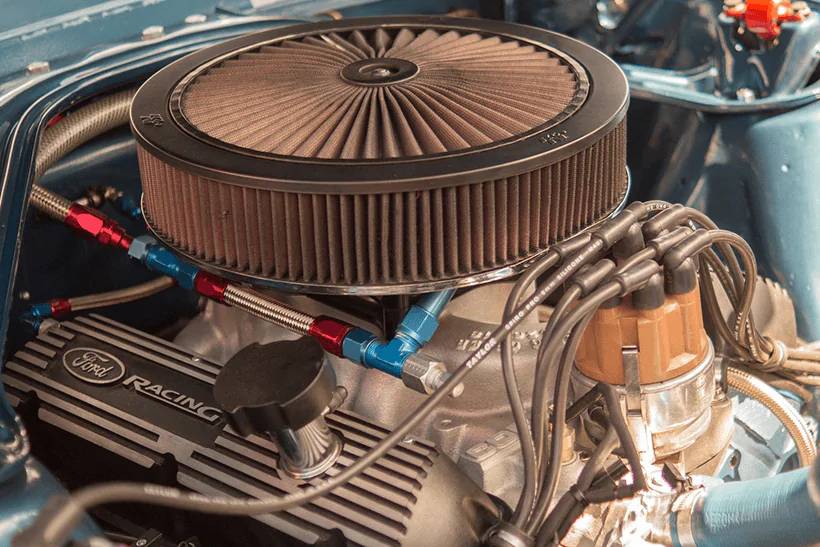
Open the bonnet and locate the distributor. In most cars, it's positioned directly above or to one side of the engine, but check the Haynes manual or owner's guide if you can't see it. The distributor will be cylindrical and should have a plastic cap with several thick cables attached to it – these are connected to the spark plugs. There's also another wire which attaches to the ignition coil.
Step 3 - Remove the Distributor Cap
The cap will generally be held using hinged clips, bolts, or a combination of both. Pop the clips off by hand or with a flat-head screwdriver, and unscrew any bolts with a socket wrench or screwdriver. Once all fastenings are removed, pull the cap away from the body of the distributor.
Step 4 - Mark the Spark Plug Cables and Output Contacts
Take your marker pen and number all the spark plug cables and output contacts to reconnect the cables with the matching outputs on the new cap. This will ensure you avoid accidentally interfering with the firing order.
Step 5 - Mark the Engine Mounting Point
To make it easier to fit the new distributor correctly, mark the point on the outside of the distributor housing where the distributor is mounted to the engine. This will make it easier to accurately line up the new housing with the engine mounting point. The replacement rotor may have an indentation indicating where the mount should line up. Still, it never hurts to be too careful!
Step 6 - Mark the Rotor
Mark the distributor housing to indicate the position of the rotor. This must be as accurate as you can make it, as the car won't start if the new rotor isn't in exactly the same position as the old one.
Step 7 - Remove the Old Distributor
Unscrew any bolts or screws that are holding the distributor in place and carefully lift it away from the distributor shaft.
Step 8 - Mark the New Distributor
Take the replacement distributor and make the same marks on the housing and rotor you made on your old distributor, taking care to put them in precisely the same places. This will ensure the part is in the same position as the old version.
Step 9 - Line up the Rotor and Re-Install the Replacement
Re-install the replacement distributor. The new rotor's position must match the old one's position, or the car won't start. So, ensure the new rotor is lined up with the marking you made earlier. Be careful not to accidentally nudge the rotor out of alignment when placing it onto the distributor shaft.
Step 10 - Secure the Distributor Using the Mark on the Engine Mount
Secure the new distributor in place. To make sure it's in exactly the right position, make sure that the mark on the distributor housing lines up with the mark you made on the engine mounting point. When it's in the correct position, replace any bolts or screws. Don't fully tighten them, however – you need to be able to adjust the position very slightly later on when checking the ignition timing.
Step 11 - Replace All the Cables
Replace each cable using the markings you made earlier as a reference point to ensure that each corresponds to the original connection on the old rotor.
Step 12 - Check your connections
Check the connections between the cables and the distributor are sound. Reconnect the negative battery terminal.
Step 13 - Start the Engine
Try to switch on the engine. If it starts on the first attempt, let it idle for a minute or two to warm up the engine. If the engine doesn't quite turn over, you'll need to re-adjust the rotor arm by turning it very slightly and try again.
Step 14 - Check the Ignition Timing
Once you've successfully started the engine and left it to idle, switch it off again. Place a timing light device on the first spark plug and restart the engine.
Following the timing instructions for your vehicle, adjust the timing by rotating the distributor housing by tiny amounts. When the timing is exactly right, you can finish tightening the bolts or screws that hold the distributor housing in place and lower bonnet.
Distributor Know-How
Well done – you've now successfully replaced a distributor! If it's been a while since you last serviced your ignition, you could also take this opportunity to clean and change the spark plugs.
Here at GSF Car Parts, we have all the necessary parts and tools to get your ignition system back up and running, including a new distributor, ignition cables, rotor arms, ignition points, ignition condensers, and distributor caps for all car makes and models.
Shop Distributors at GSF Car Parts Online and In-Store
All our distributors and distributor parts are from trusted brands in the motoring industry, so you can count on them to be reliable and of excellent quality. Plus, our low-price promise means you can always expect great value, too.
We offer free UK delivery on all online orders over £25, plus 60-day returns*. We also know you want to get your car up and running as soon as possible, which is why we offer a Click and Collect service that allows you to get your new distributor in just an hour.
So, buy distributors and distributor parts from us with confidence today. Or if you're close to one of our 180 store locations across the UK & Ireland, drop by. Our experienced staff will be able to direct you to the correct part for your vehicle.