


Learning how to clay bar a car is one of those secrets that takes your detailing game to the next level. It's surprisingly simple: you glide a special piece of clay over lubricated paint to pull out contaminants that washing alone can't shift. This is how you get that truly glass-smooth finish, perfectly prepping the surface of your body panels and trim for a flawless wax or sealant.
What a Clay Bar Does for Your Car's Paint
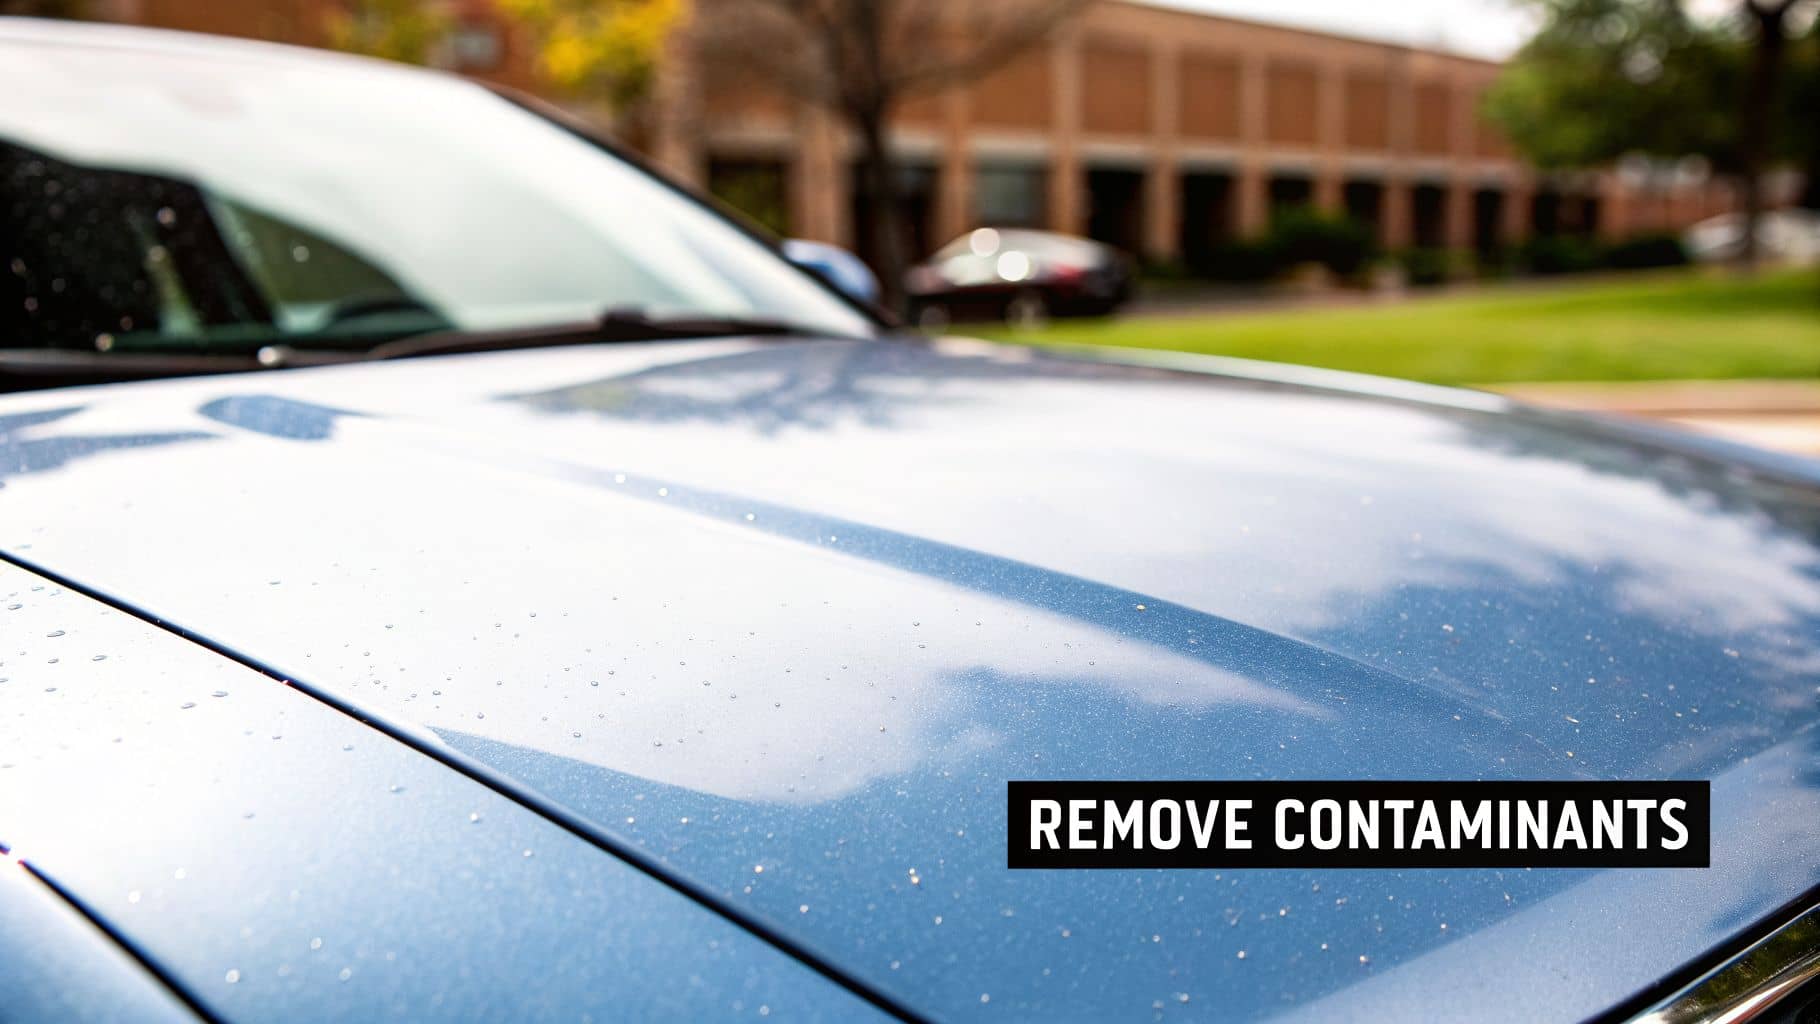
Ever washed and dried your car, stepped back to admire your work, then ran your hand over the paint and felt... grit? It’s a slightly rough, bumpy texture that just won’t budge. That isn't dirt you've missed. It's a layer of bonded contaminants that have literally fused with your car’s clear coat—the outermost protective layer of the paint on your vehicle's body panels.
Think of your paint’s clear coat like skin. Over time, its pores get clogged with all sorts of microscopic particles that a regular wash just skims over.
The Invisible Enemies on Your Paint
These bonded particles come from everywhere and they’re incredibly stubborn. They don't just affect your bonnet and boot; they can damage plastic trim, headlights, and even glass. The main culprits are:
Industrial Fallout: Tiny metal specks from railways and factories that settle on your car, rust, and leave little orange dots in your paint. These are particularly damaging as they can corrode through the clear coat and into the base colour.
Road Salt and Grit: The number one enemy for a car's undercarriage and lower body panels. These corrosive bits get blasted onto your car and embed themselves deep in the clear coat, accelerating rust on any exposed metal parts.
Tree Sap and Tar: Sticky, stubborn spots that bake onto the surface in the sun. If left too long, they can chemically etch the paint, requiring more than just a clay bar to fix.
Brake Dust: Fine metallic dust from your car’s brake pads (and everyone else's) that bonds to the paint, especially around the wheels and lower side panels. This hot, corrosive dust is a primary reason wheels often look pitted and dull.
This is exactly what a clay bar is designed to fix. It's a process we call mechanical decontamination, and it’s all about restoring your paint to its original, smooth state.
A clay bar works almost like a magnet for these embedded nasties. As you glide the lubricated bar over the paint, it gently but firmly grabs and lifts the contaminants out, leaving the surface perfectly smooth without being abrasive.
This is more important than you might think. With UK road salt usage hitting 1.8 million tonnes in a recent winter, our cars are under constant attack. In fact, one study showed that claying can slash clear coat corrosion by up to 55% just by removing those embedded salt particles.
Why Smoothness Is More Than Just a Feeling
Getting your paint perfectly smooth isn't just for show; it's fundamental to protecting the integrity of your car's bodywork. When the surface is rough and contaminated, any wax, sealant, or ceramic coating you apply can't bond properly. Instead of sticking to the paint, it just sits on top of all those gritty peaks.
The result? Your expensive protective layer won't last as long, and the shine will be dull and flat. By claying the surface first, you create a pristine, clean foundation. This lets your wax or sealant bond directly to the paintwork, giving you the best possible gloss, water-beading, and long-lasting protection.
You can learn about the whole process from start to finish in our guide to paint decontamination.
Getting Your Clay Bar Kit Together
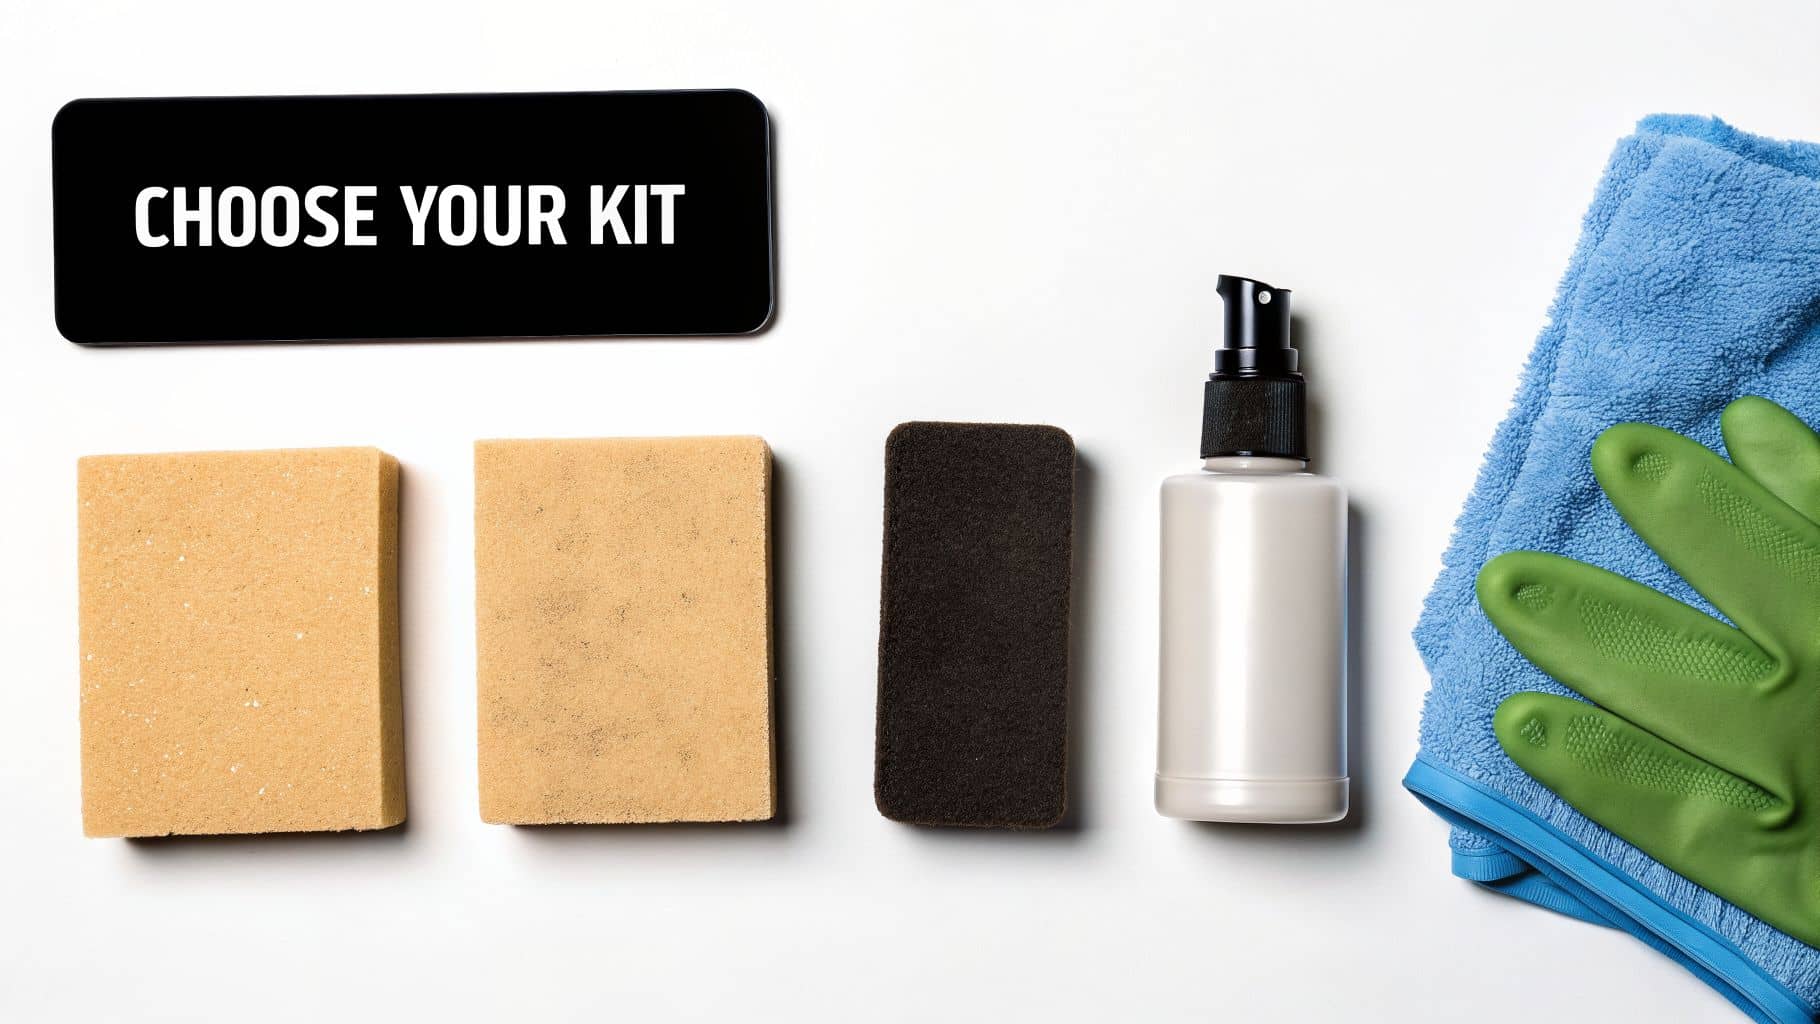
Before you can get that showroom-smooth finish, you need the right gear. Don't just grab the first kit you see; getting the best results is all about having the correct tools for the job. A well-chosen set of supplies will make the process quicker, safer for your paint, and a whole lot more satisfying.
Choosing the Right Clay Bar
The clay bar itself is your most important purchase, and they aren't all the same. They generally come in three different "grades" of aggressiveness, each for a different level of paint contamination.
Fine-Grade Clay: This is your go-to for most cars. It’s gentle enough that you won't accidentally mar the paint, but it's more than capable of lifting off everyday grime like light tree sap, road film, and brake dust. For routine detailing, this is the one.
Medium-Grade Clay: Step up to this only if your paint feels particularly rough and a fine clay isn't cutting it. It's better for stubborn tar spots or light paint overspray but comes with a higher risk of leaving light marks that you'll need to polish out.
Heavy-Grade Clay: Leave this one to the pros. It's designed for severe contamination and will almost certainly require a machine polisher to correct the marring it leaves behind.
Honestly, for most UK car owners, a good fine-grade clay bar is all you'll ever need. It hits the sweet spot between effective cleaning and paint safety.
Clay Lube: The Non-Negotiable Essential
If you take one thing away from this guide, let it be this: never, ever use a clay bar without a proper lubricant. Trying to clay a dry or poorly-lubed surface is the fastest way to inflict a web of scratches and swirls onto your paintwork.
The whole point of a clay lube is to create a super-slick cushion for the bar to glide on. This lets it grab the contaminants without grinding them into your clear coat.
Don’t be tempted to use plain water or car shampoo. Water simply isn’t slick enough, and the detergents in many soaps can actually cause the clay to break down and fall apart in your hands. A dedicated lubricant is a must.
A good-quality quick detailer spray often doubles up perfectly as a clay lube. You can learn more about how versatile this product is in our guide to using a quick detailer.
Your Essential Clay Bar Toolkit
Putting together the right kit makes the whole job easier. Here’s a breakdown of what you'll need and why it's important.
Tool/Product | Purpose & Key Feature | Expert Recommendation |
Clay Bar | Physically pulls embedded contaminants from the paint. | Start with a
fine-grade
bar. It's the safest option for DIY use and handles most situations. |
Clay Lubricant | Creates a slick surface to prevent scratching as you clay. | A dedicated clay lube or a high-quality quick detailer spray is essential. |
Microfibre Towels | For wiping away lubricant residue and for buffing later on. | You'll need at least 2-3 plush, clean towels. Don't risk re-introducing scratches with old rags. |
Iron & Fallout Remover | Chemically dissolves iron particles (brake dust, rail dust). | A great "pre-treatment" to use after washing. It dissolves iron from brake components before it can pit your wheels and paint. |
Polish & Wax/Sealant | Restores gloss and protects the now-bare paint. | Claying strips everything off, so you must apply a new layer of protection to body panels and trim afterwards. |
With these items in your detailing arsenal, you’re all set to tackle the job properly and get that glass-smooth finish you’re after.
Preparing Your Car for Decontamination
Thinking about touching your paint with a clay bar before giving it a proper wash? Don't. It's the number one mistake that turns a simple detailing job into a paint-correction nightmare.
Claying a dirty car is a recipe for disaster. You’re essentially taking all that loose grit and road grime and grinding it straight into your clear coat. Good prep work isn't just a recommendation; it's the foundation for achieving that flawless, glass-smooth finish you're after.
First Things First: A Proper Wash and Dry
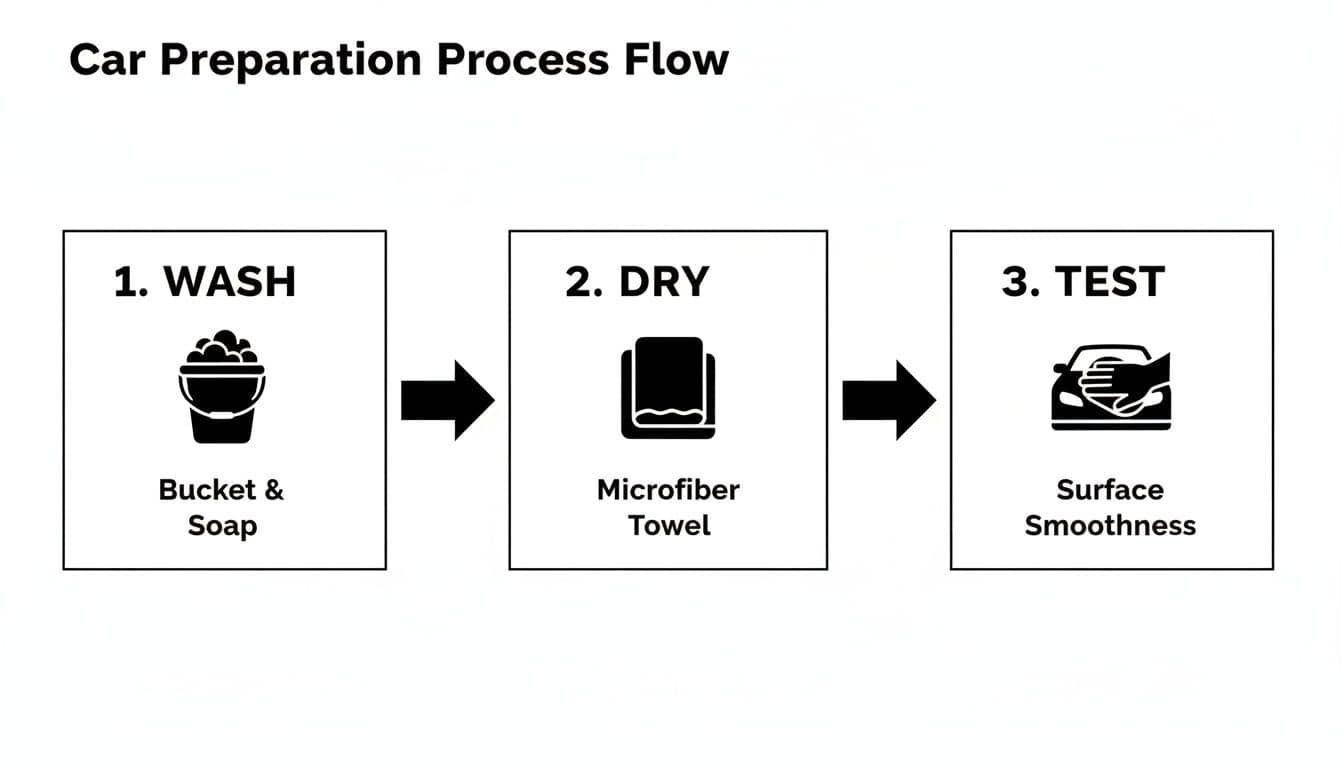
It all starts with a thorough wash. This isn't your average quick rinse-and-shine; you need a clean canvas before the real work begins. For this, professionals swear by the two-bucket wash method, and for good reason—it’s the best way to avoid adding swirl marks.
One bucket is for your car shampoo, and the other is just for rinsing your wash mitt. You wash a panel, rinse the dirt off the mitt in the plain water bucket, and then go back to your soapy water. This simple step stops you from dragging dirt all over the paintwork you've just cleaned.
Before you even think about claying, follow these steps:
Rinse thoroughly: Use a hose or pressure washer to blast off the top layer of loose dirt and dust. Pay extra attention to wheel arches and lower sills, where heavy grit collects.
Work from top to bottom: Always start with the roof and work your way down. This keeps dirty suds from running over the panels you’ve already cleaned.
Dry safely: When it's time to dry, grab a couple of plush microfibre towels. Gently pat the surface dry. Forget old bath towels or chamois leathers—they can be surprisingly abrasive and leave fine scratches behind.
This wash gets rid of the obvious dirt, but what about the invisible, bonded contaminants that make your paint feel rough? That’s where the next step comes in.
The Pro-Level Diagnostic Tool in Your Kitchen
So, how do you even know if your car needs claying? There’s an incredibly simple and effective trick that uses something you've definitely got in a kitchen drawer: a thin sandwich bag.
With your car clean and dry, pop your hand inside the plastic bag and gently run your fingertips over the paint. Try it on the bonnet, the lower doors, and the boot lid. The thin plastic acts like a stethoscope for your sense of touch, amplifying every tiny bump and gritty particle.
This simple test is a game-changer. Most people are shocked when they feel the sandpaper-like texture for the first time. That’s the layer of bonded contaminants—like tree sap, road tar, and industrial fallout—that only a clay bar can safely lift away.
Why Your Environment Is Crucial
The final piece of the prep puzzle is where you're working. Trying to clay bar a car in direct sunlight or when the body panels are hot is a massive headache waiting to happen.
Heat makes your clay lubricant evaporate almost instantly. Without that slick barrier, the clay will grab and drag across the paint instead of gliding smoothly. A grabby clay bar is a dangerous one; it can easily leave behind marring or light scratches that you’ll then have to polish out.
Always work in the shade or inside a garage, and make sure the paint is cool to the touch before you start. This gives the lubricant time to do its job, protecting your paint and letting the clay work its magic.
Proper visibility is also key, and contaminated bodywork and glass are a serious safety hazard. The RAC once reported that over 1.2 million UK vehicles were involved in accidents linked to poor visibility, often caused by the same environmental fallout that clay barring removes. You can learn more about how detailing impacts safety with insights from Car and Driver.
Mastering the Clay Bar Technique
Alright, your car is clean and ready. Now for the magic. This is where you transform a gritty, tired surface into one that’s as smooth as glass. Getting the technique right is everything—not just for that showroom finish, but to make sure you don’t accidentally scratch the paint you’re working so hard to perfect. This is a careful, satisfying process, not a speed trial.
Before any clay touches your paintwork, a thorough wash, dry, and surface check are non-negotiable.
Prepping Your Clay Bar
First things first, you don’t need the whole block of clay. Break off a piece—about a quarter of the bar is usually perfect.
If it feels a bit stiff out of the packet, just warm it up in your hands for a minute. Once it’s soft and pliable, knead it and flatten it into a small disc, roughly the size of your palm. This gives you a great surface area to work with and makes it easy to hold.
The Claying Motion and Using Lubricant
Now, pick a small section of your car to focus on, no bigger than 2x2 feet (about 60x60 cm). Working panel by panel—like a single door or half the bonnet—is the secret to getting this right. It stops your lubricant from drying out and lets you focus on what you’re feeling.
Liberally spray that section with your clay lubricant. And I mean liberally. Don't be shy here; the panel should be soaking wet. This slick layer is the only thing protecting your paint from the clay, so more is always better.
Lay the flat clay disc onto the wet panel. Using very light pressure, start gliding it back and forth in straight, overlapping lines. Go across the section horizontally first, then vertically. Steer clear of circular motions—they’re a classic way to create swirl marks if a larger piece of grit gets trapped.
The single biggest mistake people make is using too much pressure. Let the clay and the lubricant do all the hard work. Your job is just to guide it. You should barely be pressing down at all.
Listen and feel as you glide the clay. At first, you’ll probably feel a bit of resistance and hear a slight gritty sound. That’s the clay doing its job, grabbing and shearing off all those bonded contaminants from the clear coat. It’s a good sign!
After a few passes, that sound will disappear, and the clay will glide silently and smoothly. That’s your cue that the area is clean. Grab a fresh microfibre towel, wipe away the lubricant residue, and have a feel. The paint should be unbelievably smooth.
Fold, Knead, and Repeat
Once you’ve finished a section, take a look at your clay patty. You’ll almost certainly see it’s discoloured, with tiny dark specks stuck to it. That’s all the gunk—brake dust, rail dust, and tar—it just pulled off your paintwork.
You definitely don't want to rub that dirt back onto the next panel. To keep things clean and safe, just fold the clay disc in half, trapping the contamination inside. Knead it a little until you have a clean surface again, and flatten it back into a disc.
Now you’re ready for the next section. Just continue this simple process panel by panel:
Spray your lubricant on a new 2x2 foot area.
Glide the clay in straight, overlapping lines.
Wipe the area clean with a microfibre.
Check your clay, fold it, and move on.
The Golden Rule: If You Drop It, Bin It
This is the most important rule of claying, and there are absolutely no exceptions. If you drop your clay bar on the ground, you must throw it away.
The second a clay bar hits the floor, it picks up sharp grit, sand, and tiny bits of stone. You can’t rinse them all off—it’s impossible. If you try to use it again, you’re basically sanding your car's clear coat, and you’ll create deep, ugly scratches.
I know it feels wasteful, but the cost of a new piece of clay is nothing compared to the price of a machine polish or a panel respray. To play it safe, a lot of pros cut their clay bar in half before they even start. That way, if you drop one piece, you’ve got a clean backup ready to go without ruining your day.
Protecting Your Freshly Clayed Paint
How to Wax Your Car: Step-by-Step DIY Tutorial for a Professional Shine
So you've done the hard part. The clay bar has worked its magic, and your car's paint is now unbelievably smooth and free from all those gritty contaminants. But here's the thing: it's also completely naked. This next step is all about dressing the exterior components for the road and locking in that perfect finish.
First things first, let's get rid of any leftover clay lubricant. A quick, gentle rinse with a hose will do the trick. Or, you can grab a fresh microfibre towel and a spritz of quick detailer spray to wipe down each panel. You want a perfectly clean, dry surface before you move on.
The Perfect Canvas for Shine and Protection
With all the bonded grime gone, you can finally see the true state of your paintwork. Claying has a knack for revealing any faint swirls or marks that were hiding under the dirt. This is your moment to really inspect the clear coat.
If you spot any light marring or dullness, now is the perfect time for a light-finishing polish. A quick polish will seriously boost the gloss and clarity, giving you a flawless base for your protective layer. If your paint looks spot-on after claying, though, you can jump straight to the final step.
Think of it like this: claying is the deep clean that prepares the surface, polishing is the refinement that perfects it, and waxing or sealing is the armour that protects it. Skipping the last step leaves your pristine paintwork vulnerable to the elements from the moment you finish.
This isn't just about looks. A recent DVSA report flagged that many MOT failures stem from surface corrosion on structural components that begins with embedded contaminants—exactly what clay barring is designed to fix. In fact, tests by detailing pros show a 78% improvement in paint smoothness after a proper clay treatment, a massive factor in preventing long-term damage. You can read more about how a smooth surface benefits your vehicle at AutoTrader.com.
Choosing Your Paintwork’s Bodyguard
Your freshly cleaned paint is crying out for protection. Applying a wax, sealant, or coating isn't just a good idea—it's essential to finishing the job properly. Here’s a rundown of your main options, each with its own pros.
Carnauba Wax: The old-school favourite for a deep, wet-look shine. Carnauba is perfect if you love that rich gloss, especially on darker cars. It won't last as long (think 1-3 months), but the visual payoff is incredible.
Synthetic Paint Sealant: This is your go-to for durability. These man-made formulas create a tough, slick barrier that can last 4-6 months or more, providing great protection from UV rays, acid rain, and road grime.
Ceramic Coating: The king of modern paint protection. A ceramic coating creates a semi-permanent, hardened glass-like layer on your paint. It offers unbeatable resistance to scratches and chemicals, with durability measured in years, not months. This is the ultimate protection for all exterior parts, from the bonnet to the bumpers.
For most people, a quality synthetic sealant hits that sweet spot between easy application and long-lasting results. You can check out some great options in our guide to choosing the right paint sealant for your car.
Whichever you choose, just follow the instructions on the bottle. Always work on cool panels in the shade, apply a thin, even coat, and buff off the residue with a clean microfibre. This final layer not only armours your car but also makes future washes a breeze, as dirt will have a tough time sticking. Your hard work is now sealed in for months to come.
Common Clay Bar Questions (and Pro Answers)
Getting the technique down is one thing, but it’s the little details that really make the difference between a good finish and a flawless one. Let's run through some of the questions that always come up when you're getting to grips with claying. Getting these right will help you avoid common pitfalls and get that showroom shine.
How Often Should I Clay Bar My Car?
For most cars on UK roads, giving it a good clay once or twice a year is a solid routine. A session in spring is perfect for shifting all the salt and road grime that has accumulated on the lower body panels and around the wheel arches from winter. An autumn clay prepares your paint for the bad weather by getting rid of tree sap and bug residue.
But there’s no hard and fast rule here. If your car lives outside, especially under trees or near an industrial area, you’ll probably find it needs doing more often.
The best way to know for sure is the 'plastic bag test' we talked about earlier. After a thorough wash and dry, pop a thin plastic sandwich bag over your hand and gently run it across the paintwork. If you feel any grittiness or texture, it's time to break out the clay.
What Happens If I Drop the Clay Bar?
This one has a very simple, non-negotiable answer: if you drop it, bin it.
A clay bar is designed to be just sticky enough to grab tiny particles from your paint. The second it hits the floor, it will pick up every bit of grit, dust, and sharp debris it touches. It instantly becomes a block of high-grit sandpaper.
Don't even think about rinsing it and carrying on. Using a dropped clay bar will guarantee you inflict deep, painful-to-look-at scratches and swirls across your paint. It’s an expensive mistake to make for the sake of saving a few quid on a new bar. A great tip is to cut your clay into two or three smaller pieces before you start. That way, if you drop a piece, you’ve got a clean one ready to go.
Can I Use Soapy Water Instead of Clay Lube?
We really wouldn't recommend it. It might feel like a clever way to save a bit of money, but using car shampoo or washing-up liquid as a lubricant is asking for trouble.
First, the detergents in many soaps can actually break down the clay, causing it to fall apart and lose its effectiveness.
More importantly, soapy water just isn't slick enough. Proper clay lubricant is specifically formulated to create a super-slippery barrier between the clay and your paint, allowing it to glide over the surface. This is critical for protecting the clear coat on your body panels. Without that level of lubrication, the clay will drag and stick, massively increasing the risk of marring the finish. A bottle of clay lube is a small investment that protects the value and look of your car.
Does Clay Barring Remove Scratches?
No, claying has absolutely no effect on scratches, swirl marks, or water spots that have etched into the paint. This is a huge misconception. A clay bar contains no abrasives—its only job is to lift and remove bonded contaminants sitting on top of your paint's surface. Think of it as a deep cleaning tool, not a repair tool.
In fact, by making the surface perfectly clean and smooth, claying can sometimes make you notice fine scratches more, simply because they aren't being hidden by a thin layer of grime anymore.
If removing scratches is your goal, you need to move on to the next stage: polishing. A polish uses very fine abrasives to carefully level the clear coat, smoothing out those imperfections. Claying is simply the essential prep work that makes polishing safe and effective.
At GSF Car Parts, we make it easy for DIY enthusiasts to get the right parts for the job, from detailing supplies to essential engine components. With our online number plate tool and over 190 stores for free Click & Collect, you can get everything you need to keep your car looking and running its best. Explore our full range of car care products today. Find what you need at https://www.gsfcarparts.com.





