


Before you grab the nearest cloth and start scrubbing, it’s vital to understand the materials you're working with. To get rid of water spots for good, you first need to identify their severity on your car's exterior surfaces. Simple surface marks on your paint, glass, or plastic trim can often be tackled with a dedicated spray. But for stubborn, etched-in spots, you'll need to step it up with a clay bar or even polish to properly restore the multi-layered finish of your vehicle's bodywork.
Why Water Spots Are More Than Just an Eyesore
Let's get one thing straight: those annoying rings and smudges are more than just dried water. They're mineral deposits, mostly calcium and magnesium, that get left behind when moisture evaporates off your paint. That’s why a standard car wash often does nothing – the minerals have already started to bond with your car's clear coat, the outermost protective layer of the paint system.
This is a massive headache in hard water areas. Every time a sprinkler hits your car or rain mixed with road grime dries on the bonnet, it leaves these deposits behind. If you ignore them, they don’t just look bad; they can cause permanent damage to your paint, compromising the very thing designed to protect the metal body panels from rust and corrosion.
Diagnosing the Damage on Your Paintwork
Not all water spots are the same. Getting this part right is the most important step. If you use a method that’s too aggressive, you could damage your paint; too weak, and you’re just wasting your time.
Water spots generally fall into three categories:
Type I Spots: These are the fresh ones. They look like faint, dusty outlines on top of the paint. If you run your finger over them, they’ll feel smooth, just like the rest of your paintwork.
Type II Spots: These have been sitting for a while and have started to lightly etch into the clear coat. You might feel a very slight texture, and they won’t budge with a normal wash.
Type III Spots: This is the worst-case scenario. The minerals have eaten into the clear coat, creating bonded stains or even tiny "craters." They're easy to see, feel rough to the touch, and can seriously compromise the paint underneath if left for too long.
This quick reference table should help you figure out what you're up against.
Water Spot Severity and Initial Actions
Spot Type | Appearance | Feel to Touch | Recommended First Action |
Type I | Faint, dusty outlines or smudges. | Smooth, no different from surrounding paint. | Quick detailer spray or a simple vinegar/water mix. |
Type II | Clearly defined rings, more noticeable. | Slightly gritty or a very subtle texture. | Dedicated water spot remover or a clay bar treatment. |
Type III | Deep, crater-like marks or cloudy stains. | Rough, indented, or feels like a bonded contaminant. | Machine polishing with a compound; professional help may be needed. |
Remember, this is just a starting point. Always begin with the least aggressive method before moving on to something stronger.
This decision tree helps visualise how a simple spot can quickly become a serious problem.
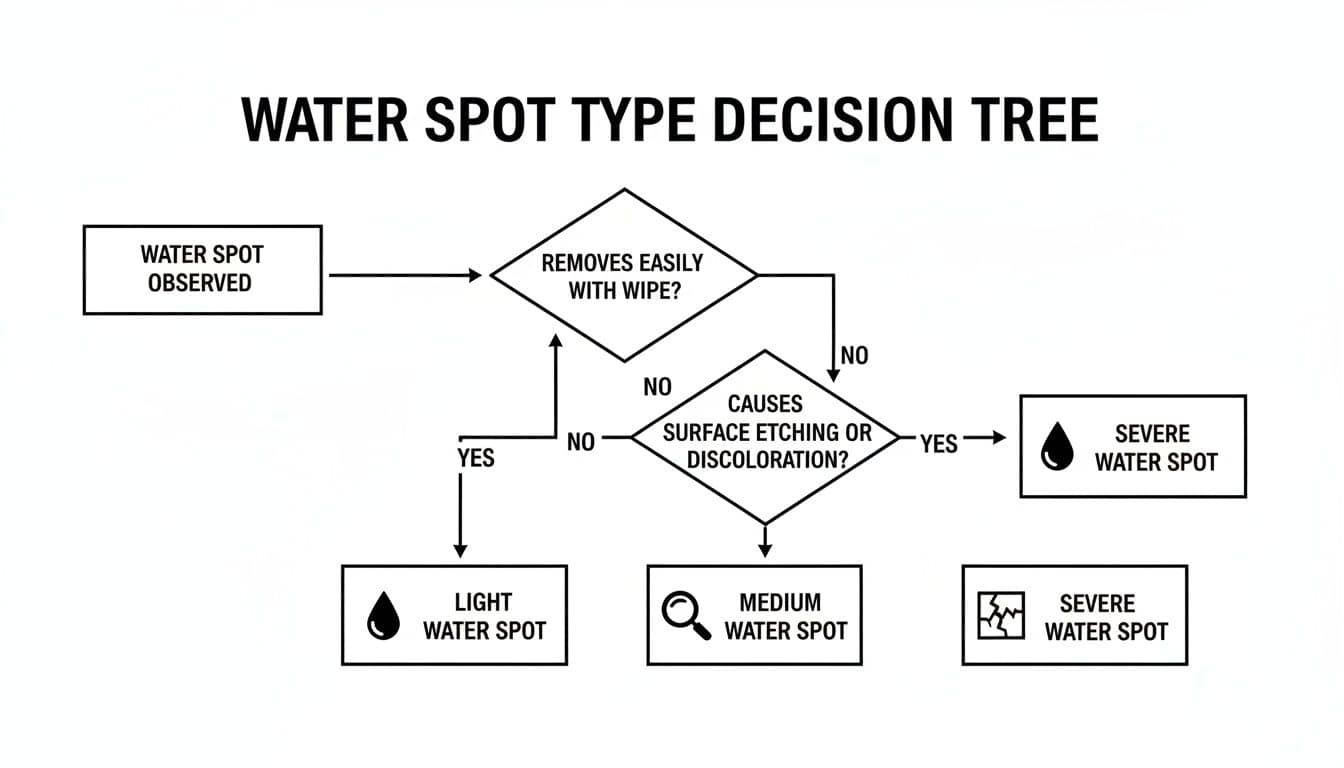
The key takeaway is that the longer a water spot sits on your paint, the more it bonds with and eats away at the protective clear coat. Time is not on your side here.
Why a Standard Wash Is Not Enough
Now you know the science behind water spots, it's clear why a quick jet wash or a bucket of soapy water rarely works. Effective removal means breaking down that specific mineral bond without harming the delicate layers of your car’s finish—which typically consist of a primer, a base colour coat, and a final clear coat.
The golden rule for any detailing job, especially water spots, is to always start with the least aggressive method. You can always step up your attack, but you can’t undo damage from going in too heavy from the start. For a complete look at the process, check out our guide on exterior paint decontamination.
Building Your Water Spot Removal Toolkit
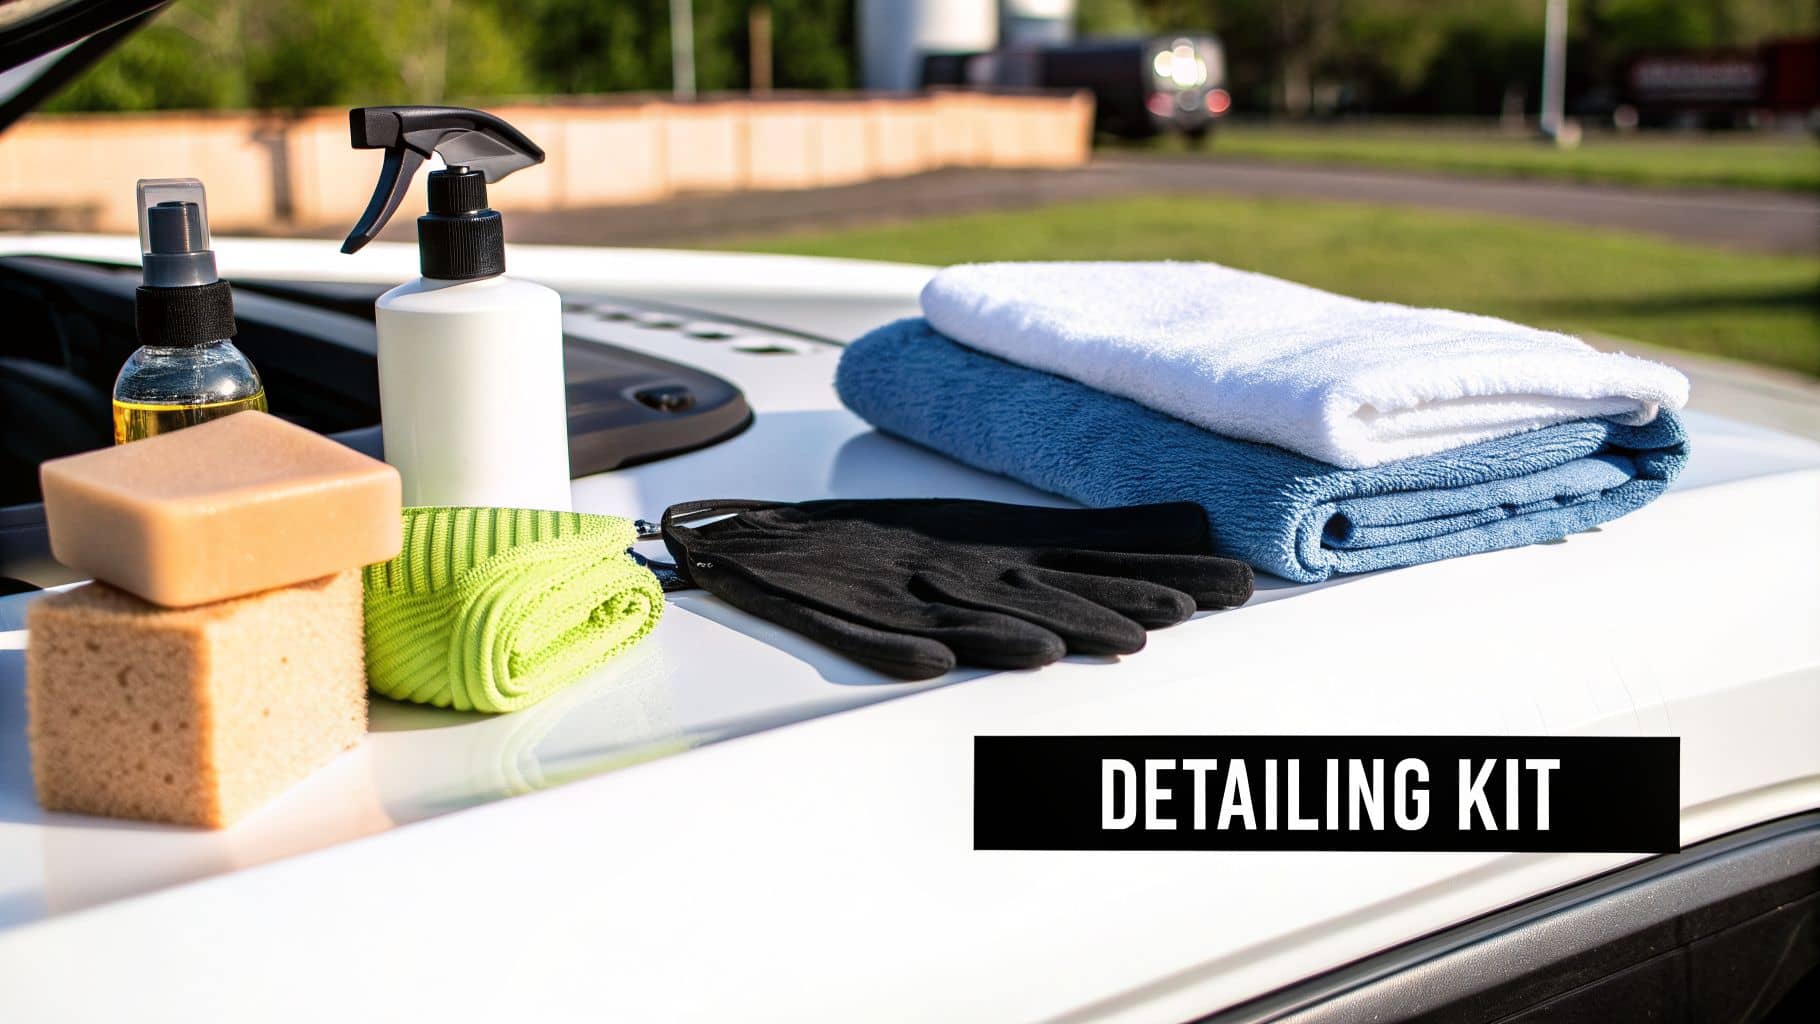
Tackling water spots isn't about scrubbing harder; it’s about working smarter with the right tools. If you just grab any old cloth or cleaner, you risk turning a small cosmetic issue into a costly paint repair. Assembling a dedicated toolkit from the start ensures you can safely remove those annoying spots without damaging your car’s delicate clear coat.
Your first line of defence is getting the basics right. A good wash is always the starting point, but when you're dealing with stubborn mineral deposits, your choice of drying towel and wash gear becomes absolutely critical.
Foundational Gear for Every Job
Let's start with the essentials. These are the workhorses of any good detailing kit, and skimping on quality here will only cause you headaches later.
High-Quality Microfibre Towels: Not all microfibres are the same. You’ll want plush, high-GSM (grams per square metre) towels for drying and softer, shorter-pile ones for wiping off products. Using old, worn-out cloths is a surefire way to introduce fine scratches and swirls, completely undoing all your hard work.
Wash Mitts and Buckets: A soft lambswool or microfibre mitt is far kinder to your paint than a traditional sponge. The two-bucket method—one for your soapy water, one for rinsing the mitt—is a simple but incredibly effective way to stop dirt and grit from being dragged back across your paintwork.
Think of these as the fundamental parts of your cleaning process. Just like you'd trust quality DriveTec brake pads for reliable stopping power, you need reliable tools to protect your paint. Investing in these basics is the first step towards a professional-looking finish. You can find a great range of quality microfibre towels for car care to make sure you're properly equipped.
Specialised Products for Spot Removal
With the basics sorted, it's time to bring in the specialists—products designed specifically to tackle mineral deposits. Grabbing a household cleaner from under the sink is a huge gamble; you need automotive-specific formulas that are pH-balanced to dissolve minerals without stripping waxes or harming your paint.
You'll generally find two types of water spot removers on the market:
Spray-Based Removers: These are perfect for fresh, light (Type I) spots on flat surfaces like the bonnet, roof, or boot lid. They spread easily, but their liquid consistency means they can run off quickly on vertical panels like doors.
Gel-Based Removers: For doors, wings, and other vertical surfaces, a gel is your best friend. It clings right where you apply it, giving the active ingredients more "dwell time" to work their magic and break down stubborn minerals without dripping everywhere.
Here in the UK, we're constantly battling hard water spots from tap water and rain. Knowing which product to grab for which situation makes all the difference. For a masterclass in tackling the really tough stuff, this in-depth video on removing stubborn spots is well worth a watch.
Stepping Up to Decontamination and Polishing
What happens when those spray or gel removers just aren't cutting it? For more embedded (Type II) spots, you need to step up your game to decontamination and light paint correction.
A clay bar isn’t abrasive in the way sandpaper is. It works by grabbing and lifting contaminants that are bonded to the paint's surface, leaving it feeling glass-smooth. Just remember to always use it with a proper clay lubricant to avoid scratching the finish.
After claying, you might find the surface is clean but still looks a bit dull where the spots used to be. This is where polishes come into play.
All-In-One (AIO) Polishes: These are fantastic for beginners or anyone short on time. They combine a light abrasive to remove minor flaws, fillers to hide deeper marks, and a protective sealant, all in one bottle. It’s a brilliant option for tackling light etching quickly.
Dedicated Compounds and Polishes: For more serious etching, you'll need a more targeted approach. A cutting compound has the muscle to level the clear coat, while a finishing polish refines that surface back to a flawless, high-gloss shine. Using a compound from a trusted brand like Mann Filter, known for its precise engineering in filtration, is a reminder that quality-engineered products deliver superior results without being overly aggressive on your car's components.
Starting With Gentle and Effective Solutions
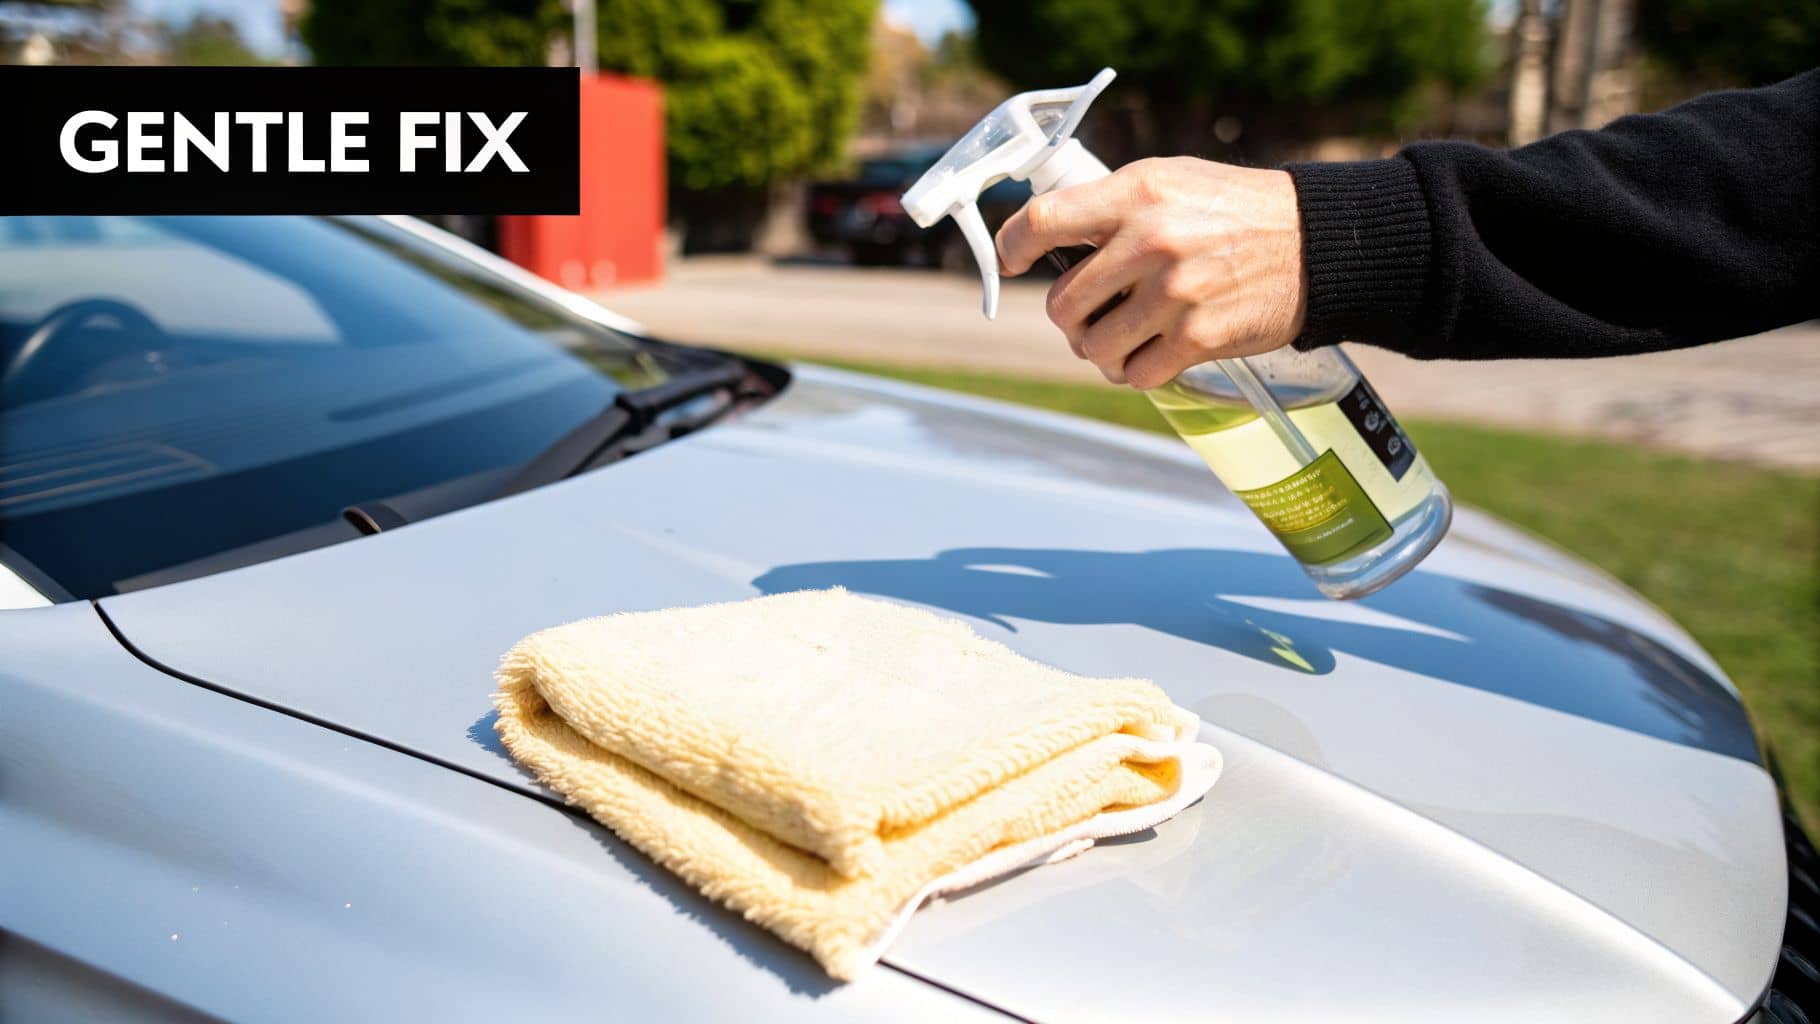
When it comes to paint care, my first rule is simple: always start with the least aggressive method. Reaching for heavy compounds to fix a few fresh water spots is like using a sledgehammer to hang a picture—total overkill that could easily cause more harm than good. For those new, light mineral deposits (Type I), a gentle touch is usually all you need, and it’s much kinder to your car’s clear coat.
Before you even think about grabbing a product, get your setup right. Always, and I mean always, work on a panel that’s cool to the touch and out of direct sun. Body panels, especially darker coloured ones, can get extremely hot, acting like a frying pan. If you spray any cleaner onto a hot surface, it’ll flash-dry almost instantly, leaving behind its own residue and potentially baking into the finish. A shady spot or the garage is your best bet.
The DIY Approach With Distilled White Vinegar
For those fresh, dusty-looking rings left by a sprinkler or a bit of rain, a simple home-brew solution often works wonders. Distilled white vinegar is mildly acidic, which is perfect for breaking down the alkaline minerals like calcium and magnesium that cause the spots in the first place. The trick is to get the dilution and technique right to keep your paint safe.
You’ll want a 50/50 mix of distilled white vinegar and distilled water in a spray bottle. It’s vital you use distilled water here. Tap water is full of minerals—the very thing you're trying to remove!
Here’s how to do it safely:
Spray & Dwell: Lightly mist the solution onto a small, affected section. No need to flood the panel.
Let It Work: Leave it to sit for about 30–60 seconds. This gives the vinegar time to dissolve the mineral deposits.
Wipe Gently: Take a clean, plush microfibre towel and gently wipe the area. Let the chemicals do the work, not your elbow grease.
Neutralise: This is a crucial step. Rinse the area thoroughly with plain water or a good quality quick detailer spray. This neutralises the acid and makes sure nothing is left behind to harm your paintwork.
Pro Tip: Always test your mix on a small, hidden spot first—think a low-down bit of the door sill. Make sure it plays nice with your paint before you go spraying it all over your bonnet.
Using a Dedicated Water Spot Remover
While the vinegar trick is a classic for a reason, a professionally formulated water spot remover is almost always the safer and more efficient option. These products are purpose-built, with a balanced pH and specific chemical agents that target mineral deposits without the guesswork of a household acid.
Most are incredibly straightforward to use. You just spray it on, let it dwell for the recommended time (check the label, but it’s usually about a minute), and wipe away the residue with a fresh microfibre. They’re much quicker than vinegar, especially on spots that have been sitting for a day or two.
Water hardness varies massively across the country, which has a huge impact on how badly our cars get spotted up. While there isn't a lot of UK-specific data published on it, experience tells us that hard water areas see much more aggressive spotting. For a deeper dive into the science, this guide from Turtle Wax Pro has some great insights.
Critical Techniques to Avoid Scratches
How you wipe is just as important as what you’re wiping with. A poor technique is the number one cause of swirl marks and fine scratches in your clear coat. Whether you’re using vinegar or a dedicated product, follow these rules to protect that finish.
Use Multiple Towels: Have at least two clean microfibres on hand. One for the initial wipe-down, and a second, bone-dry one for the final buff.
Fold Your Towel: Fold your towel into quarters. This gives you eight fresh, clean surfaces to work with. As soon as one side is dirty or saturated, flip to a new one.
Wipe in Straight Lines: Never wipe in frantic circles. Use gentle, overlapping, straight-line motions. If you do happen to create any micro-scratches, they'll be far less visible than circular swirls.
Let the Product Do the Work: Your job is simply to lift away the dissolved minerals, not scrub them off. If a spot is being stubborn, reapply the product and give it more time to work instead of adding more pressure.
If you’ve tried these gentle methods and the spots are still there, it’s a good sign they’ve started to etch into the paint. That means it’s time to move on to a slightly more advanced approach.
So, you’ve tried the gentle stuff, and those stubborn water spots are still staring back at you. If chemical cleaners haven’t shifted them, it’s a sure sign you’re past simple surface deposits. You're likely dealing with Type II spots, which have started to bite into your car's clear coat. It's time to step up your game.
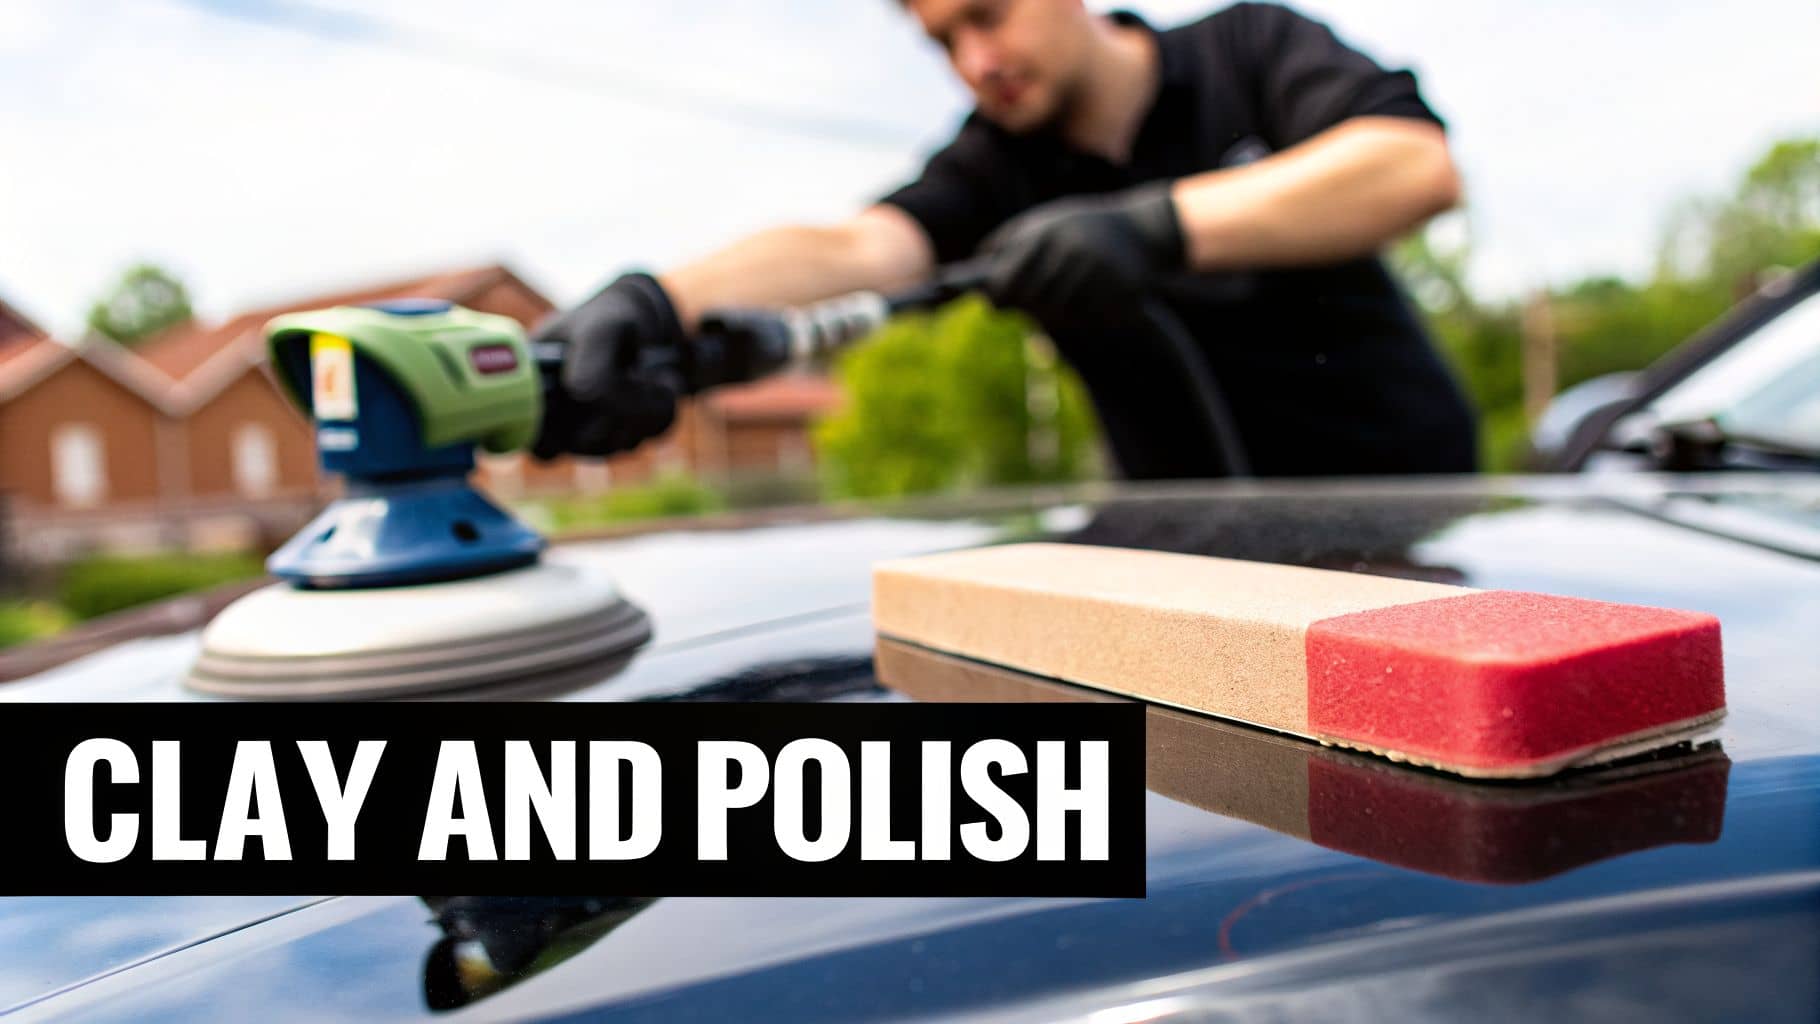
This means moving on to a two-stage attack: decontamination with a clay bar, followed by paint correction with a good polish. This is how the pros tackle water spots that have really dug their heels in. We're shifting from simply cleaning the paint to physically correcting it, aiming to get that perfectly smooth, high-gloss finish back.
Decontaminating With a Clay Bar
Think of a clay bar as a specialised magnet for grime. It’s an engineered resin compound that glides over your paintwork, grabbing and pulling off bonded contaminants that a normal wash just leaves behind. This includes industrial fallout, brake dust that has bonded to the panels, and tree sap, but most importantly for us, those stubborn mineral rings left by dried water.
Using one is pretty straightforward, but there’s one golden rule: lubrication is non-negotiable. If you try to use it on dry paint, you’ll just drag grit across the surface and cause scratches. A proper clay lubricant or a quality quick detailer spray creates a slick barrier, letting the clay do its job safely.
Here’s the process in a nutshell:
Knead a small piece of clay until it’s soft and flat, about the size of a fifty-pence piece.
Generously spray your lubricant onto a small working area, no bigger than 2-foot by 2-foot.
Gently glide the clay over the lubricated section in straight, overlapping lines. At first, you’ll feel and even hear it picking up contaminants. Keep going until it glides silently and smoothly.
Once an area feels like glass, wipe away the leftover lubricant with a clean microfibre towel.
Keep an eye on your clay. When it looks dirty, just fold it over and knead it to reveal a fresh, clean surface.
A clay bar only removes what's on the paint. If the spot is still visible after claying, it means the damage is etched into the paint itself. Now, it's time for polish.
Correcting Etching With Polish
After claying, your paint is squeaky clean, but you might still see the faint outline of the water spots. This is the etching, and it’s where polishing comes in. Polishing uses a very fine abrasive to carefully remove a microscopic layer of the clear coat. This levels out the surface, effectively erasing the shallow craters left by the water spots.
The trick is to match the right polish with the right applicator pad. Go too aggressive and you risk damaging the paint; too gentle and you won't get the job done. For most water spot etching, you'll be deciding between a light finishing polish and a medium cutting compound.
You can get a better feel for the different types by exploring a good selection of car polishes and compounds to see what fits your needs.
Hand Polishing vs Machine Polishing
Hand Polishing is a great starting point, especially for smaller, isolated spots. It’s less aggressive, which gives you more control and makes it harder to get things wrong.
Tools: A foam or microfibre hand applicator pad.
Technique: Squeeze a few pea-sized drops of polish onto the pad. Work it into the paint over a small area using firm, overlapping circular motions. After a minute or two, the polish will start to go clear. Buff off the residue with a fresh microfibre towel and check your results.
Machine Polishing with a Dual Action (DA) polisher is a game-changer for larger areas or deeper etching. It’s far more efficient and delivers better results. A DA polisher oscillates randomly, which makes it much safer for beginners than an aggressive, old-school rotary polisher that spins on a fixed axis and can quickly burn through paint.
Tools: A DA polisher and a few foam pads (a light polishing pad and a medium cutting pad are a good start).
Technique: Always start with the least aggressive combo—a light polish on a soft pad. If that doesn't shift the spot after a couple of passes, then you can step up to a medium-cut compound on a firmer pad. Stick to small sections and use overlapping passes in a cross-hatch pattern (up-and-down, then left-to-right).
By carefully claying and then polishing, you can knock out even the most stubborn etched water spots and bring that deep, glossy shine back to your car's finish.
Knowing When to Call in the Pros
There’s nothing quite like the satisfaction of restoring your car’s finish with your own two hands. But part of being a smart DIYer is knowing when to put the tools down. Sometimes, throwing more products and effort at a stubborn spot can cause more harm than good.
Let's be clear: calling a professional detailer isn’t admitting defeat. It’s a savvy move to protect your car’s value and avoid a simple fix spiralling into a very expensive mistake.
Some paint problems just aren't meant for the home garage. We're talking about the most severe water spot damage—etching that has literally eaten through your car's protective clear coat and started to damage the colour underneath. At this point, you're well past what polishing can fix. Pushing on with aggressive compounds could burn through the paint entirely, turning a cosmetic problem into a trip to the body shop for a respray.
How to Spot Damage That’s Too Deep
So, how do you know you've reached the point of no return for a DIY repair? There are a few tell-tale signs that the damage is deeper than you can safely handle with a polisher and some compound.
The biggest clue is a spot that just won’t budge, even after a careful pass with a medium-cut polish. If you’ve worked the area with a dual-action polisher and the ghostly outline of the spot is still staring back at you, you’re almost certainly dealing with Type III etching. Think of these as tiny craters where minerals have permanently scarred the paint’s surface.
The Fingernail Test: After polishing and wiping the area clean, gently run your fingernail over the spot. If you can feel a distinct dip or indentation, the clear coat is compromised.
Check Your Angles: Get a good light source and look at the mark from different angles. Deep etching often looks like a dull, cloudy patch that seems to be under the surface, not just sitting on top of it.
A Stain That Won’t Go: If a discoloured stain remains after claying and polishing, it’s a sign the minerals have seeped into the paint itself. No amount of surface polishing will shift that.
The Dangers of ‘Going Pro’ in Your Garage
When you hit a wall like this, it's tempting to jump online and search for more aggressive solutions. This rabbit hole often leads to wet sanding, a highly specialised technique used by professional detailers and body shops to fix severe paint defects. This is not a weekend project.
Wet sanding involves using ultra-fine grit abrasive paper and water to carefully shave down the clear coat and level the surface. In the right hands, it’s magic. In the wrong hands, it’s an express ticket to a full panel respray.
Trying to wet sand without proper training and, crucially, a paint depth gauge to measure how much clear coat you have to work with, is a massive gamble. Professionals spend years perfecting this skill. For a DIYer, the risk of burning through your paint is far too high.
When Is a Professional the Smartest Choice?
Calling in a pro isn't just for worst-case scenarios. It can also be the most efficient option if you're short on time, don't own the right tools, or just aren't confident tackling moderate etching yourself. A good detailer has an arsenal of pads, compounds, and machines to dial in the perfect approach for your car's specific paint.
Think about calling a professional when:
You've tried a decent polish and the spots aren't shifting.
The water spots are all over the car, making a DIY job a mammoth task.
You can feel the etching with your fingernail.
Your car is a classic, high-value, or has delicate custom paintwork.
Ultimately, knowing your limits is what protects your investment. A pro can diagnose the damage, tell you if it can be safely corrected, and save you from a very frustrating and potentially costly DIY disaster.
Your Proactive Plan to Prevent Future Water Spots
How To Detail Like A Professional
You’ve just spent hours getting those annoying water spots off your paintwork. The last thing you want is to see them reappear after the next wash or surprise downpour. Trust me, the real secret to a spotless finish isn't just about removal—it's about prevention.
Forget being stuck in a reactive cycle of clean, spot, repeat. A proactive mindset is what separates a good finish from a great one. It all boils down to two simple goals: make it tough for water to stick around, and get rid of any that does before it has a chance to dry.
Armour Up: Choose the Right Paint Protection
Honestly, the most effective defence against water spots is a quality layer of paint protection. These products create a slick, sacrificial barrier over your clear coat. Better yet, the best ones are hydrophobic, which is just a fancy way of saying they make water bead up and roll right off the surface, taking any nasty minerals with it.
Carnauba Waxes: The old-school classic for a reason. Waxes give you a deep, warm glow and good water beading. The trade-off? Durability. You’ll be lucky to get 4-6 weeks out of an application, so it’s a commitment.
Synthetic Paint Sealants: Think of these as a modern upgrade to wax. These man-made polymers last much longer, typically 4-6 months, and deliver a sharp, glassy shine. Their excellent hydrophobic properties make them a fantastic, practical choice for a daily driver.
Ceramic Coatings: This is the top-tier solution for long-term paint defence. A professionally applied ceramic coating forms a hard, semi-permanent shell over your paint that can last for years. The surface becomes so slick that water struggles to hang on, drastically cutting down the risk of spots forming in the first place.
A quick word on ceramic coatings: while they're incredibly resistant, they aren't bulletproof. Water with a really high mineral content can still leave deposits if left to dry. The huge advantage is that those spots are sitting on the coating, not your paint, making them a hundred times easier and safer to clean off.
Master the Art of Drying
Even with the best coating in the world, some water droplets will always hang around after a wash or a rainstorm. This is where your technique becomes crucial. Drying your car properly before the sun does it for you is a non-negotiable step in the fight against water spots.
Your goal is to lift water off the paint, not just smear it around. Please, step away from the old bath towel or that crusty chamois. They're notorious for dragging grit across the surface and leaving behind fine scratches and swirl marks.
The Right Tools for a Spotless Finish
Choosing the right drying gear makes a world of difference. It not only speeds up the job but, more importantly, keeps your paint safe.
Here's what the professionals (and I) rely on:
Plush Microfibre Drying Towels: Look for big, fluffy towels with a high GSM (grams per square metre) rating. These things are thirsty—they can soak up an incredible amount of water, letting you dry whole panels in one go. Use a gentle "blotting" motion or lay the towel flat and carefully drag it across the panel. No aggressive rubbing needed.
Dedicated Car Dryers/Blowers: For a truly touch-free dry, nothing beats a car blower. These machines shoot a powerful jet of filtered, warm air that forces water out of all the tricky spots—think panel gaps, around badges, wing mirrors, and light clusters. This stops those annoying drips that always seem to run out and ruin your hard work minutes after you've finished.
Ultimately, preventing water spots comes down to good habits. Combine a durable layer of protection with a careful drying routine, and you’ll have a powerful two-part defence. That’s the real secret to keeping that flawless, just-detailed shine for the long haul.
Frequently Asked Questions
When you're trying to get rid of stubborn water spots, a few common questions always seem to pop up. Let's tackle some of the ones we hear most often, covering everything from quick fixes to long-term protection.
Can I Just Use Vinegar or Household Sprays to Remove Water Spots?
I’d strongly advise against reaching for the kitchen cupboard on this one. While you might hear about using vinegar, its acidity can be a real gamble on your car's clear coat. The same goes for general-purpose household cleaners, which are often too alkaline.
Using the wrong product can easily cause more harm than good, potentially dulling or even damaging the finish. It’s always best to stick with products designed for cars, like a dedicated water spot remover or a quality pH-neutral car shampoo. They’re formulated to be tough on minerals but gentle on your paintwork.
Will a Ceramic Coating Make My Car Immune to Water Spots?
A ceramic coating is a fantastic layer of defence. Its hydrophobic properties are brilliant at making water bead up and roll right off, but it's not completely bulletproof. If you let water with a high mineral content—like hard tap water or rain in some areas—dry on the surface, it can still leave those chalky deposits behind.
The real win with a ceramic coating is how much easier it makes clean-up. The spots are sitting on top of the tough, glassy coating, not your delicate paint. This means they are far less likely to etch the surface, turning a major headache into a minor wipe-down.
How often Should I Clay Bar My Car?
For a daily driver here in the UK, getting the clay bar out once or twice a year is usually plenty to keep your paintwork feeling glassy smooth. This process lifts off bonded contaminants that washing alone can't shift, including those mineral deposits from old water spots, tree sap, and road grime.
Not sure if it’s time? Try the "plastic bag test"—it’s a classic for a reason.
First, give the car a thorough wash and dry.
Pop your hand inside a thin sandwich bag.
Gently glide your fingertips over the paint.
If it feels gritty or bumpy, that’s your signal. Those are bonded contaminants, and it's time for the clay bar to work its magic and restore that perfectly smooth finish.
At GSF Car Parts, we stock everything you need to tackle water spots and protect your vehicle's finish. From professional-grade polishes and compounds to high-quality microfibre towels and paint sealants, we make it simple and affordable to keep your car looking its best. Find the right parts and accessories for your vehicle today. Shop Car Cleaning & Detailing Supplies at GSF Car Parts





