


A fresh stone chip always seems to show up at the worst time. You wash the car, stand back, and there it is on the bonnet edge or door shut line, catching the light every time you look at it.
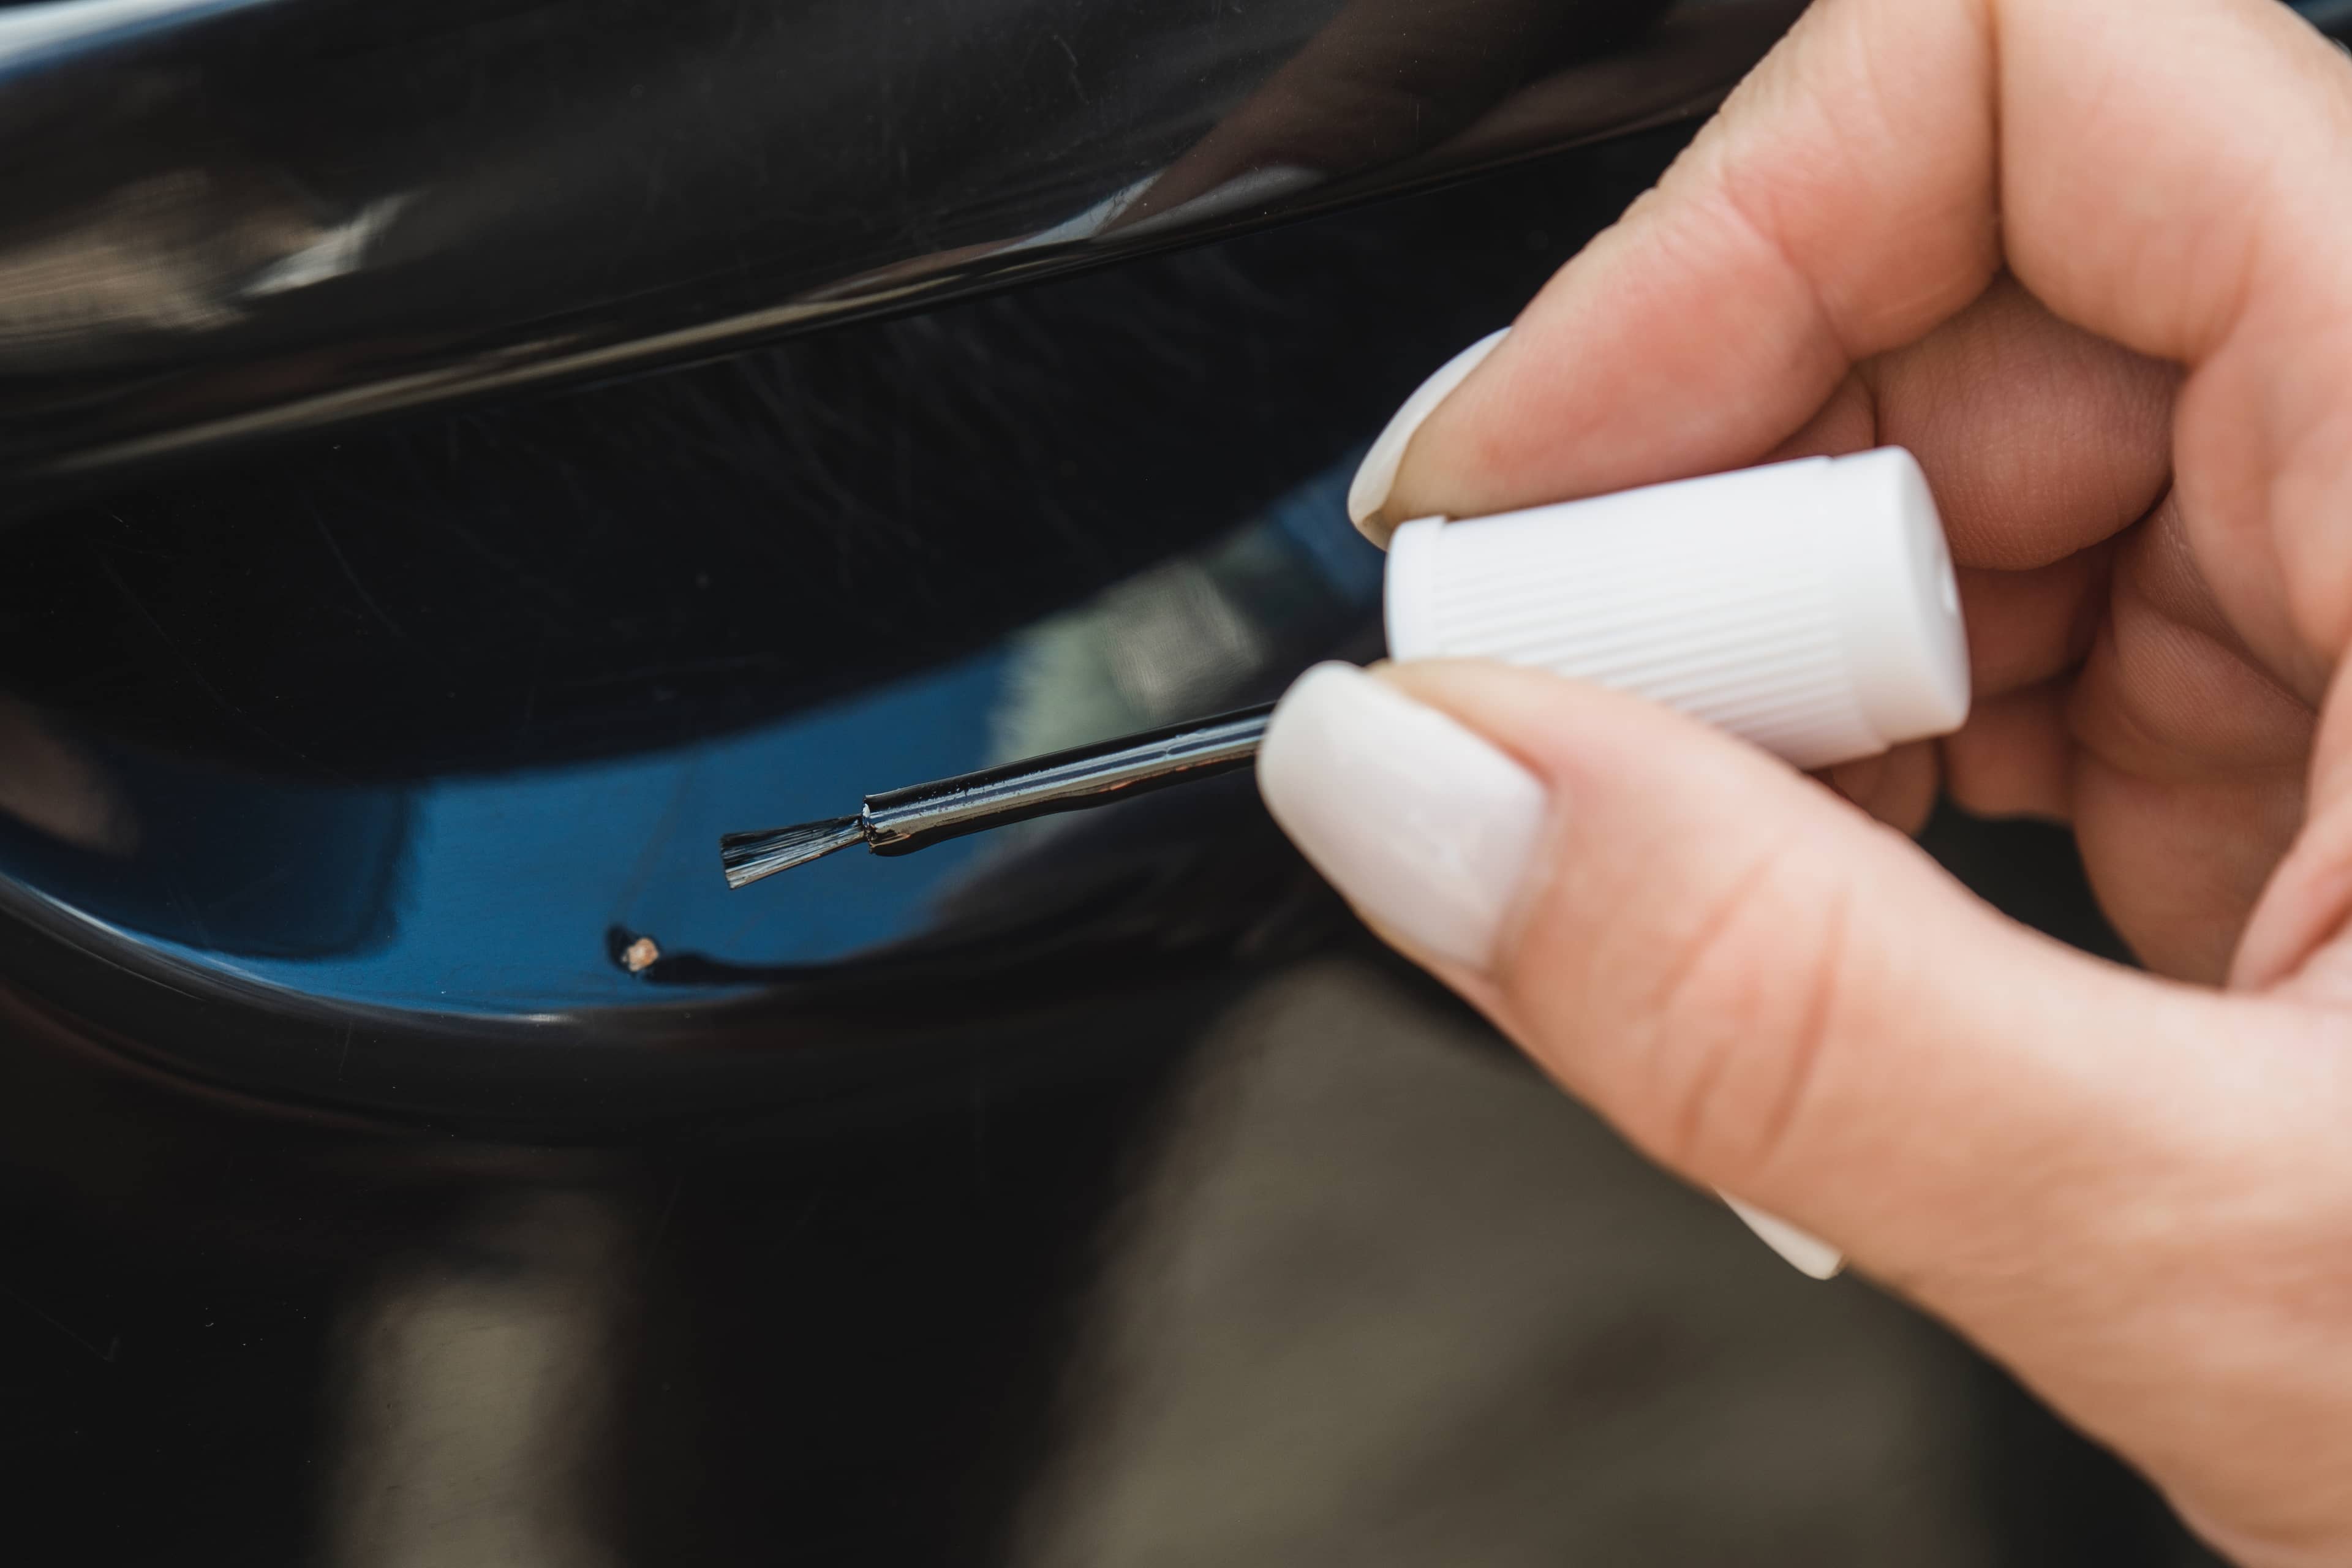
The good news is that minor chips and small scratches are usually well within driveway-DIY territory if you use the right materials and keep your technique tidy. The bad news is that touch-up paint only looks good when the boring bits are done properly first. Most poor repairs aren't ruined by the paint itself. They're ruined by rushed prep, the wrong product choice, or trying to fill the damage in one blob.
Your Guide to Fixing Paint Chips and Scratches
If you're searching for how to apply car touch up paint, you probably want one of two things. Either you want the mark gone as neatly as possible, or you want to seal exposed paint before it turns into a rust problem.
Both are sensible goals. A small chip doesn't need the drama of a full respray, but it does need a method. The right order matters, the right consumables matter, and patience matters more than generally expected.
For a simple repair, you'll usually need touch-up colour, a way to clean and degrease the area, fine abrasive, and often primer and clear coat depending on how deep the damage is. If you need the basics in one place, take a look at car paint repair products and touch-up options at GSF Car Parts.
Practical rule: A neat small repair beats an ambitious messy one every time.
The aim isn't always a concours finish. On a daily driver, a well-done touch-up should stop the eye being drawn to the damage and protect the panel from getting worse. Done properly, it blends in. Done badly, it leaves a raised blob that's more obvious than the original chip.
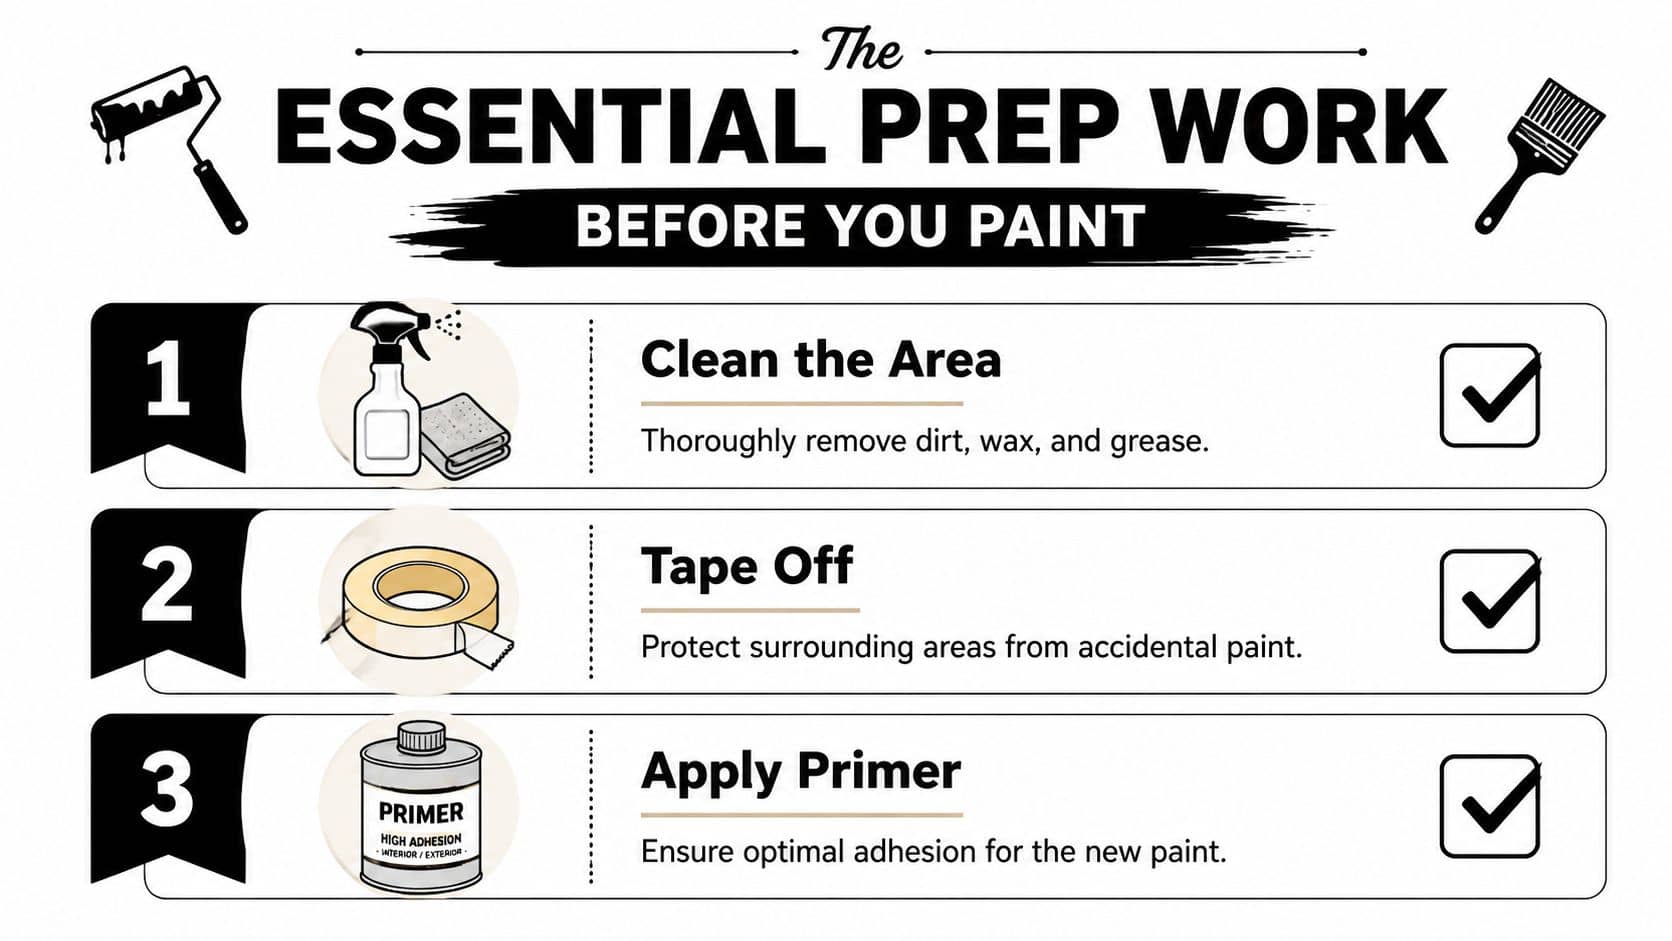
The Essential Prep Work Before You Paint
A touch-up job usually goes wrong before any colour hits the panel. The usual causes are simple enough. Wrong paint, wrong materials, or damage that was never a good DIY candidate in the first place.
Read the damage properly
Start by working out what you are repairing. A mark that has only scuffed the clear coat often needs polishing, not paint. A stone chip through the colour coat needs sealing and rebuilding. A scrape with bent metal, cracked paint, or active rust is a different job again, and usually not one to sort properly with a small bottle and a brush.
That decision matters because touch-up paint is designed for local damage. It works well on chips and fine scratches when the surrounding paint is stable. It does not straighten dents, stop spreading corrosion under loose paint, or hide a large repair area without leaving the panel patchy.
A quick driveway check helps:
Tiny chip or pinhead mark: usually suitable for a paint pen or fine brush
Bare metal or bare primer showing: use the repair to protect the panel as well as improve the look
Flaking edges, bubbling, rust staining, or dented metal: expect a short-term cosmetic result at best, and consider Bodyshop repair instead
Get the exact colour code first
Colour match is where a tidy repair is won or lost. Paint bought by shade name alone can look close in the bottle and still dry noticeably wrong on the car, especially on silvers, pearls, greys, and anything metallic. The factory paint code gets you into the right paint family from the start.
On many cars, the code is on a sticker inside the driver's door shut, under the bonnet, or in the handbook. Check it before ordering anything. If the car has had previous paintwork, even the correct code may not blend perfectly, which is another reason to keep DIY repairs small and local.
Buy by code, not by guess. A tiny mismatch stands out more after clear coat goes on and the repair catches the light.
Gather the right kit
Get your materials together before you start, and choose them to suit the depth of the damage. That sounds basic, but it saves a lot of bad repairs. If you stop halfway through to hunt for sandpaper or a cloth, the area gets contaminated, the paint starts drying in the bottle, and the job becomes harder than it needs to be.
What you need, and why:
Touch-up paint matched to the factory colour code. Use a pen for very fine marks or a bottle and brush for chips that need more controlled filling.
Primer for bare metal or bare plastic. Primer gives the topcoat something stable to bond to and helps prevent corrosion where the chip has gone through the paint layers.
Clear coat if the finish requires it. This restores gloss and adds protection, especially on modern basecoat and clear coat finishes.
Fine abrasive paper or sanding sticks. The grit matters. Fine grades help level edges without cutting deep scratches that show through the repair.
Panel wipe or degreaser. Wax, traffic film, and polish residue are enough to make fresh paint separate or lift.
Small applicators. A fine brush, micro applicator, or pen tip gives better control than trying to dab paint on with whatever is nearby.
Masking tape, lint-free cloths, and good light. Clean edges and clear visibility make a neater repair.
For the cleaning stage, use proper paint decontamination products for exterior prep rather than household cleaners. They are made to strip residue without leaving anything behind that interferes with paint adhesion.
If you are repairing a chip that has gone right through to bare metal, skipping primer usually leads to one of two problems. The paint sinks into the damage and leaves a crater, or it fails to bond well and chips back out. If the mark is only in the top layer, primer may be unnecessary and can make the repair sit proud. That is the trade-off. Use enough material to rebuild the damaged layer, but no more than the repair needs.
Preparing the Surface for a Flawless Finish
You can spot a rushed touch-up from a few feet away. The colour might be right, but the repair still looks obvious because the edge of the chip was left sharp, the surface still had residue on it, or the paint was applied over unstable material. Good prep is what stops that.
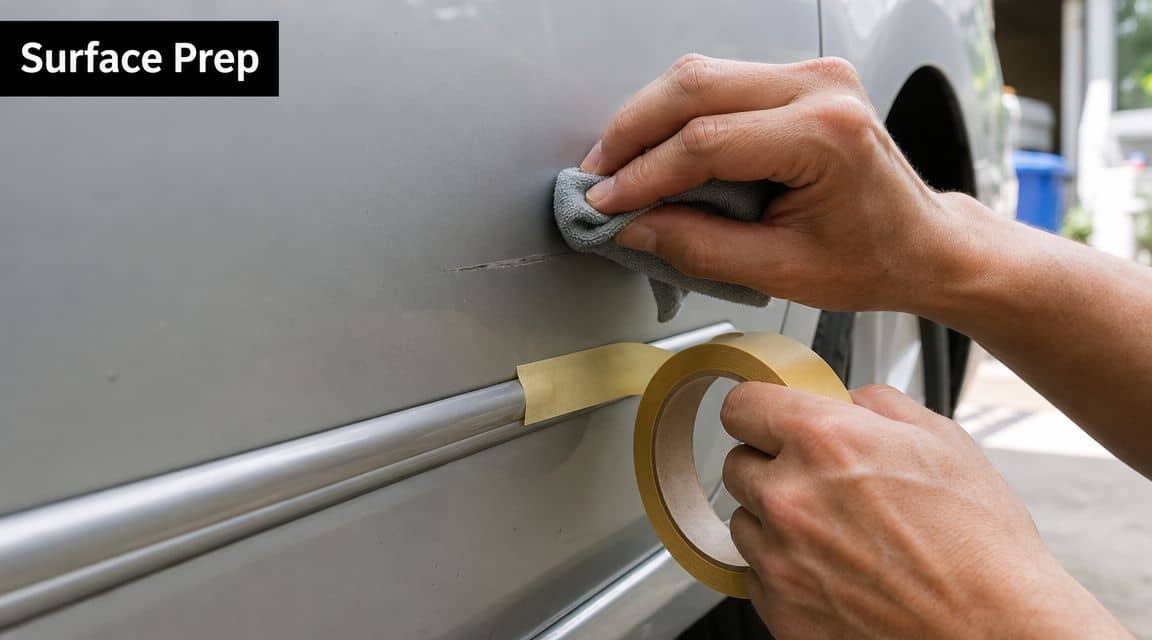
Clean properly, not casually
Start with a washed panel, then clean the defect itself so there is no wax, traffic film, polish, or greasy residue left in or around the damage. If you need the right products for that stage, paint decontamination products for exterior prep are made for the job and won't leave behind anything that interferes with adhesion.
Small repairs are unforgiving. A tiny bit of contamination is enough to make fresh paint pull away from the centre of the chip, wrinkle at the edge, or dry with little craters in it. If the panel is clean but the chip itself is still dirty, the repair can fail from the middle out.
Feather the edge
Once the area is clean, inspect the damage closely under good light. If the edge of the chip feels sharp with a fingernail, or you can see loose lacquer around it, smooth that lip with fine abrasive paper, usually in the 600 to 1,000 grit range.
The grit matters. Coarser paper cuts fast, but it also leaves scratches that can show through the repair, especially on metallic and darker colours. Finer paper removes less material and gives you control, which is what you want on a small driveway repair.
Use a few light passes and stop to check your progress. The aim is to soften the hard rim around the defect so the new paint can settle into it cleanly. If you keep sanding, you turn a stone chip into a larger repaint.
Prime bare metal when needed
If you can see bare steel or exposed metal, primer needs to go on before colour. That layer seals the metal from moisture and gives the topcoat something stable to bond to. Skip it and the repair often sinks, chips back out, or starts corroding under the paint, especially on a car that lives outside or sees wet roads and winter salt.
If the damage is only in the top layer, primer can do more harm than good because it adds unnecessary thickness. That is the trade-off. Use primer to rebuild a missing layer, not as a default step on every mark.
For chips that are already rusting, clean back to solid material before you prime. If the rust has spread under the surrounding paint, or the area is larger than a small localised chip, that is usually the point where a Bodyshop repair makes more sense than touch-up paint.
Mask if the area is awkward
Tape helps near trim, panel edges, badges, and sharp body lines where a slip of the hand is easy. Keep the tape back from the actual defect so you still have room to work neatly.
Masking is there to protect the surrounding finish, not to form a hard paint boundary. If tape sits right up against the chip, the repair can dry with a visible ridge that makes the whole job stand out more than the original damage.
Applying Touch Up Paint Like a Pro
Impatience frequently arises after preparatory work. Once cleaned, sanded, and primed, the temptation is to fill the damage in a single application. This precise mistake creates a raised, glossy lump.
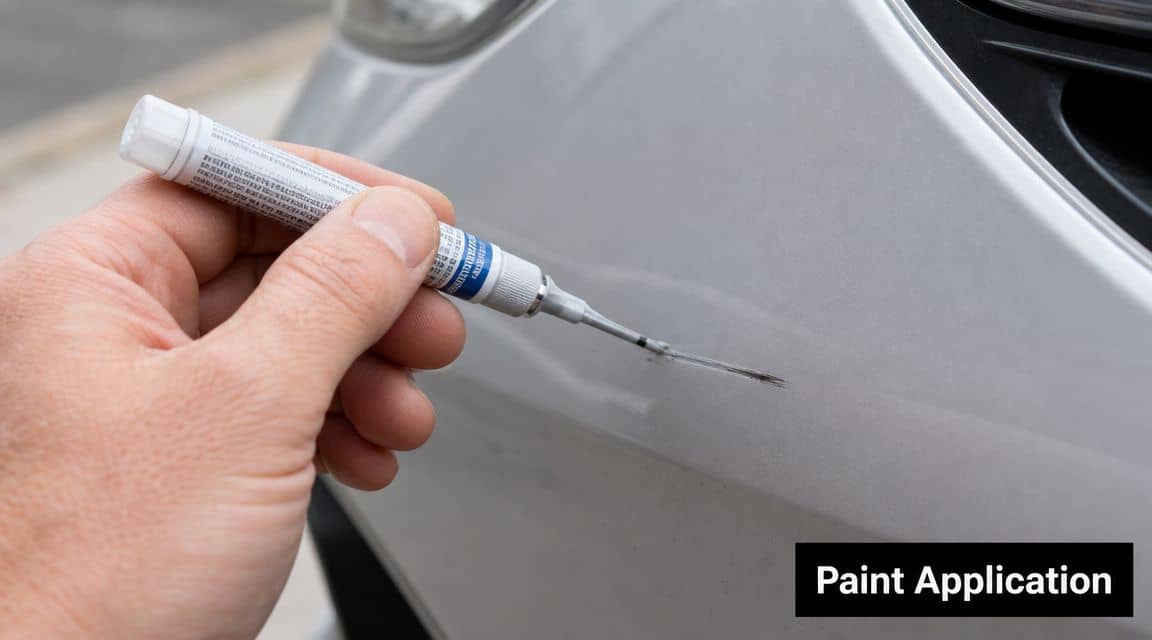
Pick the right applicator
For a very small stone chip, a paint pen can work well because it limits how much product comes out. For a slightly wider scratch or awkward-shaped chip, a fine-tip brush often gives better control.
The best tool is the one that lets you place a tiny amount of paint exactly where it's needed. If the applicator floods the area, it's the wrong one for that repair.
Build the repair in thin stages
Verified guidance from O'Reilly's touch-up paint method advises building touch-up paint in very thin layers, not one heavy coat, using a fine-tip brush or pen and letting it dry for about 10 to 15 minutes before adding another layer. That approach prevents clumping and runs and lets you build the repair until it sits flush with the surrounding finish.
That's the key technique. You are filling the damage gradually, not painting over the panel.
A good way to think about it is this:
Too little paint in one pass is fine. You can add more.
Too much paint in one pass is where problems start.
A slight pause between layers gives the previous coat time to settle and reduces edge build-up.
Put the paint into the chip with a dabbing motion rather than brushing across the surrounding panel. You want the paint to stay inside the defect as much as possible.
Here's a helpful visual walkthrough of the process in action: How to Use Touch Up Paint on any Vehicle
Know when to stop adding colour
You're aiming for the repair to come up level, or very slightly proud before final finishing if you plan to refine it later. You are not trying to create a glossy puddle over the whole area.
A few practical habits make a big difference:
Stir or shake the paint as directed so the colour stays consistent.
Test the flow first on scrap card or another safe surface.
Load the applicator lightly. Most beginners use far too much.
Leave it alone once placed. Reworking half-dry paint usually drags it out of the chip.
If the first pass looks underwhelming, that's often a good sign. Tidy touch-up work is built, one small layer at a time.
Finishing and Blending Your Repair
Once the colour coat has settled, the repair still needs protection and visual blending. This is the stage that takes a touch-up from “filled in” to “far less noticeable”.
Add clear coat for protection and gloss
Clear coat does two jobs. It helps recreate the shine of the surrounding finish, and it protects the fresh colour from the elements. Without it, many repairs look flat and remain more exposed.
The same discipline applies here as it did with the colour. Keep the coats controlled and don't drown the area. Verified timing guidance from the earlier source base includes allowing around 15 to 30 minutes before clear coat in one step-by-step process and about 1 hour of curing before applying clear lacquer in another, depending on the product system and repair size, so always follow the instructions on the paint you're using and work in stages rather than rushing straight on.
Workshop habit: If you're unsure whether the base is ready for clear, wait a bit longer. Rushing the top layer rarely improves the result.
Let it cure before trying to level it
Patience is essential for preserving the finish. Fresh touch-up may feel dry on top before it is firm enough to sand or polish. If you jump in too early, the repair can drag, smear, or sink.
For many driveway repairs, leaving the touched-up area to cure properly before any refinement is the difference between a tidy job and a frustrating restart.
Blend only if needed
If the repair has settled neatly and doesn't catch your eye, you may not need to chase perfection. For those wanting a closer blend, careful finishing can reduce the raised edge and improve gloss.
A sensible finishing order looks like this:
Check the height first. If the repair is already level, don't sand for the sake of it.
Use very fine wet sanding only when necessary. This is for gentle levelling, not aggressive correction.
Follow with polishing compound to restore gloss and reduce the boundary between old and new paint.
Wet sanding is where many DIY jobs go wrong. It can work, but only if you stay controlled and understand that you're refining the repair, not grinding it flat at speed.
Polish the surrounding area, not just the chip
A touch-up can look more obvious because the panel around it is dull or contaminated. Once everything has cured, a light machine or hand polish around the repair can help the whole section read more evenly.
That said, polishing won't hide a poor colour match or a blob of paint. It's a finishing step, not a rescue plan.
Common Mistakes and When to Call a Pro
Most DIY touch-up problems come down to one of four things. Wrong colour, poor cleaning, too much paint, or choosing touch-up paint for damage that really needs bodywork.
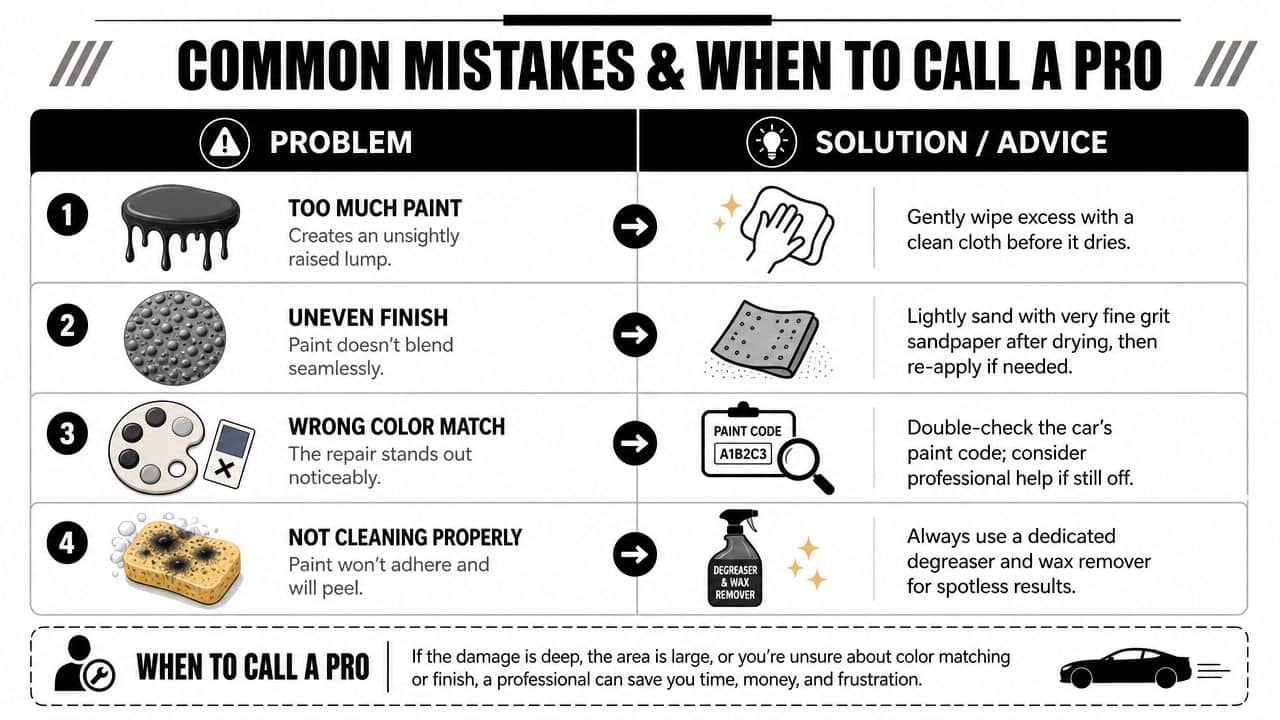
The usual errors
Problem | What usually caused it | Better fix |
Raised blob | Paint applied too heavily | Let it cure, then refine carefully if appropriate |
Poor adhesion | Wax, polish, or grease left behind | Clean and degrease properly before repainting |
Obvious colour mismatch | Wrong code or aged surrounding paint | Recheck colour code and reset expectations |
Dull finish | No clear coat or no final refinement | Clear coat and polish if the system requires it |
If your repair still stands out slightly after doing everything right, don't panic. Older paint fades, previous repairs can alter the panel colour, and some metallic or pearlescent finishes are just harder to disguise with a localised touch-up.
When DIY stops making sense
Verified guidance from Jay Wolfe's touch-up discussion highlights a real gap in many guides. They explain how to do the process, but not when a DIY fix is appropriate versus when a bodyshop repair is the smarter choice. That matters on UK cars because road salt and damp conditions can let rust spread quickly if a repair isn't fully sealed.
As a rule of thumb, DIY touch-up is a smart choice for small chips and minor local scratches. It is not the right fix for:
Large scrapes across a full panel
Damage with dents or torn metal
Peeling lacquer
Existing rust that extends beyond the visible chip
Repairs on awkward, highly visible panels where finish quality matters most
If you're dealing with a wider scratch and want to understand where polishing ends and proper repair begins, GSF also has a useful guide on how to remove scratches from a car at home.
A touch-up pen is for localised cosmetic repair and sealing. It isn't a magic wand for panel damage.
A good DIY repair should protect the panel and improve the look. If the damage is spreading, rusting, or too large to seal neatly, calling a professional is the sensible move.
If you're ready to sort out a chip properly, GSF Car Parts has the paint repair products, consumables, and car care essentials to help you do the job neatly at home, from colour-matched touch-up options to primers, clear coats, abrasives, and prep products.





