A Complete Step‑by‑Step Guide to Professional‑Quality Car Detailing
At GSF Car Parts, we’re passionate about cars, car detailing, and providing the very best car cleaning and detailing products. Whether you’re a weekend enthusiast or a professional detailer, our extensive range has everything you need to achieve outstanding results.
Car detailing goes far beyond a basic wash and vacuum. It’s a structured, step‑by‑step process designed to deep clean, restore, and protect your vehicle—bringing your pride and joy back to pristine condition.
What You’ll Need Before You Start
For the best results, we recommend the following essentials, all available at GSF Car Parts:
Pressure washer
Snow foam lance
Three buckets with grit guards
Two wash mitts (paint & wheels)
Wheel brush
Detailing brushes
Microfibre cloths
Drying towels
Step‑by‑Step Car Detailing Process
Step 1: Wheels and Tyres

Always start with the wheels, as they are the dirtiest area of your vehicle.
Use a dedicated wheel cleaner
Use separate buckets and wash mitts for wheels only
For heavy contamination, apply an iron fallout remover
Use a wheel brush to clean barrels and tight spaces
Clean tyre walls with a dedicated tyre cleaner before rinsing
Shop recommended products:
Step 2: Pre‑Wash
A pre‑wash removes loose dirt, bugs, and road film before contact washing, reducing swirl marks.
Apply a pre‑wash cleaner using a pressure sprayer
Allow the product to dwell
Rinse thoroughly
Next, apply snow foam using a foam lance to lift and encapsulate remaining dirt before rinsing.
Shop recommended products:
Step 3: Contact Wash
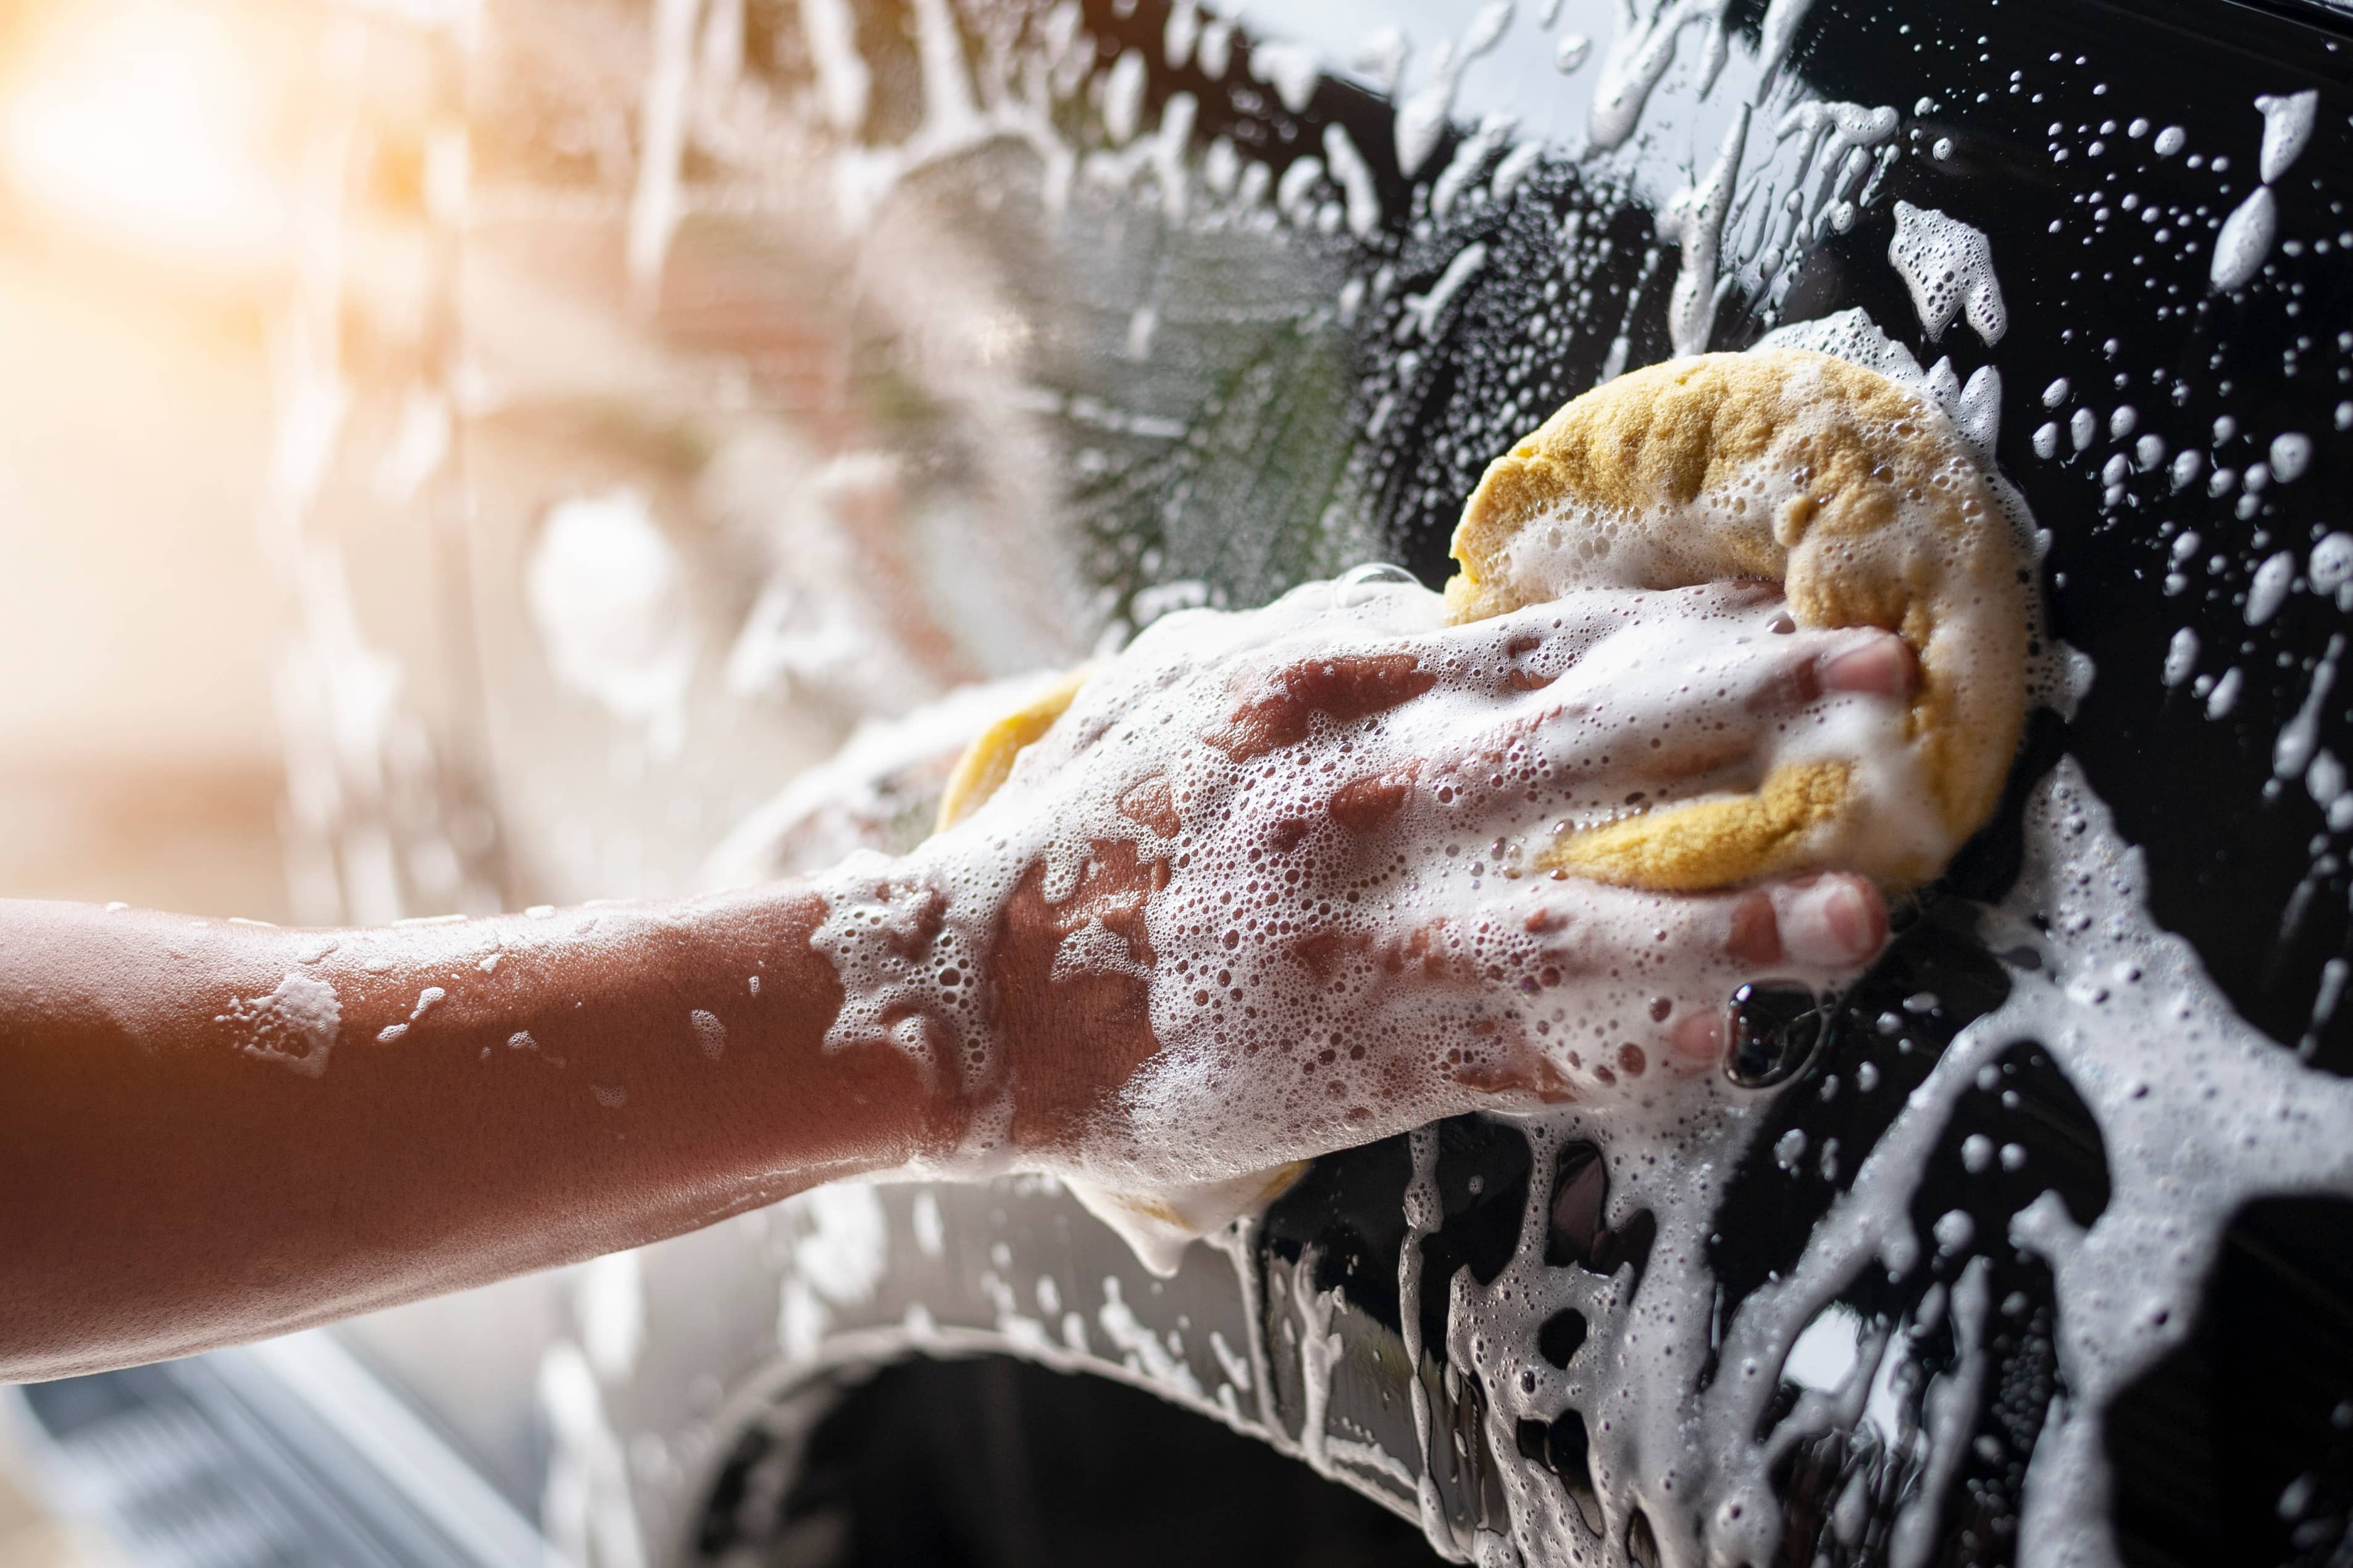
This is where remaining dirt is safely removed.
Use a high‑quality car shampoo with good lubrication
Use the two‑bucket method with grit guards
Wash from the top down, one panel at a time
Rinse your wash mitt frequently
Shop recommended products:
Step 4: Chemical Decontamination
Remove bonded contaminants that washing won’t eliminate.
Apply an iron fallout remover to paintwork and wheels
Allow it to react and change colour
Rinse thoroughly
Then:
Apply a tar and glue remover to stubborn spots
Repeat if necessary
Shop recommended products:
Step 5: Drying
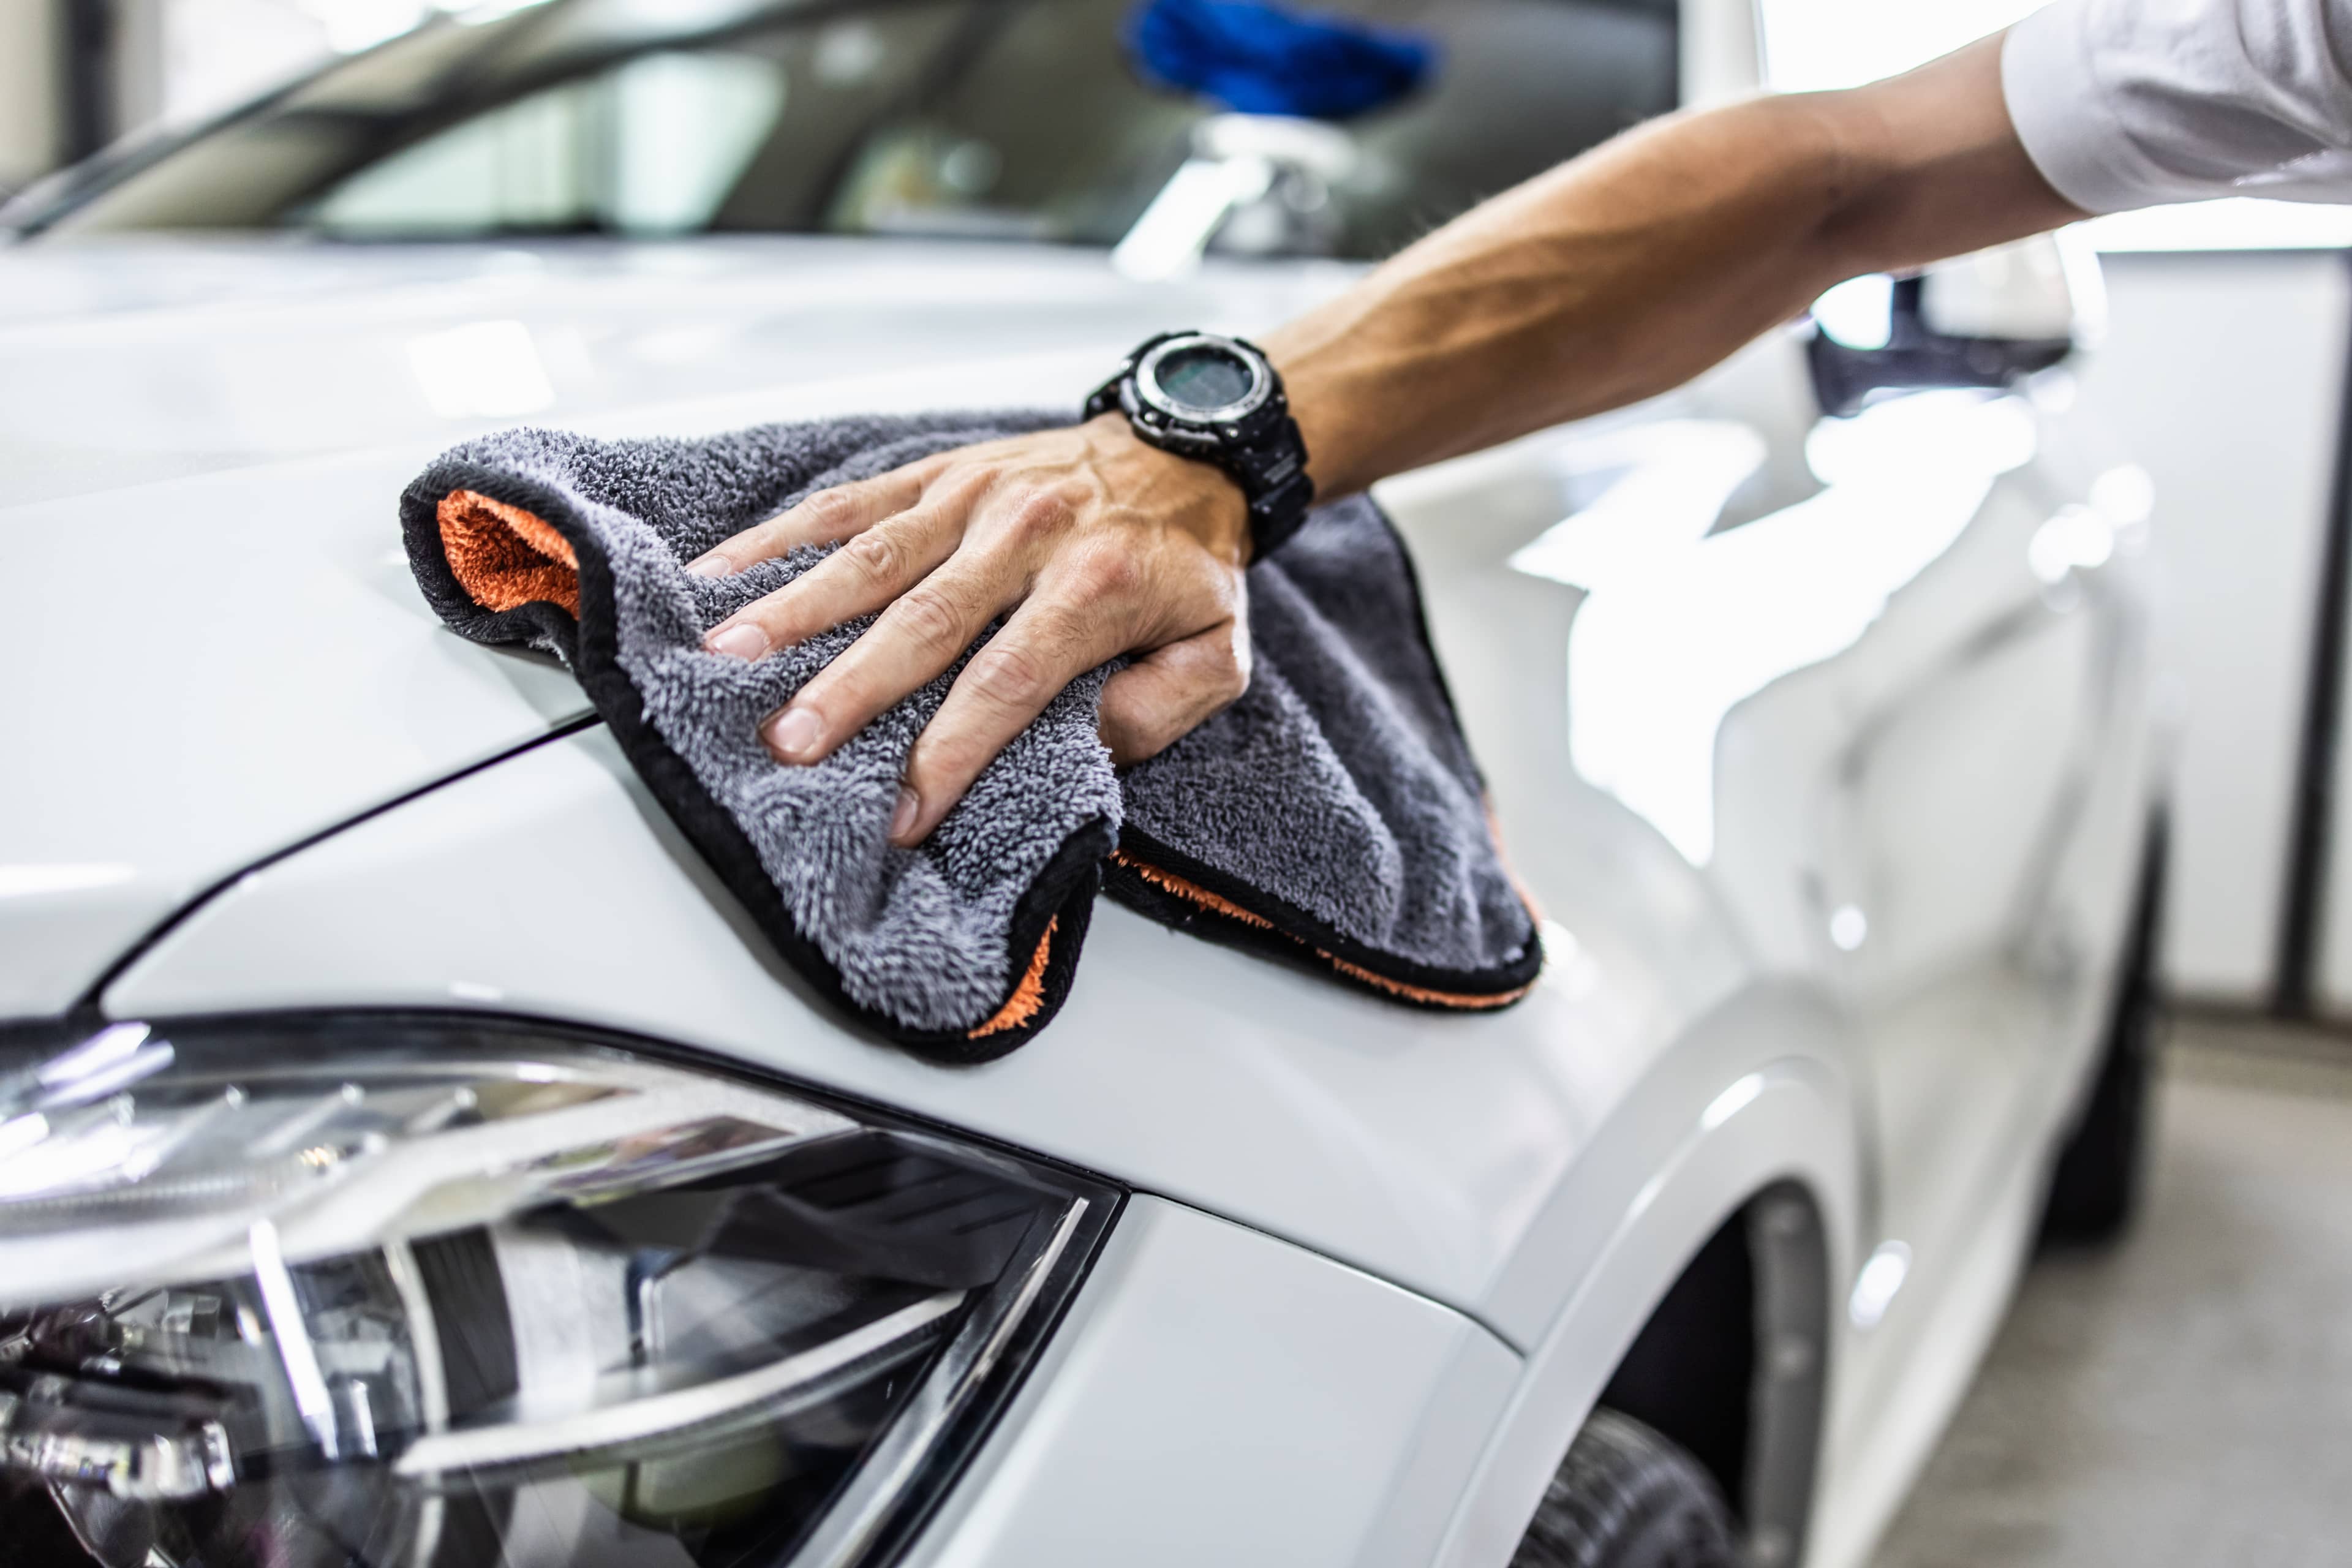
Drying correctly prevents water spots and streaks.
Start from the top of the vehicle
Use a high‑quality drying towel
Work panel by panel
For best results, you can use a car dryer or quick detailer to finish.
Shop recommended products:
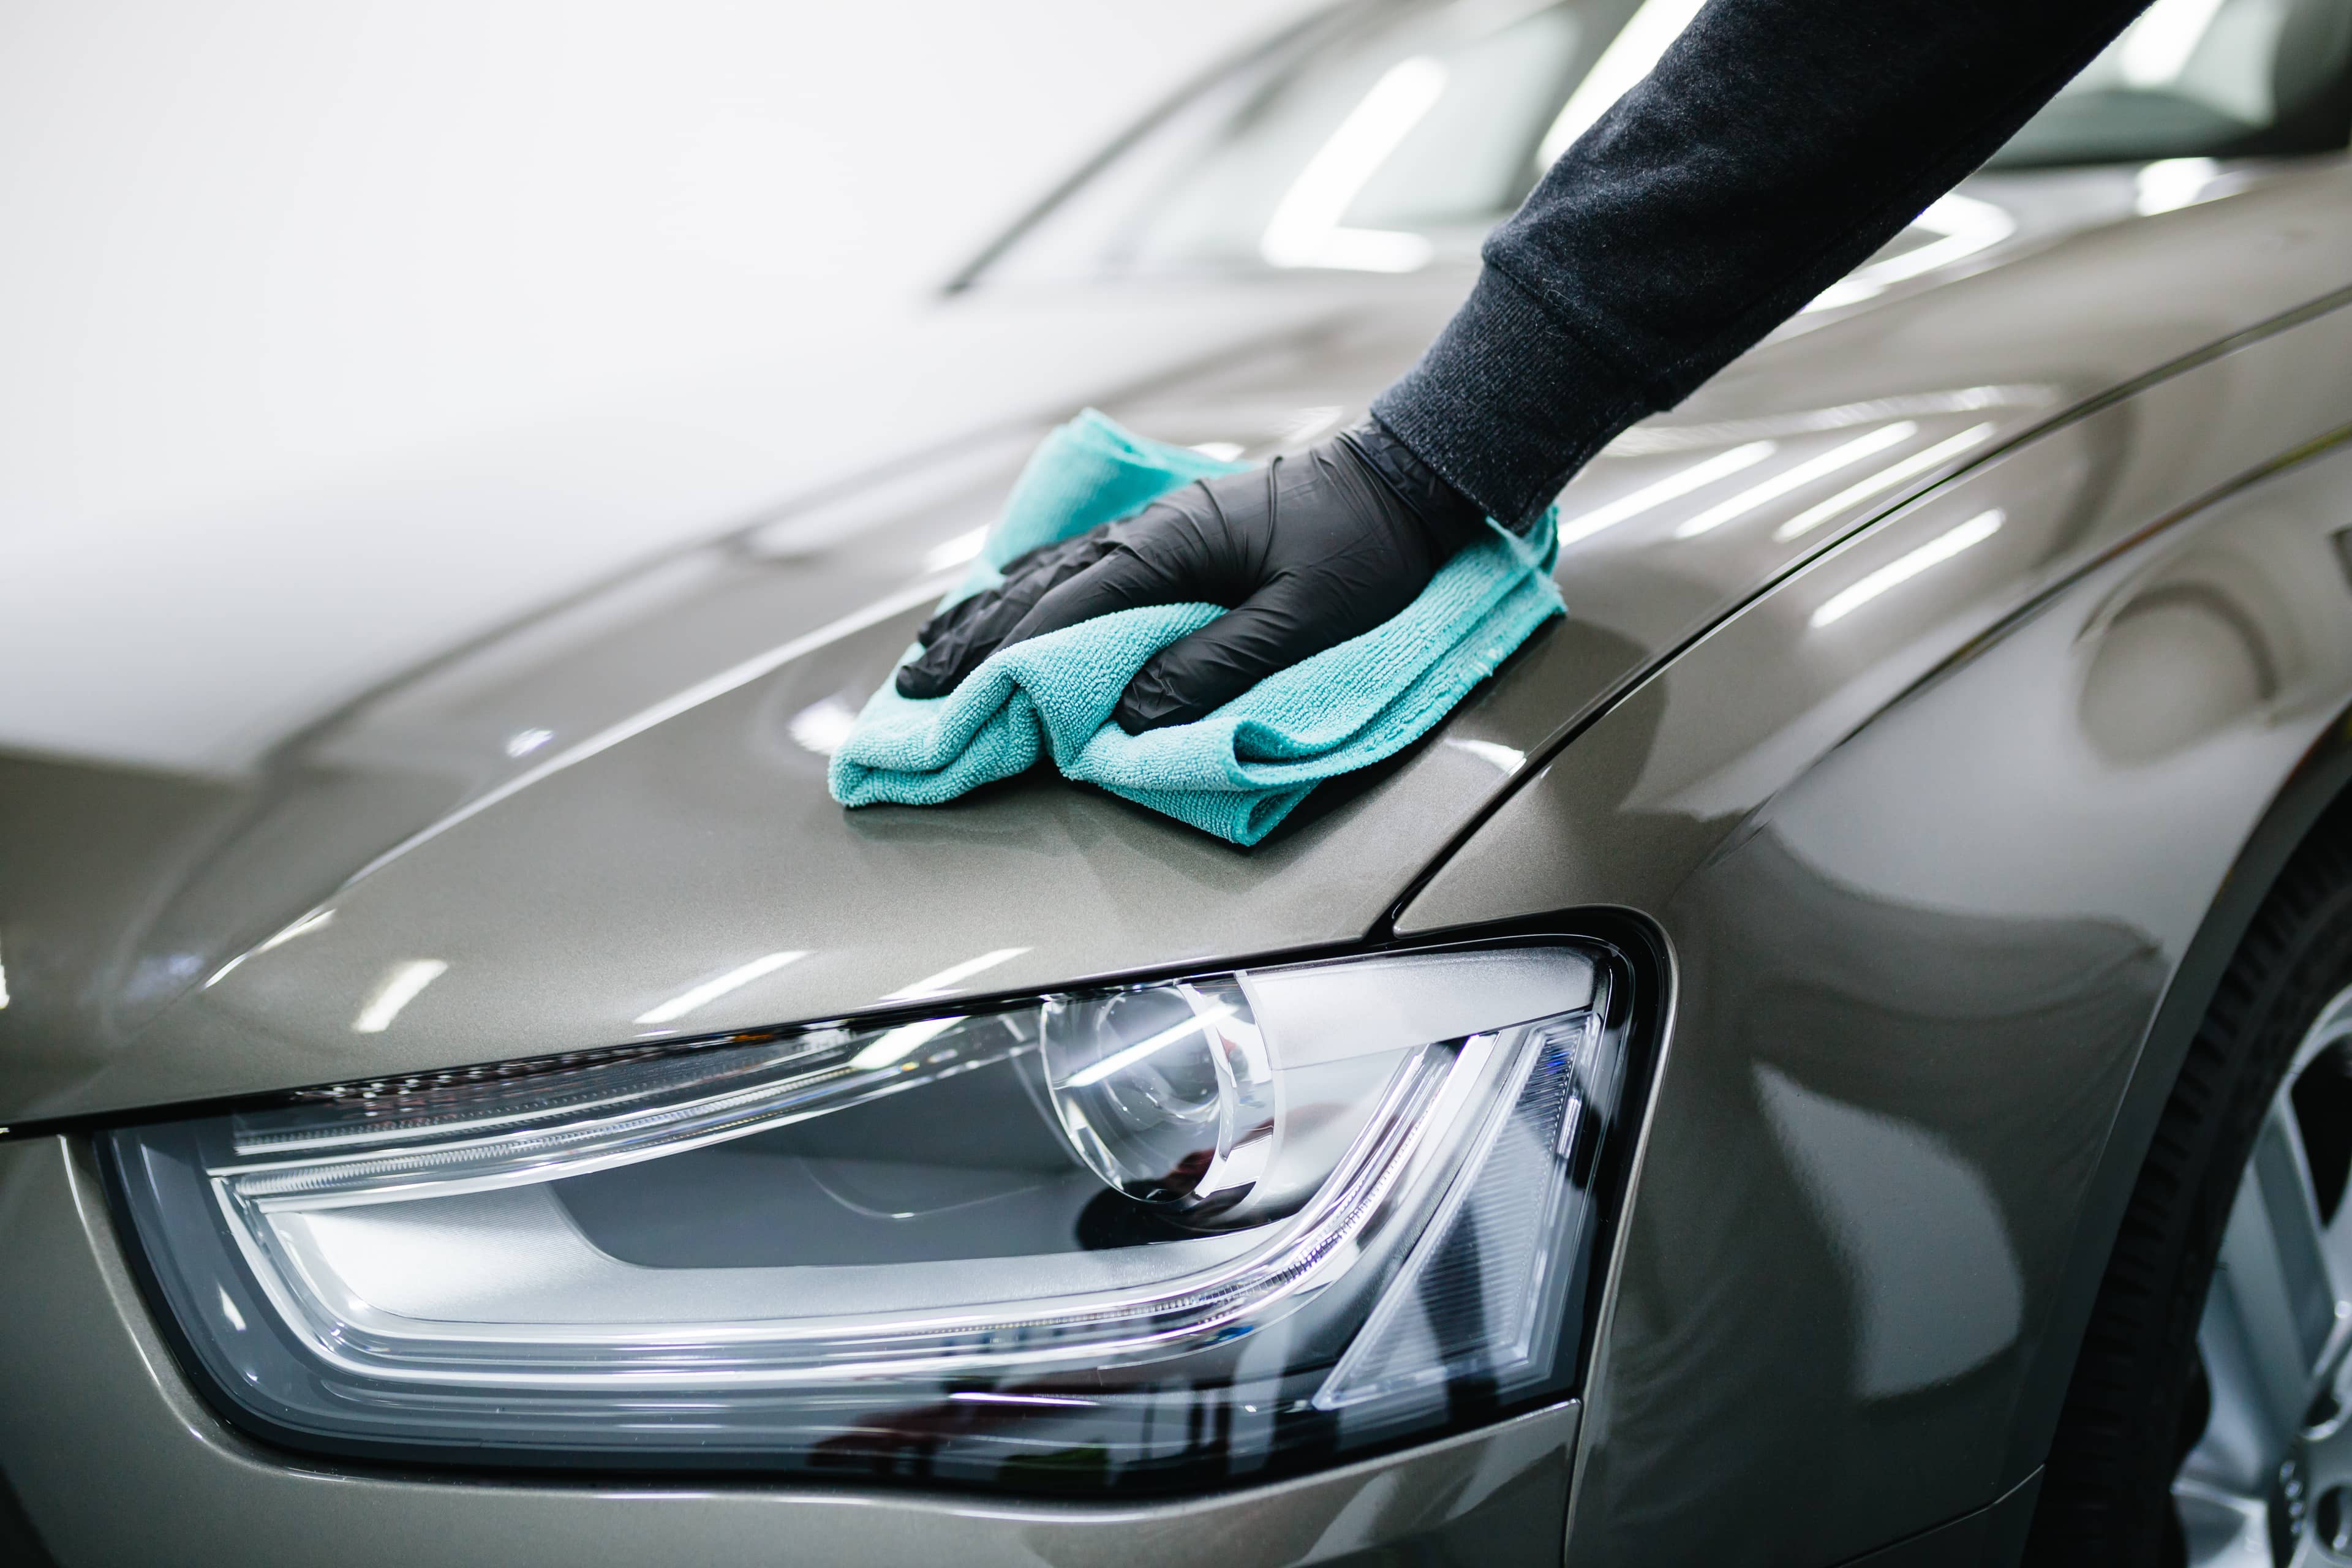
Step 6: Polishing
Hand polishing removes light defects and enhances gloss.
Use a quality hand polish and applicator
Work in small sections
Allow the polish to haze slightly
Buff off with a clean microfibre cloth
Shop recommended products:
Step 7: Paint Protection (Wax or Sealants)
Protect your hard work with a wax, sealant, or ceramic protection.
These products:
Protect against the elements
Enhance gloss and depth
Make future washes easier
Shop recommended products:
Step 8: Tyre Dressing & Exterior Trim
Finish the look by restoring tyres and trim.
Apply a tyre dressing using an applicator
Choose gloss or satin finish
Treat plastic trim with a trim dressing
Shop recommended products:
Step 9: Glass Cleaning

Crystal‑clear glass completes the detail.
Use a dedicated glass cleaner
Use a glass‑specific microfibre towel
Optional:
Glass polish for stubborn contamination
Glass sealant for improved water repellency
Shop recommended products:
Build Your Car Detailing Kit with GSF Car Parts
Now that you know the detailing process, it’s time to build your kit. At GSF Car Parts, we stock everything from starter detailing bundles to professional‑grade tools and products—available online and in‑store.


