


You wash the car on Sunday, stand back, and the paint finally looks right. By Tuesday, there’s a film of road grime on the lower doors, water spotting on the bonnet, and the finish already feels like it’s back to square one. That cycle is familiar to most UK drivers, especially if the car lives outside or sees regular motorway miles.
That’s why so many DIY detailers want to learn how to apply ceramic coating properly rather than relying on a quick wax or a spray product that fades fast. Done well, a ceramic coating gives the paint a harder, more resilient sacrificial layer that helps with washability, gloss retention, and day-to-day protection. Done badly, it locks defects into the paint and leaves you with smears, high spots, or weak bonding.
The difference is nearly always in the prep, the conditions, and the discipline to work panel by panel.
Why Ceramic Coating Is Your Car's Best Defence
Ceramic coating makes sense in Britain because our cars don’t get an easy life. Rain, grit, road film, winter salt, tree fallout, bird mess, and damp overnight conditions all work against clean paint. In the UK, average annual rainfall exceeds 1,170 mm and humidity often ranges from 70-90%, which is exactly why proper application conditions matter so much according to The GYEON Step-by-Step Guide to DIY Ceramic Coating.
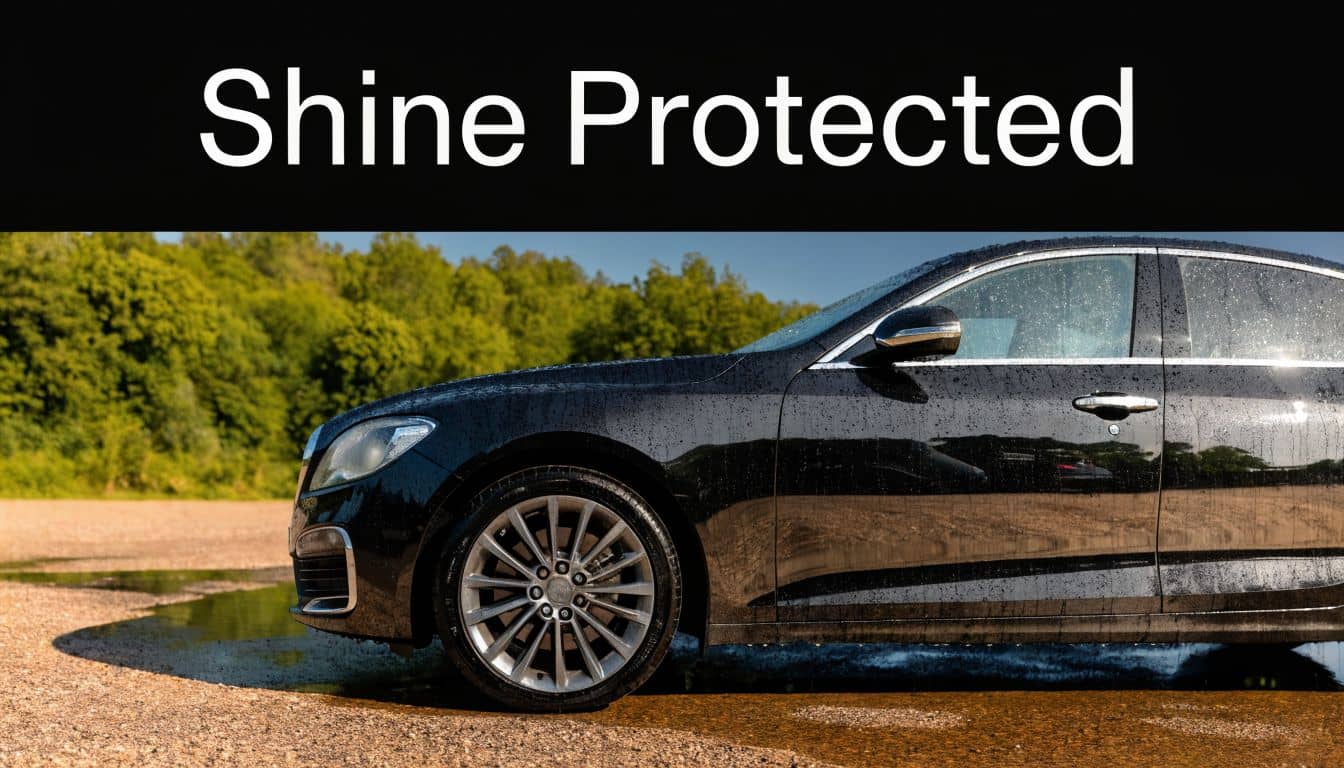
A coating isn’t magic, and it won’t make your paint scratch-proof. What it does well is change the way the surface behaves. Water beads and runs off more cleanly. Road grime doesn’t cling as stubbornly. Washes become easier because the contamination sits on top of a slicker surface rather than digging into tired paint.
For UK drivers, that matters most in winter. Salt and wet roads attack every exposed surface, especially lower panels, tailgates, wheel arches, and the rear bumper. A coated car is still going to get dirty, but cleaning it becomes less of a fight and maintenance washing becomes safer because you don’t need to scrub as hard.
What you actually notice after coating
Actual benefits show up in ownership, not just in photos:
Easier maintenance washes because dirt releases more readily
Sharper gloss because the surface stays cleaner between washes
Better resistance to everyday contamination such as bird droppings and traffic film
More durable protection than a short-lived wax layer
Ceramic coating pays off when you care about keeping paint in good order month after month, not when you want a quick shine for one weekend.
If you’re expecting a miracle in a bottle, you’ll be disappointed. If you want durable protection that rewards proper prep, ceramic coating is one of the smartest upgrades you can do at home.
Gathering Your Arsenal Essential Tools and Products
A ceramic coating job goes wrong long before the bottle is opened. Usually it’s because the paint wasn’t fully decontaminated, the towels were poor quality, or the applicator and lighting weren’t up to the job. Good results come from having the full kit ready before the car is washed.
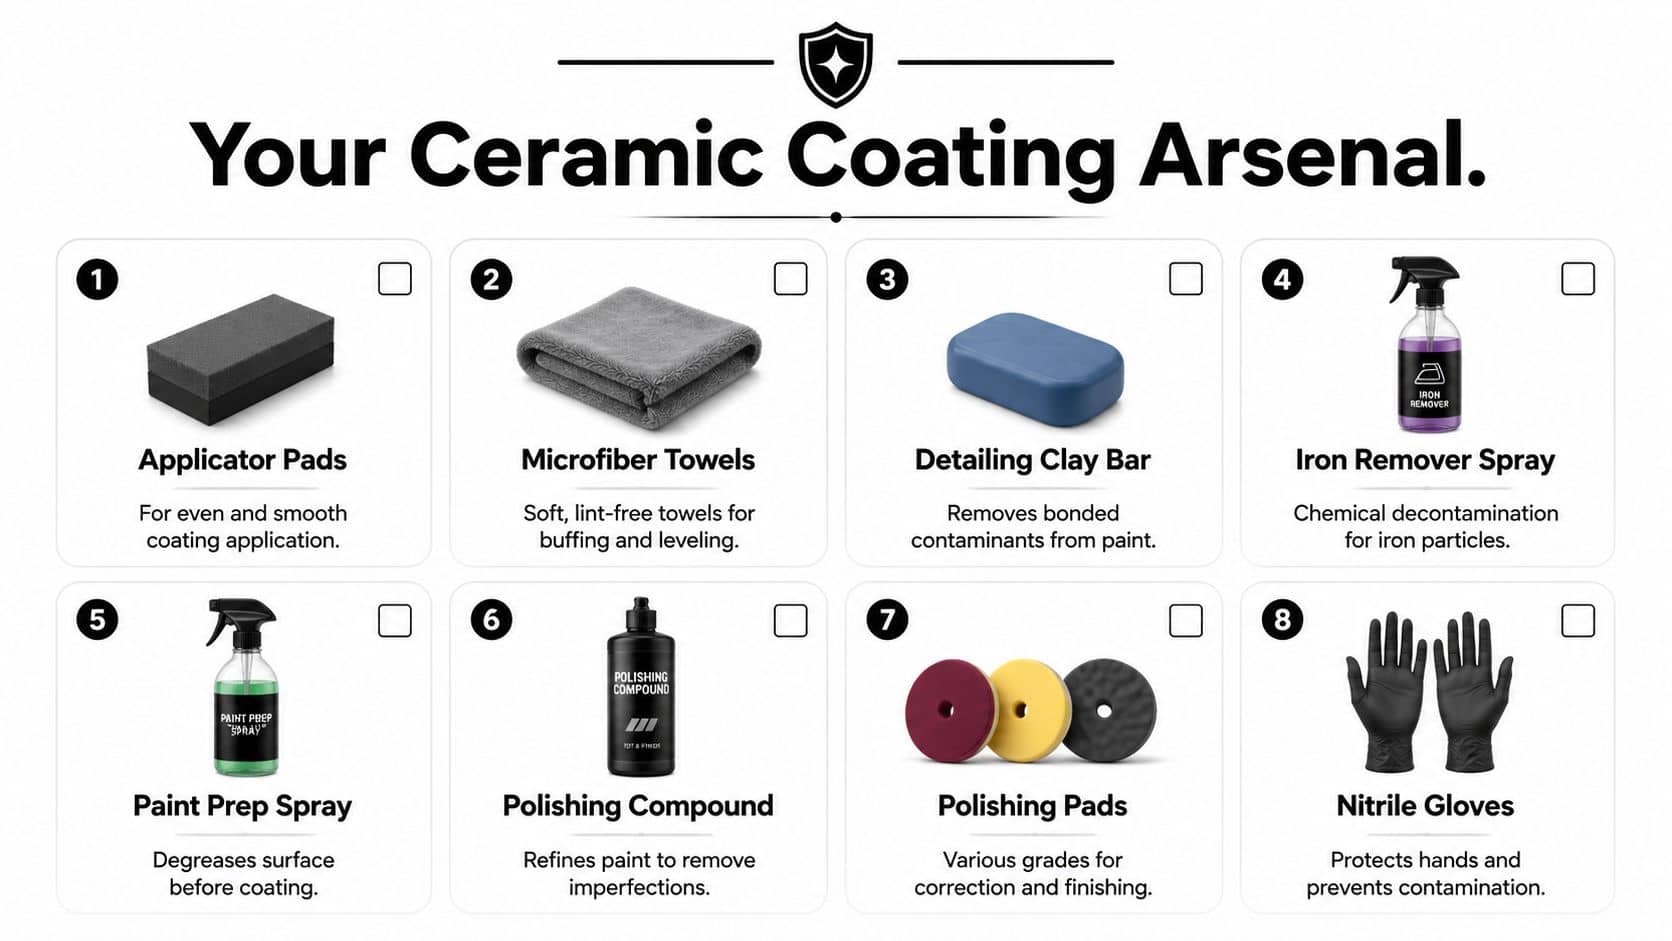
In UK conditions, your workspace matters as much as your products. Professional standards recommend application temperatures between 10°C and 29°C to reduce the risk of bubbling or poor bonding, as noted in The GYEON Step-by-Step Guide to DIY Ceramic Coating . If your garage is damp, cold, or constantly getting drafts through an open door, sort that out before you think about polishing or coating.
A sensible shopping run should cover washing, decontamination, correction, wipe-down, application, and curing support.
Wash and decontamination kit
Start with the products that get the car properly clean without adding more marring.
Snow foam such as Bilt Hamber Auto-Foam. This helps soften traffic film before contact washing.
Car shampoo that’s suitable for a safe hand wash.
Two buckets with grit control so you’re not dragging dirt back onto the paint.
Wash mitts with decent pile rather than a sponge.
Iron fallout remover for embedded brake and rail contamination.
Tar remover if the lower panels carry stubborn road residue.
Clay bar and lubricant for bonded contamination after chemical decontamination.
If you’re shopping for coating-specific consumables, GSF has a dedicated range of ceramic detailing products alongside the wash and prep items that support the job.
Paint correction and inspection tools
Most cars need at least some level of refinement before coating. Ceramic coating magnifies what’s underneath. If the paint is hazy, swirled, or full of wash marks, that’s what you’ll preserve.
A practical correction kit includes:
Tool | What it does | What to look for |
Dual-action polisher | Safer machine polishing for DIY correction | Smooth speed control and balanced feel |
Cutting pad | Removes heavier wash marring and oxidation | Use only where needed |
Polishing pad | Refines after cutting stage | Good for most daily drivers |
Finishing pad | Enhances gloss on softer paints | Useful before final wipe-down |
Compound and polish | Corrects defects and refines finish | Match the product to paint condition |
Inspection light | Reveals swirls and leftover residue | Critical for spotting high spots later |
Application and safety essentials
This is the part people underestimate. The coating itself is only one item on the list.
Foam applicator pads for controlled, even spreading
Lint-free microfibre towels for levelling and final buffing
Nitrile gloves to keep skin oils off the paint and coating off your hands
50/50 IPA mix for the final panel wipe before coating
Good garage lighting so you can see flashing and residue
Dry, clean storage area for towels and applicators
Practical rule: Don’t start if you don’t have more clean microfibres than you think you’ll need. A loaded or damp towel causes problems fast.
What matters more than brand names
You don’t need a shelf full of specialist gear, but you do need the right categories covered. Spend carefully on the items that physically touch the paint. That means wash media, clay, pads, applicators, and towels. Cheap towels lint, cheap applicators drag, and cheap pads can leave you chasing defects instead of removing them.
The most useful way to think about your kit is by job stage:
Clean the paint safely
Remove bonded contamination
Correct visible defects
Strip polishing residue
Apply the coating thinly and evenly
Keep the coated car dry and untouched while it cures
If one of those stages is missing from your setup, the finish usually tells the story.
The Critical Preparation Stage Decontamination and Correction
Most coating failures are prep failures. The coating gets blamed because that’s the final product, but the underlying issue is usually contamination left in the paint, polishing oils left behind, or defects that should have been corrected first.
UK expert detailers report a 95% success rate for DIY applications when following a panel-by-panel methodology, versus 60% for rushed full-car attempts, and that process should include a pre-wash, iron fallout remover, clay bar treatment, and a 50/50 Isopropyl Alcohol wipe according to this ceramic coating application guide.
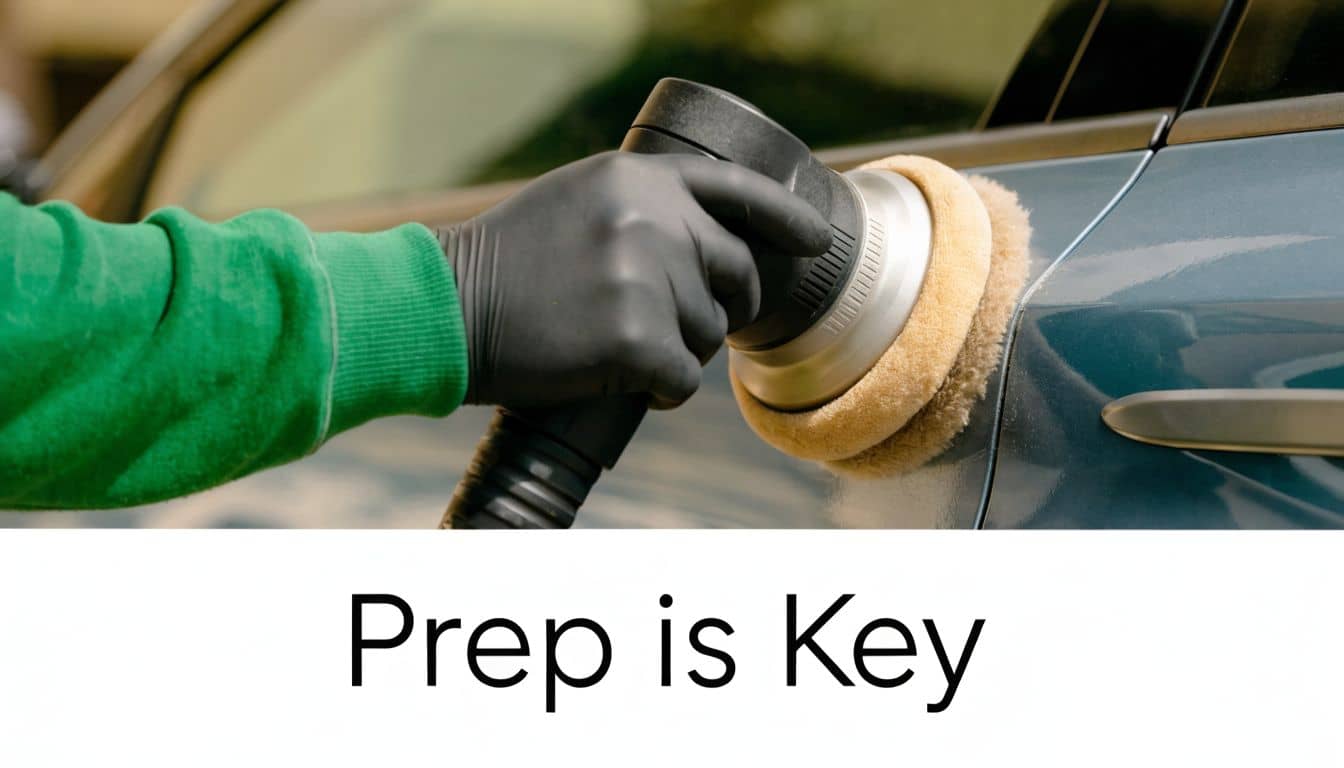
Start with a wash that removes grime, not clearcoat
The first wash is about taking away loose dirt safely. Pre-wash the vehicle before any mitt touches the paint. If you skip that, you grind grit into the lacquer and create more correction work later.
A sound routine looks like this:
Apply snow foam and let it dwell.
Rinse thoroughly.
Wash with a mitt using a two-bucket method.
Rinse again.
Dry carefully with clean drying towels or forced air if you have it.
Focus on the lower halves of the doors, behind the wheels, the tailgate, and around badges. Those areas hold the most grime and often get ignored.
If the wash stage feels rushed, stop there and do the coating another day. You can recover from a delayed project. You can’t recover from grinding grit through soft paint without adding more machine work.
Chemical decontamination removes what washing leaves behind
A freshly washed car can still feel rough because bonded contamination remains in the paint. On UK roads that often means metallic fallout, brake dust residue, and tar.
Use an iron fallout remover first. Apply it to cool paint and let it work before rinsing thoroughly. Then deal with tar where needed, especially behind the wheels and along the sills. This stage matters because clay alone shouldn’t be asked to drag heavy contamination off the panel.
You’re aiming to reduce what the clay has to touch.
Clay the paint until it feels glassy
Once the paint is chemically decontaminated, use a clay bar with proper lubricant. Work one small area at a time with light pressure. You’re not scrubbing. You’re gliding the clay until the surface stops feeling grabby and starts feeling smooth.
Check the clay often and fold it to expose a clean face. If you drop it, bin it. Don’t try to save a contaminated clay bar on paint you’re about to coat.
Common places that still feel rough after washing include:
Bonnet and roof because they collect fallout and environmental contamination
Rear quarters and hatch because road film builds there quickly
Lower doors and sills because they catch salt spray and tar
Front bumper because it gets the worst of motorway grime
Paint correction decides how good the finished car looks
The underlying finish dictates the final result. A coating can’t hide swirls, towel marks, or oxidation. It can make them stand out more because the surface becomes glossier and clearer.
If you’re working by hand, accept the limits. Hand polishing can improve a tired finish, but a dual-action machine polisher gives better consistency and defect removal. For DIY use, a DA is the safer option because it’s more forgiving than a rotary. If you need the machine itself, a dual-action machine polisher selection is the right place to start.
A practical correction approach
Don’t attack the whole car with the most aggressive pad and compound you own. Test one section first.
Paint condition | First choice | What to watch for |
Light wash marring | Polishing pad and mild polish | Check if one stage is enough |
Moderate swirls | Medium pad and compound, then refine | Don’t chase every deep mark |
Heavier defects | More aggressive combination on isolated panels | Measure risk carefully on older paint |
Work under proper lighting. Prime the pad, spread product at low speed, then make controlled overlapping passes. Wipe residue, inspect, and adjust. The goal isn’t perfection at all costs. The goal is clean, even paint that’s ready to be coated without obvious defects.
The IPA wipe is not optional
After correction, polishing oils sit on the surface and can make paint look better than it really is. If you coat over that residue, bonding suffers.
Wipe each section with a 50/50 IPA mix using a clean microfibre. Turn the towel frequently. If the towel becomes loaded, swap it. You want the surface squeaky clean and residue-free before the coating touches it.
This is also the stage where carelessness creeps in. You’re tired, the paint looks good, and it’s tempting to press on quickly. Don’t. Any dust, fingerprints, or polishing residue left after the wipe-down will get sealed in.
Good prep feels slow because it is slow. That’s normal. Coating a badly prepared panel is fast, but removing a failed coating isn’t.
What works and what doesn’t
What works
Breaking the car into manageable panels
Using chemical decontamination before clay
Doing a test spot before polishing the whole vehicle
Inspecting under direct light, not just daylight through a garage door
Replacing towels and pads before they become part of the problem
What doesn’t
Claying a dirty car
Skipping correction because “the coating will hide it”
Rushing the IPA wipe
Letting dust settle on the paint between stages
Trying to prep and coat the whole car in poor light late in the day
If the paint feels slick, looks even, and passes inspection panel by panel, you’re ready for the coating. If it doesn’t, stay in prep mode. That decision usually separates the clean jobs from the frustrating ones.
The Art of Applying the Ceramic Coating
Application should feel calm and methodical. If you’re hurrying, using too much product, or trying to cover half the bonnet at once, you’re already making it harder than it needs to be.
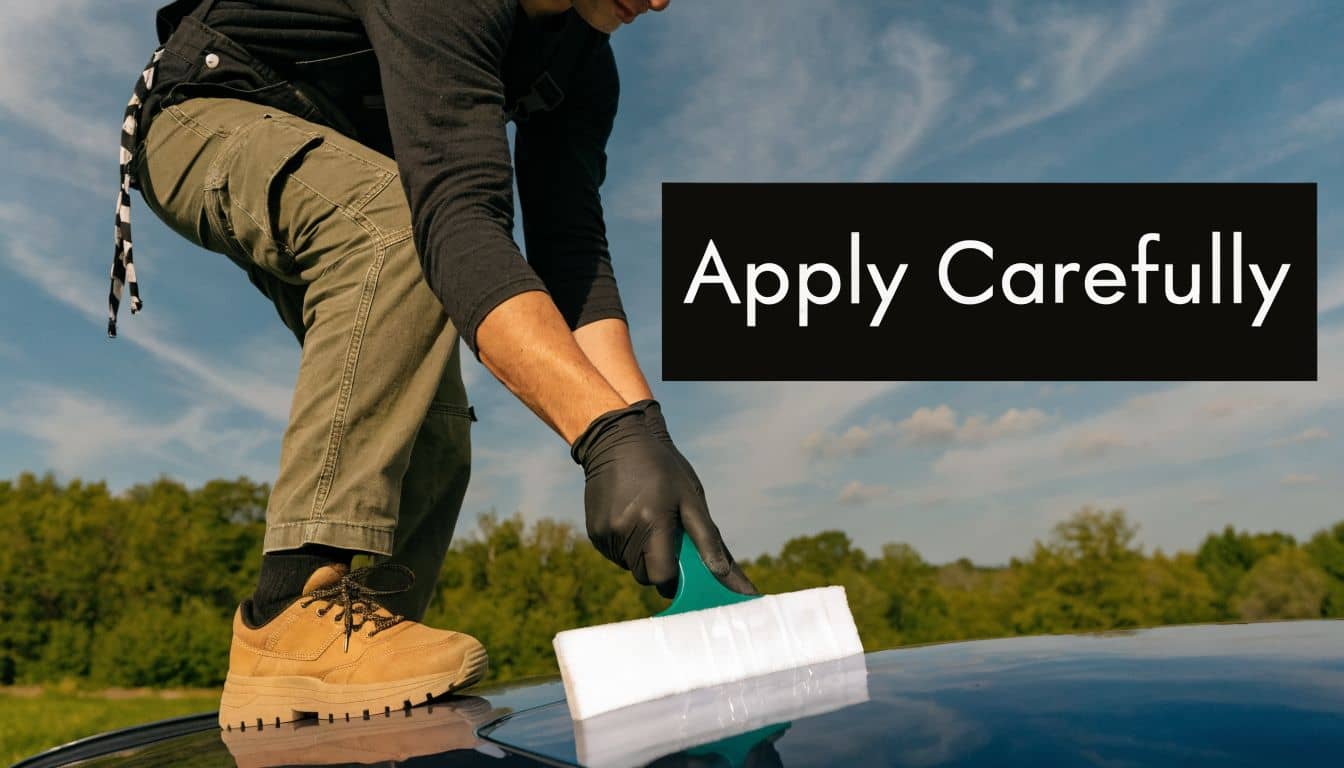
The best setup is an enclosed, clean, well-lit garage where you can keep the car dry and leave the doors closed. Lay out your coating bottle, foam applicators, several clean microfibres, nitrile gloves, and inspection light before you begin. Once coating starts, you don’t want to wander off looking for a towel.
Work small and apply thin
UK-adapted application guidance referenced in the verified data recommends limiting sections to 60 cm x 90 cm, using 12-16 drops per section, then allowing a 2-5 minute dwell before levelling. That small-area approach is one of the biggest differences between a tidy coating job and a smeary one.
Apply the product to the applicator, then spread it in a cross-hatch pattern. Go north-south first, then east-west. That gives even coverage and reduces the chance of missed spots.
A useful rhythm is:
Coat one small section
Watch for the product to flash or haze
Level residue with the first towel
Buff lightly with a second towel
Inspect from different angles before moving on
Thin coats nearly always beat heavy coats. A loaded surface is harder to level and far more likely to leave high spots.
How many layers make sense
For most DIY jobs, 2-3 layers is the sensible target. UK ceramic coating applications achieve superior durability with 2-3 layers, delivering up to 9H hardness. A second or third coat can enhance hydrophobicity by 50%, with water contact angles exceeding 110°, and a 1-hour flash-off time between coats is recommended according to this guide on ceramic coating layer count.
That doesn’t mean more is always better. Layering only helps if each coat is applied properly and the previous one has flashed as required. Three careful layers beat five rushed ones every time.
More product on the paint doesn’t mean more protection. Usually it means more levelling work and more chance of residue being left behind.
Here’s a quick comparison:
Approach | Best for | Trade-off |
Single layer | Quick improvement and simpler process | Less overall durability and water behaviour |
Two layers | Most DIY users | Strong balance of effort and outcome |
Three layers | Enthusiasts chasing a fuller finish and stronger water behaviour | More time, more inspection, more risk if rushed |
A visual walkthrough can help if you want to see the process in motion: How to Apply Ceramic Coating Protection
Traditional coating versus spray ceramic products
Not every “ceramic” product behaves like a true coating. A traditional bottle-applied coating needs proper prep, close attention during application, and controlled curing. In return, it offers the more durable result.
Spray ceramic sealants are easier and quicker. They’re useful for maintenance or for owners who want better water behaviour without a full correction and coating job. They also suit daily drivers where speed matters more than chasing the longest-lasting finish.
Choose the traditional route if you want the strongest result and you’re prepared to do the work properly. Choose a spray product if you want simplicity and are realistic about the lower commitment and lower payoff.
Curing and Aftercare for Lasting Protection
The coating isn’t finished when the last panel is buffed. It’s only started curing. If the car gets caught in rain too soon, if dew settles on it overnight, or if you decide to “just give it a quick wash”, you can undermine the work you’ve just done.
The verified guidance allows a minimum 4-hour no-water window in some conditions, but other verified data for DIY application advises 24-48 hours with no water contact. In the UK, where damp air slows things down, the safe approach is to keep the car dry for as long as your product instructions and your conditions require, then give the coating proper time to harden before exposing it to regular use.
The reason this matters is straightforward. The coating needs stable time on the paint to finish bonding and hardening. High humidity works against that. Salt-heavy winter conditions do too. The AA reports that over 1.4 million UK vehicles are damaged by corrosion annually due to salted roads, and DIY coatings can fail 30-50% faster in salty regions if applied without proper salt-neutralising pre-treatments and proper curing, according to this UK-focused note on corrosion and coating failure.
The first few days matter most
Keep the car indoors if you can. If it must sit outside after coating, pick your weather carefully and avoid starting the job if rain is likely. Don’t apply a coating in the evening just because you’ve got free time if the car will sit outside in overnight damp.
For the initial period after application:
Keep it dry and away from rain, dew, and standing water
Don’t wash it
Don’t use quick detailers or toppers immediately unless your product specifically allows it
Remove fresh bird mess carefully if you have no choice, using the gentlest method possible
Long-term maintenance keeps the coating working
A coated car still needs proper washing. The difference is that it rewards gentle maintenance.
Use a safe wash method with clean mitts and drying towels. Stick to pH-neutral shampoo for routine washes. Avoid harsh brush washes. If you want to keep your wash and buff routine paint-safe, stock up on microfibre towels for drying, buffing, and maintenance.
Maintenance becomes a routine rather than a battle:
Wash regularly so road film doesn’t build into a stubborn layer
Rinse the lower sections thoroughly in winter after salted-road use
Use clean towels only on paint and separate cloths for dirtier areas
Top up slickness carefully with compatible maintenance products if your chosen coating system supports it
A ceramic coating reduces cleaning effort. It doesn’t remove the need to wash the car properly.
Treat the coating like a durable finish, not an indestructible one. That mindset is what gets the longest service from it.
Common DIY Mistakes and How to Fix Them
The most common DIY mistake isn’t lack of enthusiasm. It’s assuming coating application is forgiving. It isn’t. Ceramic coating rewards neat work and punishes lazy habits faster than most detailing products.
One problem shows up again and again. People focus on the bottle and ignore the environment. A common pitfall is uneven temperature during application, which can cause 30% of cracking issues in coatings, while contamination after the IPA wipe can lead to 50% of bond failures, according to this testing summary on ceramic coating application methods.
High spots, streaks, and patchy levelling
High spots are areas where excess coating wasn’t fully levelled. They often look darker, smeary, or slightly greasy under direct light. You usually spot them by moving an inspection light across the panel at different angles.
If you catch them early, rework the area with a small amount of coating on the applicator, then level and buff again with fresh towels. If they’ve cured harder, you’ll usually need to polish the area back and reapply.
Streaking often comes from one of three things:
Too much product on the applicator
Poor conditions such as cold, damp, or uneven panel temperature
Dirty or overloaded towels during levelling
The fix is often to slow down
A lot of DIY issues come from trying to “save time” by working too large an area. That’s exactly what creates missed edges, smears around trims, and residue left near body lines.
Use this quick fault guide:
Problem | Likely cause | Usual fix |
Hazy patch | Missed high spot | Re-level if fresh, polish and reapply if cured |
Uneven finish | Panel too large or poor lighting | Reduce section size and inspect from multiple angles |
Weak bonding | Residue or contamination after IPA wipe | Re-prep the area properly before recoating |
Cracking later on | Uneven temperature during application | Apply only in stable conditions |
Mistakes worth avoiding from the start
Touching paint after IPA wipe with bare hands
Using one towel too long instead of rotating to a clean one
Applying on cold panels in winter and hoping it will cure normally
Trying to finish the whole car in one push when fatigue has already set in
Clean paint, clean towels, stable temperature, and patience solve most ceramic coating problems before they happen.
If you want to do the job once and do it properly, get the prep, tools, and consumables sorted before you begin. GSF Car Parts stocks the car care accessories, machine polishing equipment, and detailing consumables that support each stage of the process, from decontamination through to final wipe-down and maintenance.





