You're usually not thinking about wiper linkages until the rain's hammering down, the blades are scraping across the screen, and one arm has stopped where it shouldn't. On a UK motorway in bad weather, that's more than an annoyance, it's a proper visibility problem, and the part that often gets blamed first isn't always the part that has failed.
The windscreen wiper linkage sits in the middle of that system, turning motor movement into the swept arc that clears the screen. Its job sounds simple, but it has to stay aligned, lubricated, and free enough to keep both blades moving together, and that matters on older manual systems as much as on modern rain-sensing cars. The basic mechanical principle goes back a long way in UK motoring, with a 1911 patent by British photographer Gladstone Adams forming part of the history behind today's setup, and the same core transfer mechanism still does the work even in newer cars with electronic control Trico's history of wiper components and mechanisms.
The Unseen Hero Your Windscreen Wiper Linkage
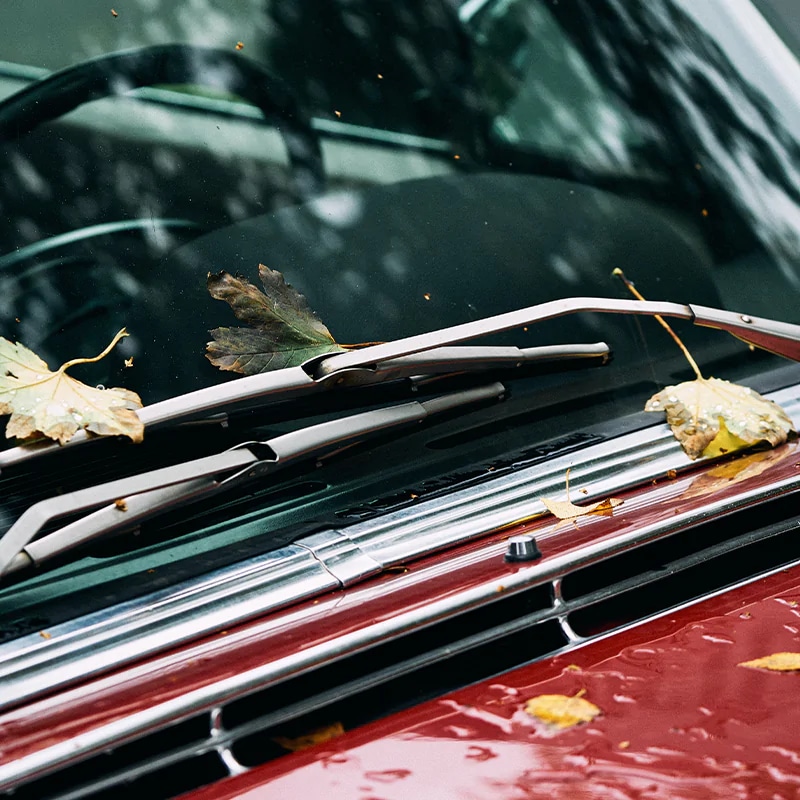
A driver rarely gives the linkage a second thought when it's doing its job. It sits under the scuttle panel, out of sight, moving both arms in step every time the motor turns. Once it wears, loosens, or starts to bind, the fault shows up straight on the glass, often when the weather is already against you.
What it actually does
The linkage is the mechanical assembly that turns the rotating output from the wiper motor into the sweeping motion at the blades. That keeps the driver's side and passenger side working together, instead of one arm lagging, drifting, or stopping part way through a wipe. Rain-sensing systems still depend on that same physical movement, so the electronics can only do their part if the linkage is in decent condition.
A failure here usually looks mechanical rather than electrical. Dry pivots, worn joints, and slack connections change how the blades travel, and that can make a healthy motor appear suspect when the actual issue is the mechanism it is trying to drive.
For the practical side of diagnosis, it helps to compare the linkage with a known good wiper motor from GSF Car Parts. If the motor runs properly but the blades move badly, the linkage deserves the first close look. If the motor itself is weak or inconsistent, the fault is further upstream.
For a UK driver, that is more than a comfort issue. If the screen is not being cleared properly, the car becomes harder to drive in rain, spray, or slush. The linkage is the hidden part that decides whether the wipers sweep cleanly or leave you looking through a smeared windscreen.
Symptoms and Diagnosis Is It the Linkage or the Motor
A bad linkage usually gives away a few clues before it gives up completely. The wipers may move unevenly, park in the wrong place, clatter against the screen edge, or leave one arm lagging behind the other. Sometimes the motor can be heard humming, but the blades hardly move, or they move in a jerky way that gets worse under load.
What to look for first
Start with the obvious. If one wiper moves while the other stays still, that usually points to a mechanical disconnect somewhere in the linkage or at a pivot. If both wipers move but the sweep is badly out of rhythm, the arms may be slipped on the spindles, a joint may be worn, or the linkage geometry may have gone out of alignment.
Listen for the motor with the ignition on. A healthy motor noise without proper blade movement often means the electrical side is alive, but the mechanical drive is no longer carrying that movement through the linkage.
The cleanest test is to isolate the parts. A workshop method is to separate the linkage from the motor and test the motor at each speed. If the motor runs normally on its own, the fault is mechanical inside the linkage assembly. If it struggles or fails at all speeds, the issue is more likely electrical or motor related diagnostic method for a failed wiper linkage.
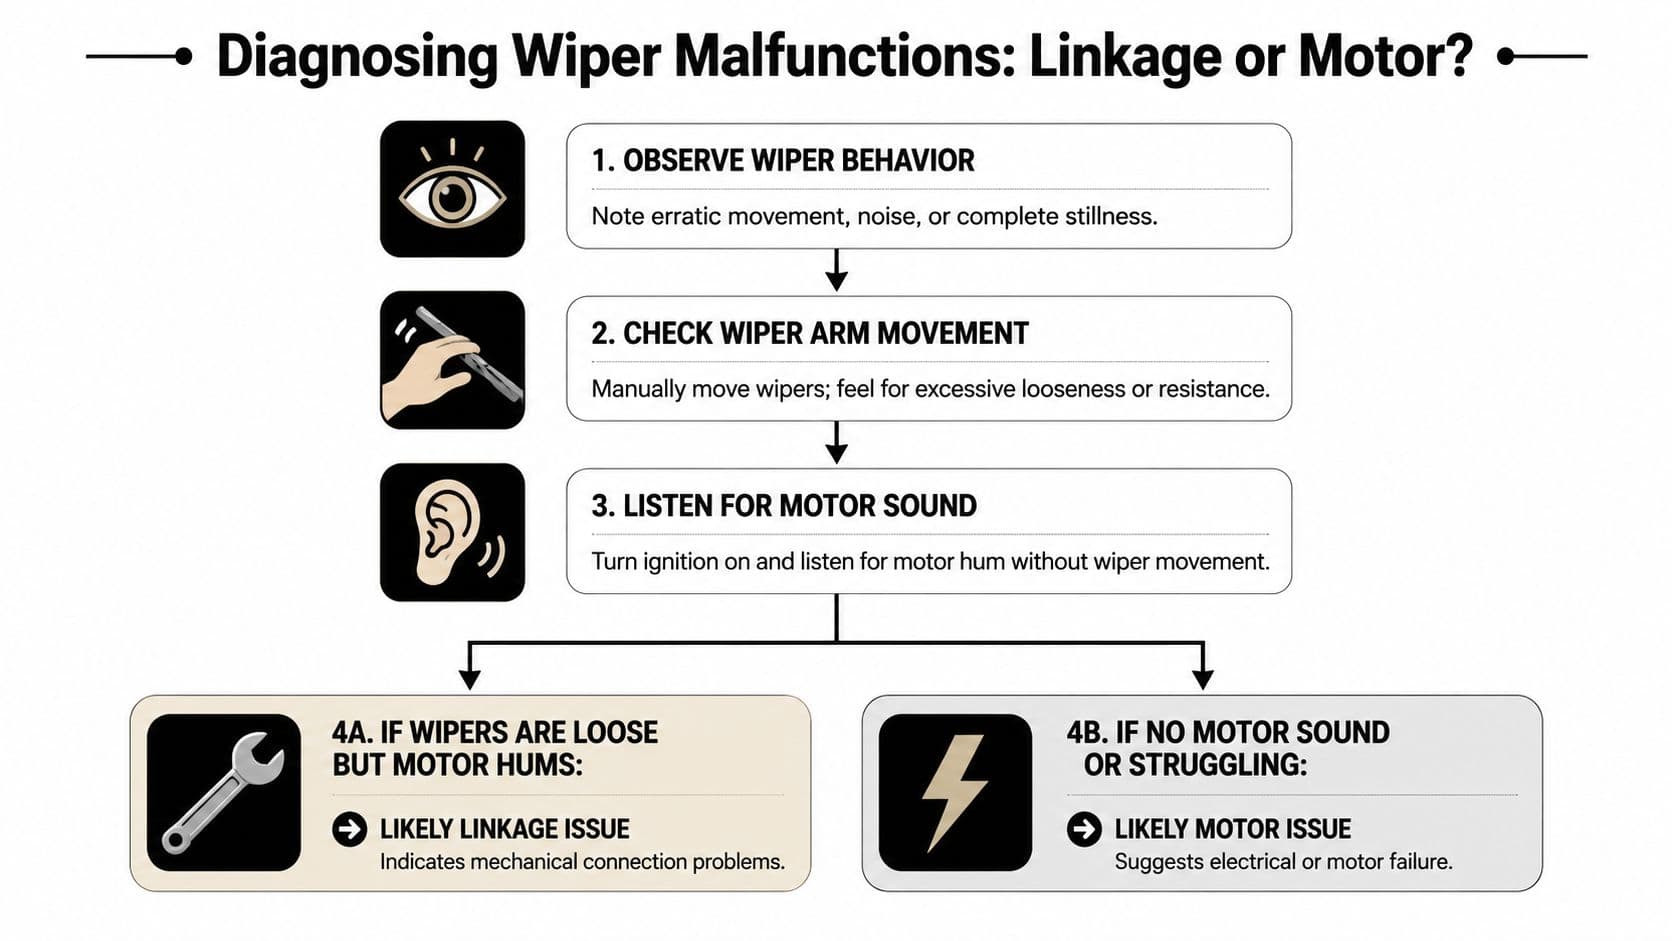
A simple decision path
Use a sequence, not guesswork.
Observe the sweep. Look for parking errors, knocking, uneven travel, or one arm drifting.
Check for looseness. Move the arms by hand with the ignition off. Excess play usually means a worn joint or bushing.
Listen at the motor. If you can hear it running, the motor is probably doing something.
Separate the linkage if needed. Test the motor without the linkage attached.
Decide on the fault. Normal motor output points towards the linkage, not the motor.
That approach saves time and avoids replacing a motor when the actual problem is a dry pivot, a popped joint, or a seized spindle. It also gives you a clearer answer before you start ordering parts, which is useful when the car's needed daily and you don't want to strip it twice.
For reference while matching parts, the wiper motor category at GSF Car Parts is the sort of place to compare the motor side against what's fitted on the car.
Gathering Your Tools and the Right Replacement Parts
A linkage swap is straightforward only if the prep is right. You don't need a huge workshop setup, but you do need the right hand tools, a bit of patience, and a way to keep the wiper park position accurate when everything goes back together. Skipping prep is how people end up with twisted arms, broken clips, or a job that looks finished until the first rain shower exposes a bad alignment.
Checklist before you start
Item | Purpose | Notes |
Socket set | Remove linkage bolts and arm nuts | Use the correct size, don't round fasteners |
Trim removal tools | Lift the scuttle cover without cracking clips | Plastic tools are kinder to trim |
Marker pen or tape | Mark the park position | Helps with refit alignment |
Wiper arm puller | Free stubborn arms from tapered splines | Useful when the arms have seized on |
Penetrating oil | Loosen corroded fixings | Let it soak before forcing anything |
Rag and brake cleaner | Clean dirt from the area | A clean mating surface matters |
Terminal grease | Lubricate moving points on refit | Better long-term protection than a quick spray |
Replacement linkage | Restore the mechanical sweep | Match the correct vehicle fitment |
If you're buying parts, use the vehicle registration lookup on the supplier site so the new linkage, arms, or related fitment matches the car properly. That matters more than it sounds, because linkage layout varies by model and even small differences in arm length or mounting points can cause fitment headaches.
One option for the supporting parts is GSF Car Parts, which supplies wiper-related components for UK vehicles, including fitment help and the sort of consumables you'll need to finish the job properly. The main point is still the same, though, buy to fit, not to guess.
A final check before ordering is condition. If the old linkage is only worn at the joints, repair may be enough. If the metal is bent, badly rusted, or the mounting points are damaged, replacement is the safer path.
Step by Step Guide to Wiper Linkage Removal and Fitting
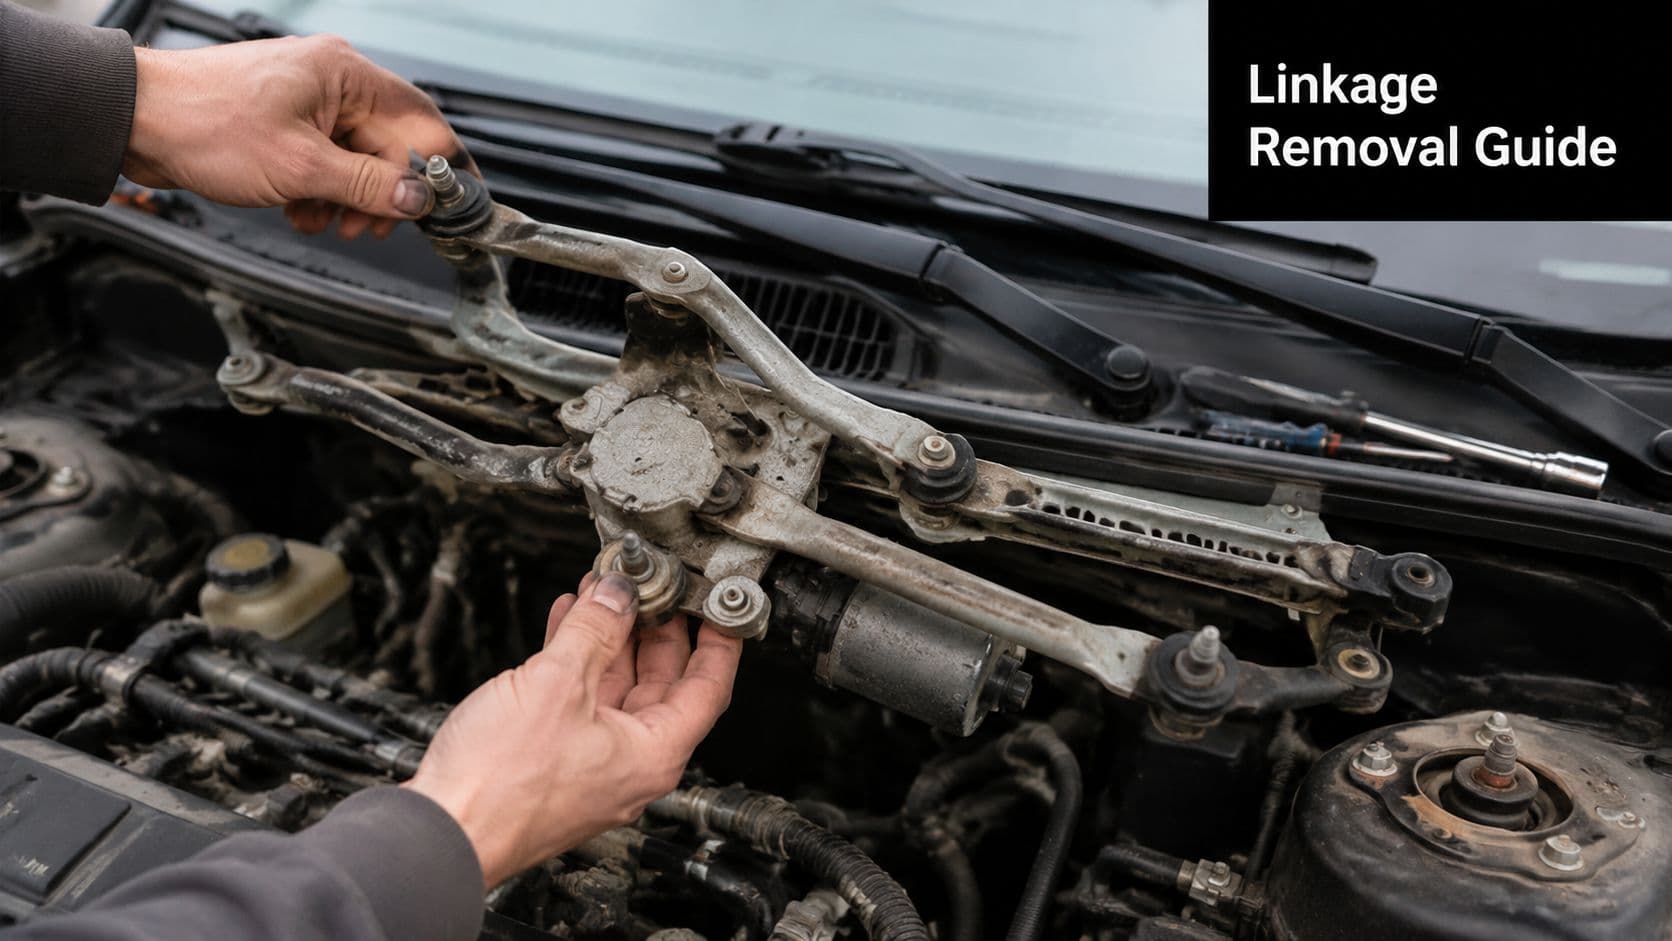
The job becomes much easier if you treat it like a small strip-down, not a quick parts swap. A clean work area, a few labelled fasteners, and photos at each stage can save you a lot of head-scratching later. Once the scuttle is off and the arms are out of the way, the linkage is usually less intimidating than it first looks.
Strip it carefully
Disconnect the battery first if there's any chance you'll be working near wiring or the motor connector for a while. Mark the current park position on the windscreen with tape before removing the arms, because once they're off, it's easy to lose the correct resting point.
Remove the plastic caps over the arm nuts, undo the nuts, and pull the wiper arms free. If they're seized, use a proper puller rather than levering against the glass or scuttle. A corroded taper can fight back hard, and forcing it usually damages more than it helps.
Next, unclip the scuttle panel at the base of the windscreen and lift it out carefully. Keep an eye on the clips, because brittle trim likes to break at the worst moment. With the cover off, you'll usually have access to the linkage bolts, motor connector, and pivot points.
The wiper arm parts section at GSF Car Parts is useful if the arms themselves need replacing at the same time, especially if the splines are worn or the old ones have been damaged during removal.
Transfer and refit the assembly
Unbolt the old linkage and take it out as a unit if possible. If the motor is being reused, transfer it to the new linkage before installation. That keeps the calibration and mounting pattern consistent, and it reduces the chance of putting the motor on at the wrong angle.
The technical layout on many cars uses several mechanical links, often arranged as two 4-bar linkages in series or parallel, so the assembly has to sit square and move freely. If you force it in crooked, it'll bind, wear quickly, or park badly. Before tightening everything down, check that the pivots move smoothly through the full sweep.
Use this stage to lubricate every moving point thoroughly. The practical advice from workshop sources is to use terminal grease on the moving points for long-term protection, not just a temporary spray that disappears after a few wet months replacement and lubrication guidance.
Here is why Only One windshield Wiper working/Windshield wiper not working on one side/wiper linkage
Reassemble in reverse order, then test the system before the scuttle is fully buttoned up if access allows. Watch the sweep, check the parking position, and listen for any knocking or hesitation. If the blades still don't sit right, adjust before finishing, because a small misalignment now can become a nuisance every time it rains.
An Economical Fix Repairing a Worn Wiper Linkage
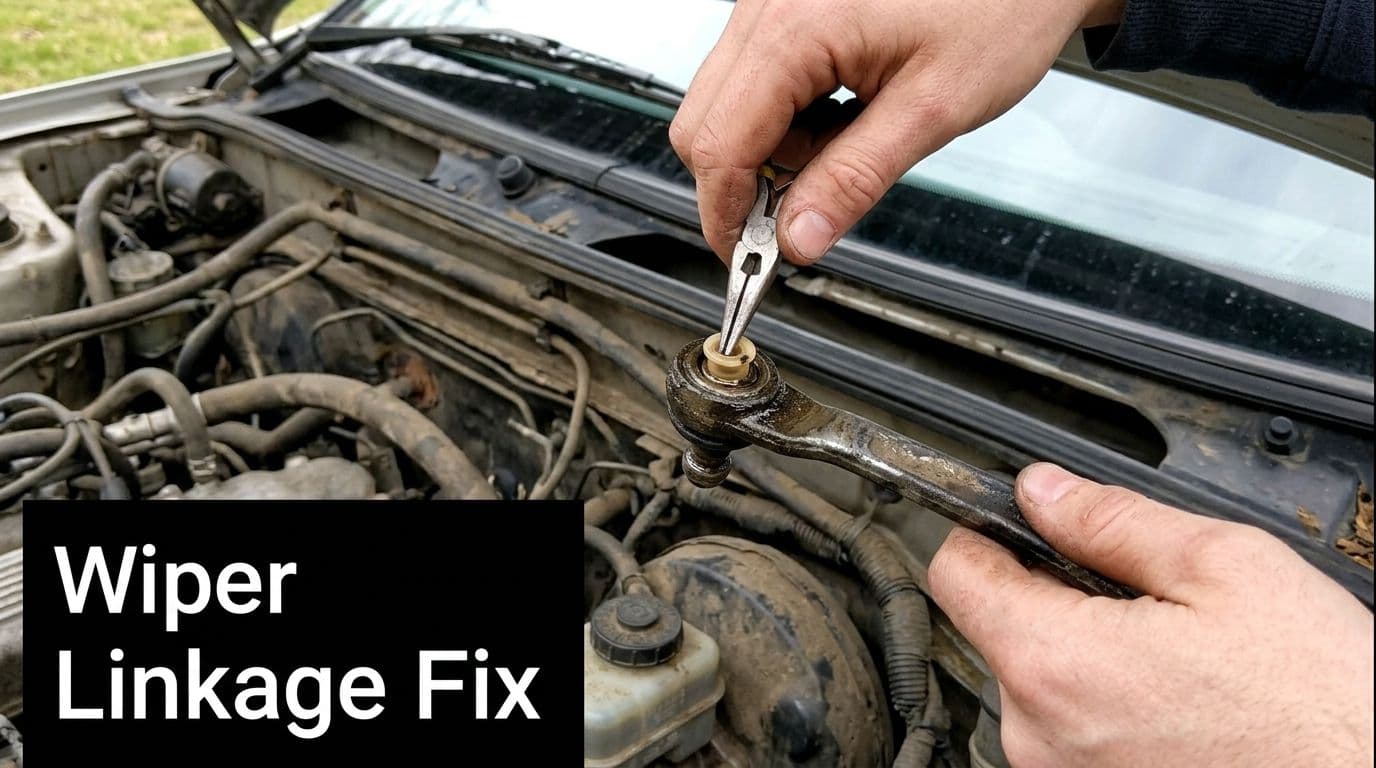
Not every failing linkage needs a full replacement. If the metal arms are straight and the main structure isn't rotten, the problem is often in the small joints, bushings, or clips that carry the load between the motor and the spindles. That's where a repair can make sense, especially on older UK cars where corrosion has only damaged the wearing parts.
Repair or replace
A rebuild works when the linkage has lost tightness rather than structural integrity. Pressing out worn bushings, fitting new clips, and re-greasing the pivots can bring a tired assembly back to life, provided the arms aren't bent and the metal isn't excessively corroded repairability guidance for older vehicles.
The job usually starts with stripping the linkage off the car, then separating the worn joints from the rest of the assembly. Some rebuilds need a press or a careful hand tool setup to remove the old bushings cleanly. Once the new parts are in, the linkage should move freely without tight spots.
If the pivot feels gritty by hand, it'll feel worse on the car. Clean, grease, and test before refitting.
The trade-off in plain terms
A repair saves money on parts and can be the right call when the rest of the mechanism is sound. The downside is time. Pressing bushings, cleaning corrosion, and reassembling small clips takes more patience than bolting in a complete unit.
A full replacement is the better option when the assembly is badly worn, the joints are sloppy across more than one point, or the corrosion has started to attack the arms themselves. It's also the cleaner choice when the car needs to be back on the road quickly and you don't want to revisit the same fault later.
If you're looking for supporting consumables, the grease and maintenance sprays section at GSF Car Parts gives you the sort of products used to free joints and protect moving parts after the repair. The important part is matching the decision to the condition of the linkage, not forcing a rebuild that the metal no longer deserves.
Maintenance Tips and Common Questions
A new or repaired linkage lasts longer if the area around it stays clean. Leaves, silt, and road debris gather under the scuttle and hold moisture against parts that need to stay free and dry. Clearing those drains and keeping the plenum area open helps the mechanism move properly, and that matters on cars with rain-sensing wipers too, because the sensor may change when the blades run, but the same physical linkage still does the work underneath National Motor Museum on rain-sensing wipers and linkage function.
Simple habits that help
Check the scuttle area regularly: Clear leaves and dirt so water can drain away instead of sitting around the linkage.
Don't run dry blades on a clean screen for long: It adds needless drag to the system.
Listen for early noise changes: A new click, scrape, or hesitation is often the first sign of wear.
Inspect the pivots after winter: Road salt and wet weather accelerate corrosion on older cars.
Keep the blades in good condition: A tired blade makes the whole system work harder than it should.
Quick answers after refit
Why won't the wipers park correctly now?
The arms may have gone back on one spline out, or the linkage may be sitting out of its proper resting position. Recheck the marked park point before tightening anything again.
Is a light clicking sound normal after fitting?
A slight mechanical sound can happen, but loud or repetitive clicking usually means a loose joint, a dry pivot, or a part fitted under tension.
Should the linkage need much force to move by hand?
No. It should move smoothly. Heavy resistance means something is binding, misaligned, or still dry.
Do rain-sensing wipers change the repair process?
The trigger may be electronic, but the linkage still does the physical work, so the mechanical checks stay the same.
For a clean finish, give the system one final test with the bonnet down and the scuttle sealed. If the sweep is even, the park position is right, and there's no knocking, the job is done properly.
A CTA for GSF Car Parts.